
With Matrixify you can export your products, change the Variant Cost in bulk right inside a spreadsheet, and push the new costs back to Shopify in one import – no coding, no copy-pasting in Admin. This tutorial walks you through the whole flow, shows which minimum columns to include, and explains alternative ways to identify each variant if SKUs are missing. In no time you’ll have accurate costs across your catalogue and rock-solid margins to match.

Steps in short
- Export Products from Shopify using Matrixify.
- Edit Variant Cost value.
- Import edited data back into Shopify using Matrixify.
1. Export Products from Shopify using Matrixify
Open the Matrixify app and click New Export. In the Format drop-down pick Matrixify: Excel – an XLSX file is easier to work with than CSV unless your catalogue has an amount of data that is over the Excel limits. Next, expand the Select Sheets drop-down, tick Products, and you’ll see a card appear for that sheet.
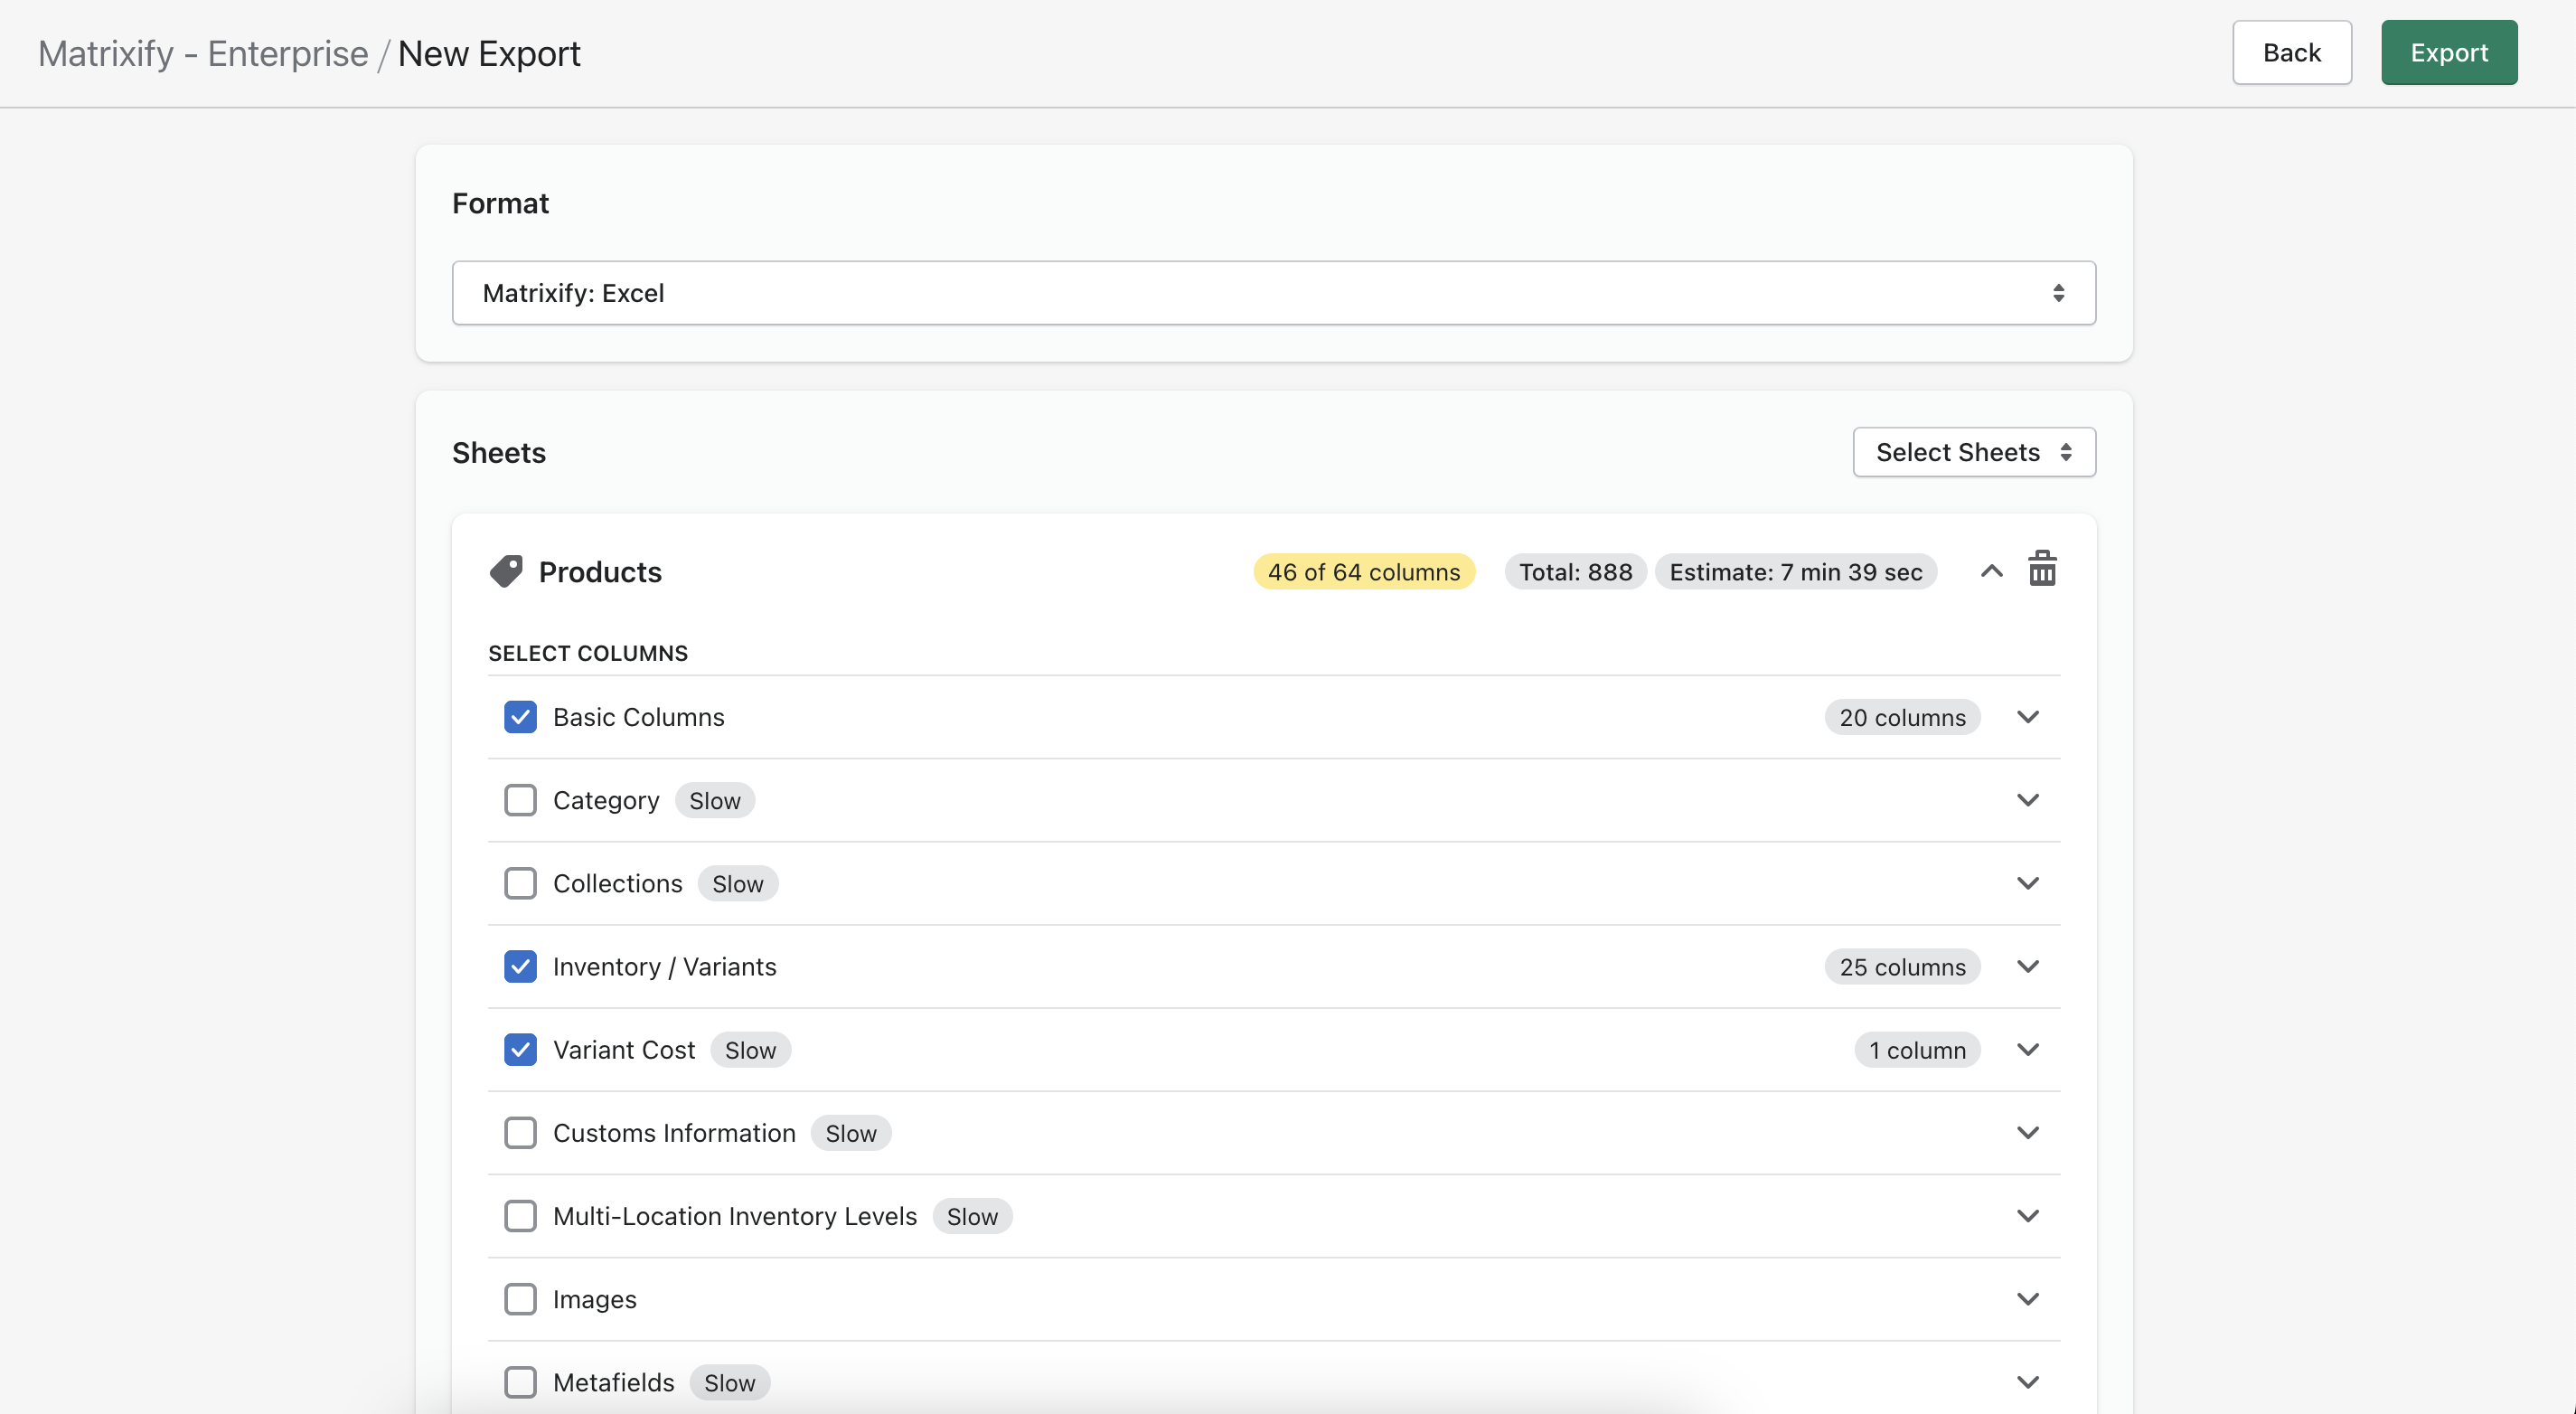
In Select Columns section keep the Basic Columns group enabled (that gives you Product ID, Handle, etc.). Additionally also add the Inventory / Variants group and tick Variant Cost. For the Basic Columns group, click its arrow to expand it, untick the main checkbox so the whole block turns off, then re-enable just ID and Handle. Likewise for Inventory / Variants keep only Variant SKU and Variant ID. Leave Variant Cost as is because it contains only 1 column.
As an optional step you can add a Filter if you want to narrow the list – for example, Export only products from a certain collection or tag. This isn’t mandatory but can save time on large stores. Here is a list of the Filters we offer for a Products Export.
You do not need to change any Export Options for this Export. Once you have selected the necessary columns and added a Filter if needed, then you can go ahead and press Export.
2. Edit Variant Cost Value in Exported file
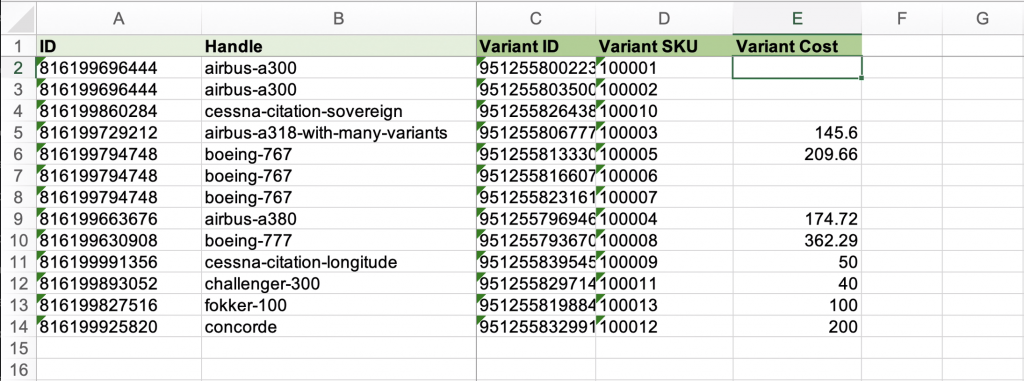
Open the Exported spreadsheet and head straight for the Variant Cost column. Change the numbers to the new costs you want Shopify to hold, making sure you don’t touch the identifiers you chose during Export—keep ID, Handle, Variant ID and Variant SKU values exactly as they are so Matrixify knows which variant to update.
Alternative ways to identify Product and Variant
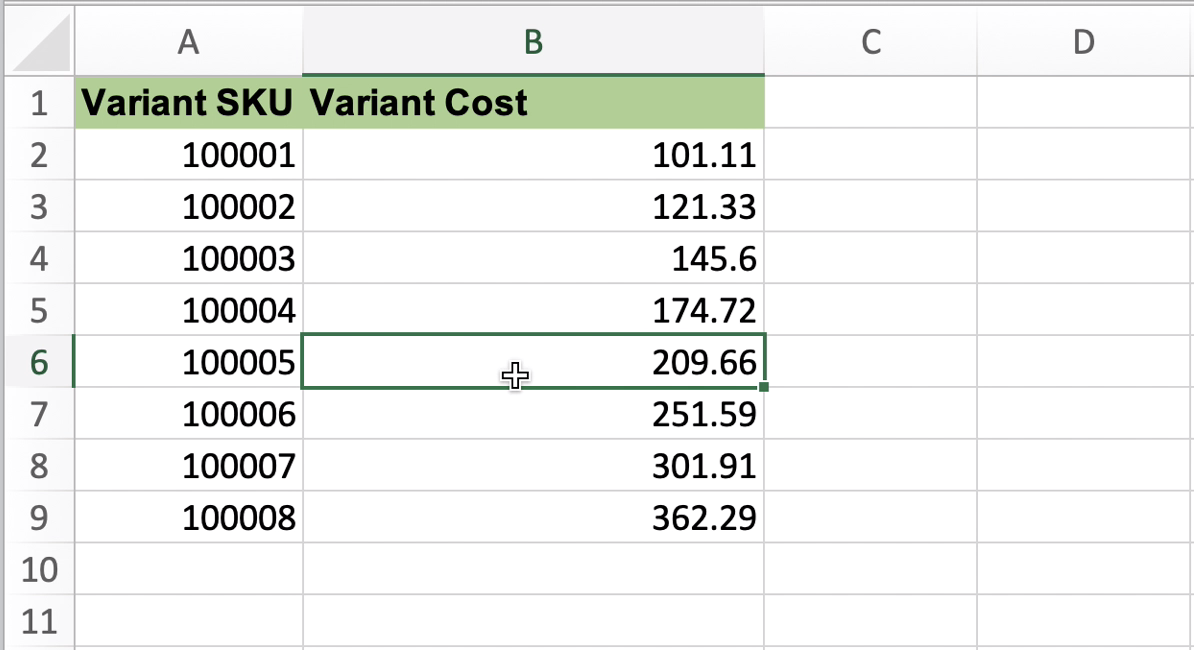
Update by SKU
To update just the cost by SKU, Import just the table with the following two columns:
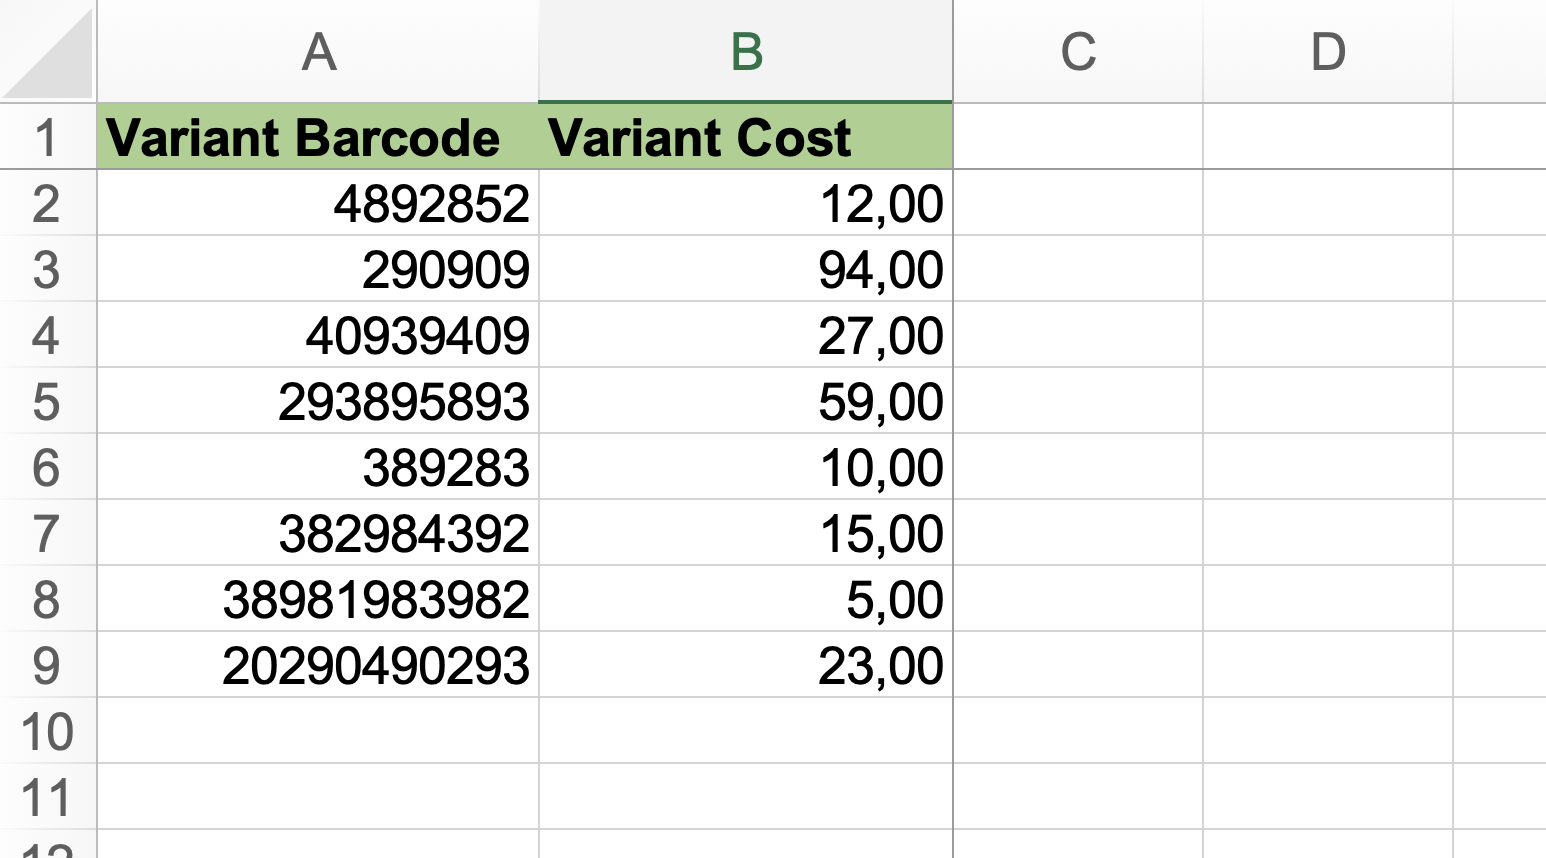
Update by Barcode
To update just the cost by Barcode, Import the table with the following two columns:
Update by Handle
If you don’t have variants for products, then you can update just simply by columns:
Or if you don’t know your product ID, then just those columns also will work (given that you don’t have variants):

Once you have created your file for Import, you can save it and head back to the Matrixify app.
3. Import into Shopify using Matrixify
Jump back into the Matrixify app, find the Import section on the home screen and drag your edited file in.
The app will analyse the file, you should see it detect the Products sheet, show the total Products to update and confirm that only Variant Cost (plus your identifier columns) will be imported. If that looks right, press the Import button. Matrixify will run through each variant and push the new cost values to Shopify.
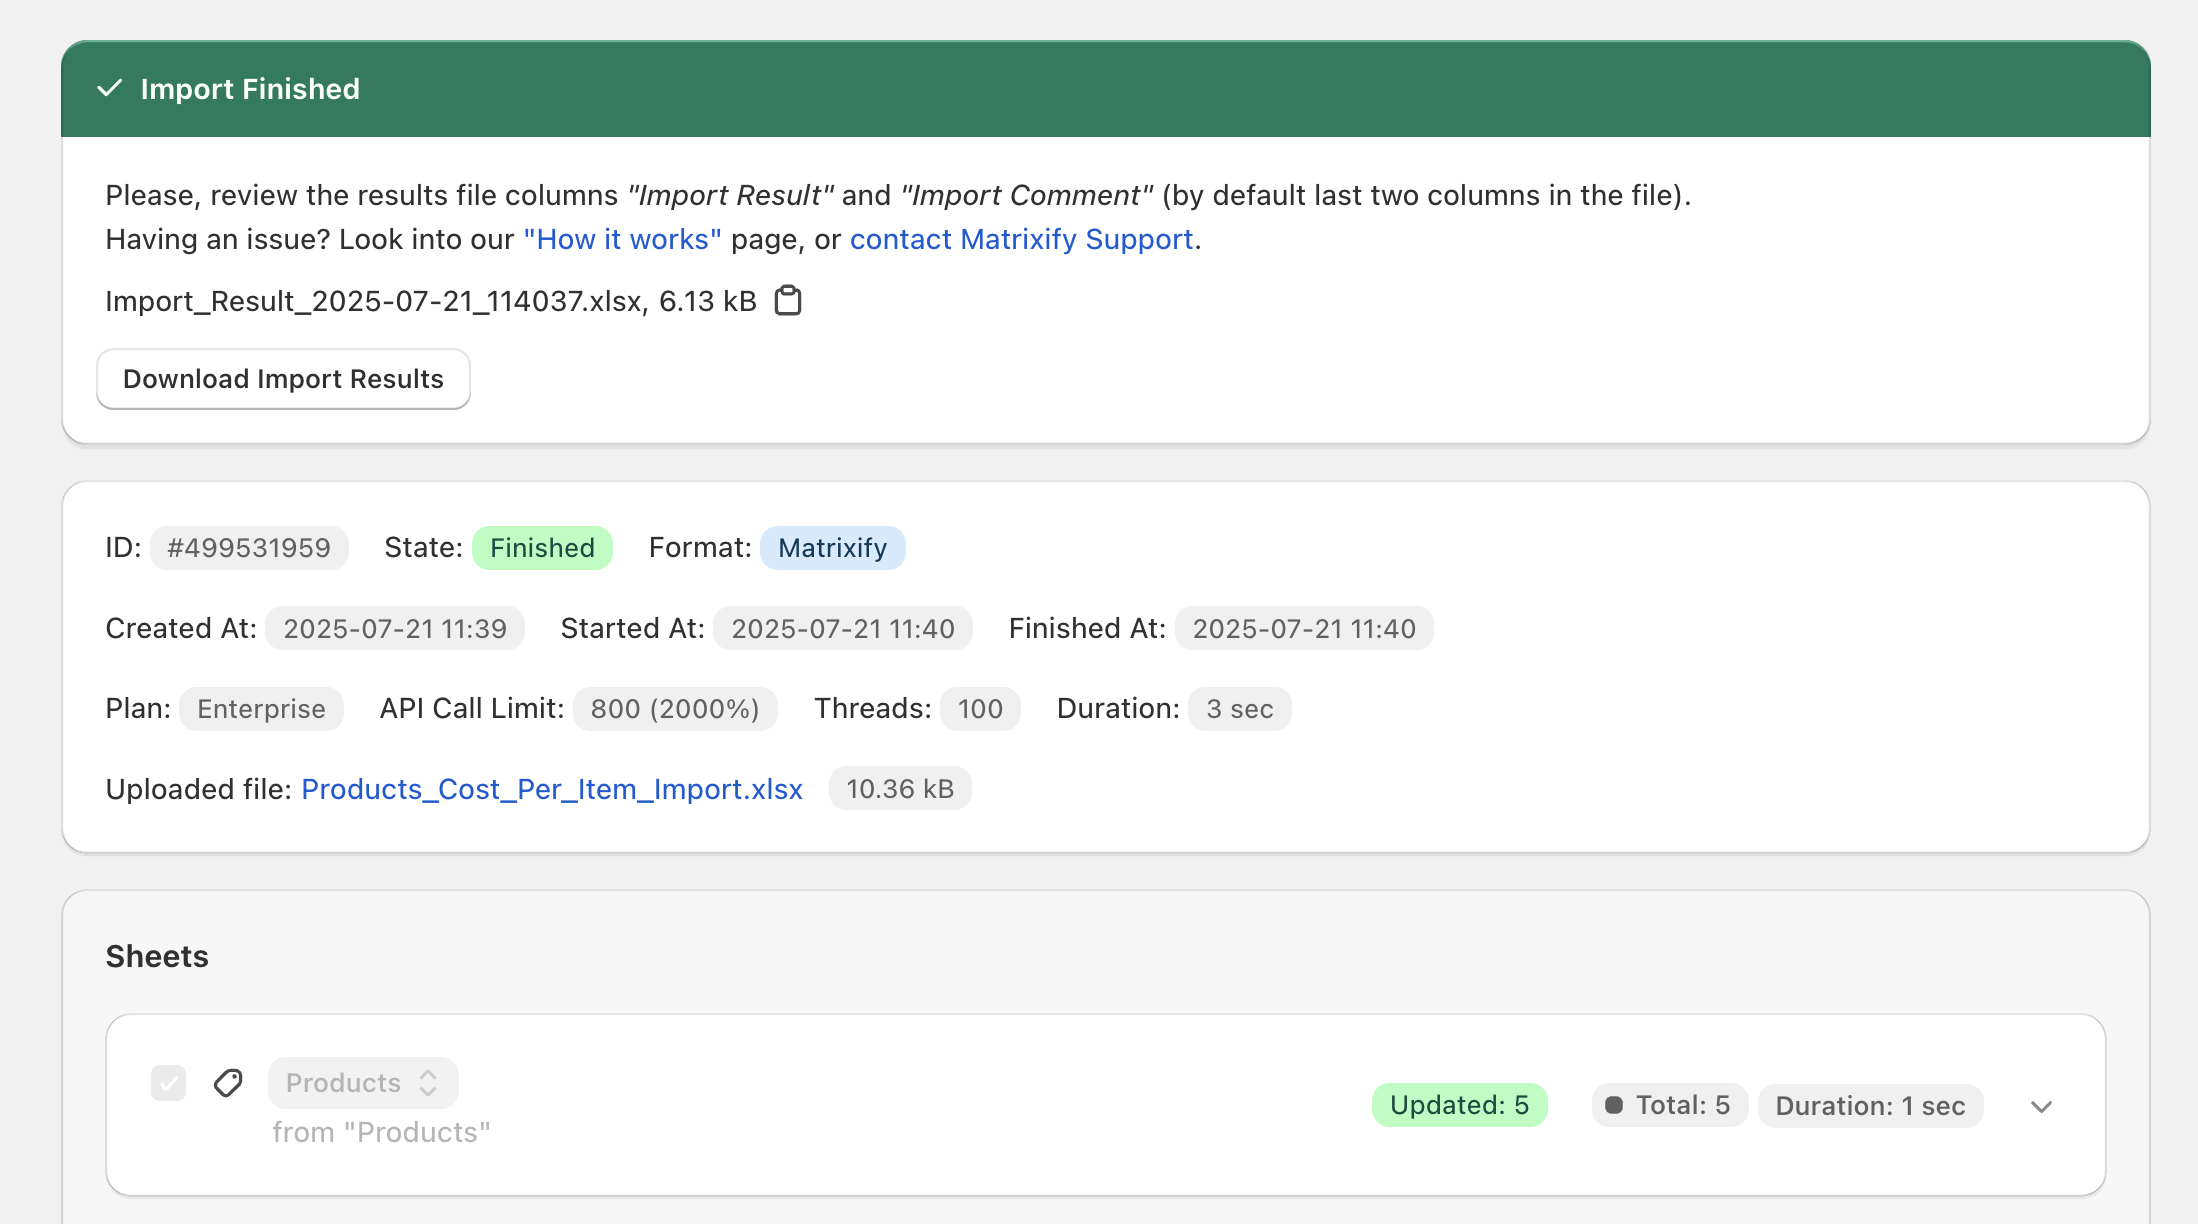
When the job finishes, you can download the Import Results file to double-check that every item shows OK in the Import Result column, any rows marked Failed will include an Import Comment telling you what went wrong so you can fix and re-import just those lines.
That’s it—Shopify now holds your fresh cost figures!
Good to know
- The most important thing to understand is that you need to identify the Product (by
IDor byHandle), and then you need to identify the Variant inside that Product (byVariant ID, orVariant SKU, or Options, orVariant Barcode). - Read the full documentation of Products sheet.
- If you have any questions at all – reach out to our support!


