
Updating or deleting tags from Shopify items (like Products, Customers, Orders or Blog Posts), is quick and easy when you only have to make a small number of changes.
But for larger stores with potentially hundreds, or thousands of updates to make, you need a way to do this in bulk. So, if you need to update or delete Tags on Shopify items in bulk, you can do it quickly and easily with the Matrixify App. This tutorial explains how.
We will use Products as an example, but the same instructions can be applied to bulk edit tags on your Shopify store for any other item types.
The step-by-step process
- Export Products you need to update.
- Delete unnecessary columns.
- Update the “Tags” and “Tags Command” columns.
- Save, import and enjoy!
1. Export data that you need to update
First, you will need to export your data that you wish to update. Go to the Matrixify app and press “New Export”. In the Matrixify App Export section select the sheets you would like to Export “Products“, “Customers“, “Draft Orders“, “Orders” or “Blog Posts” (depending on which one you are updating). You only need to select “Basic Columns” from the drop-down checkbox list.
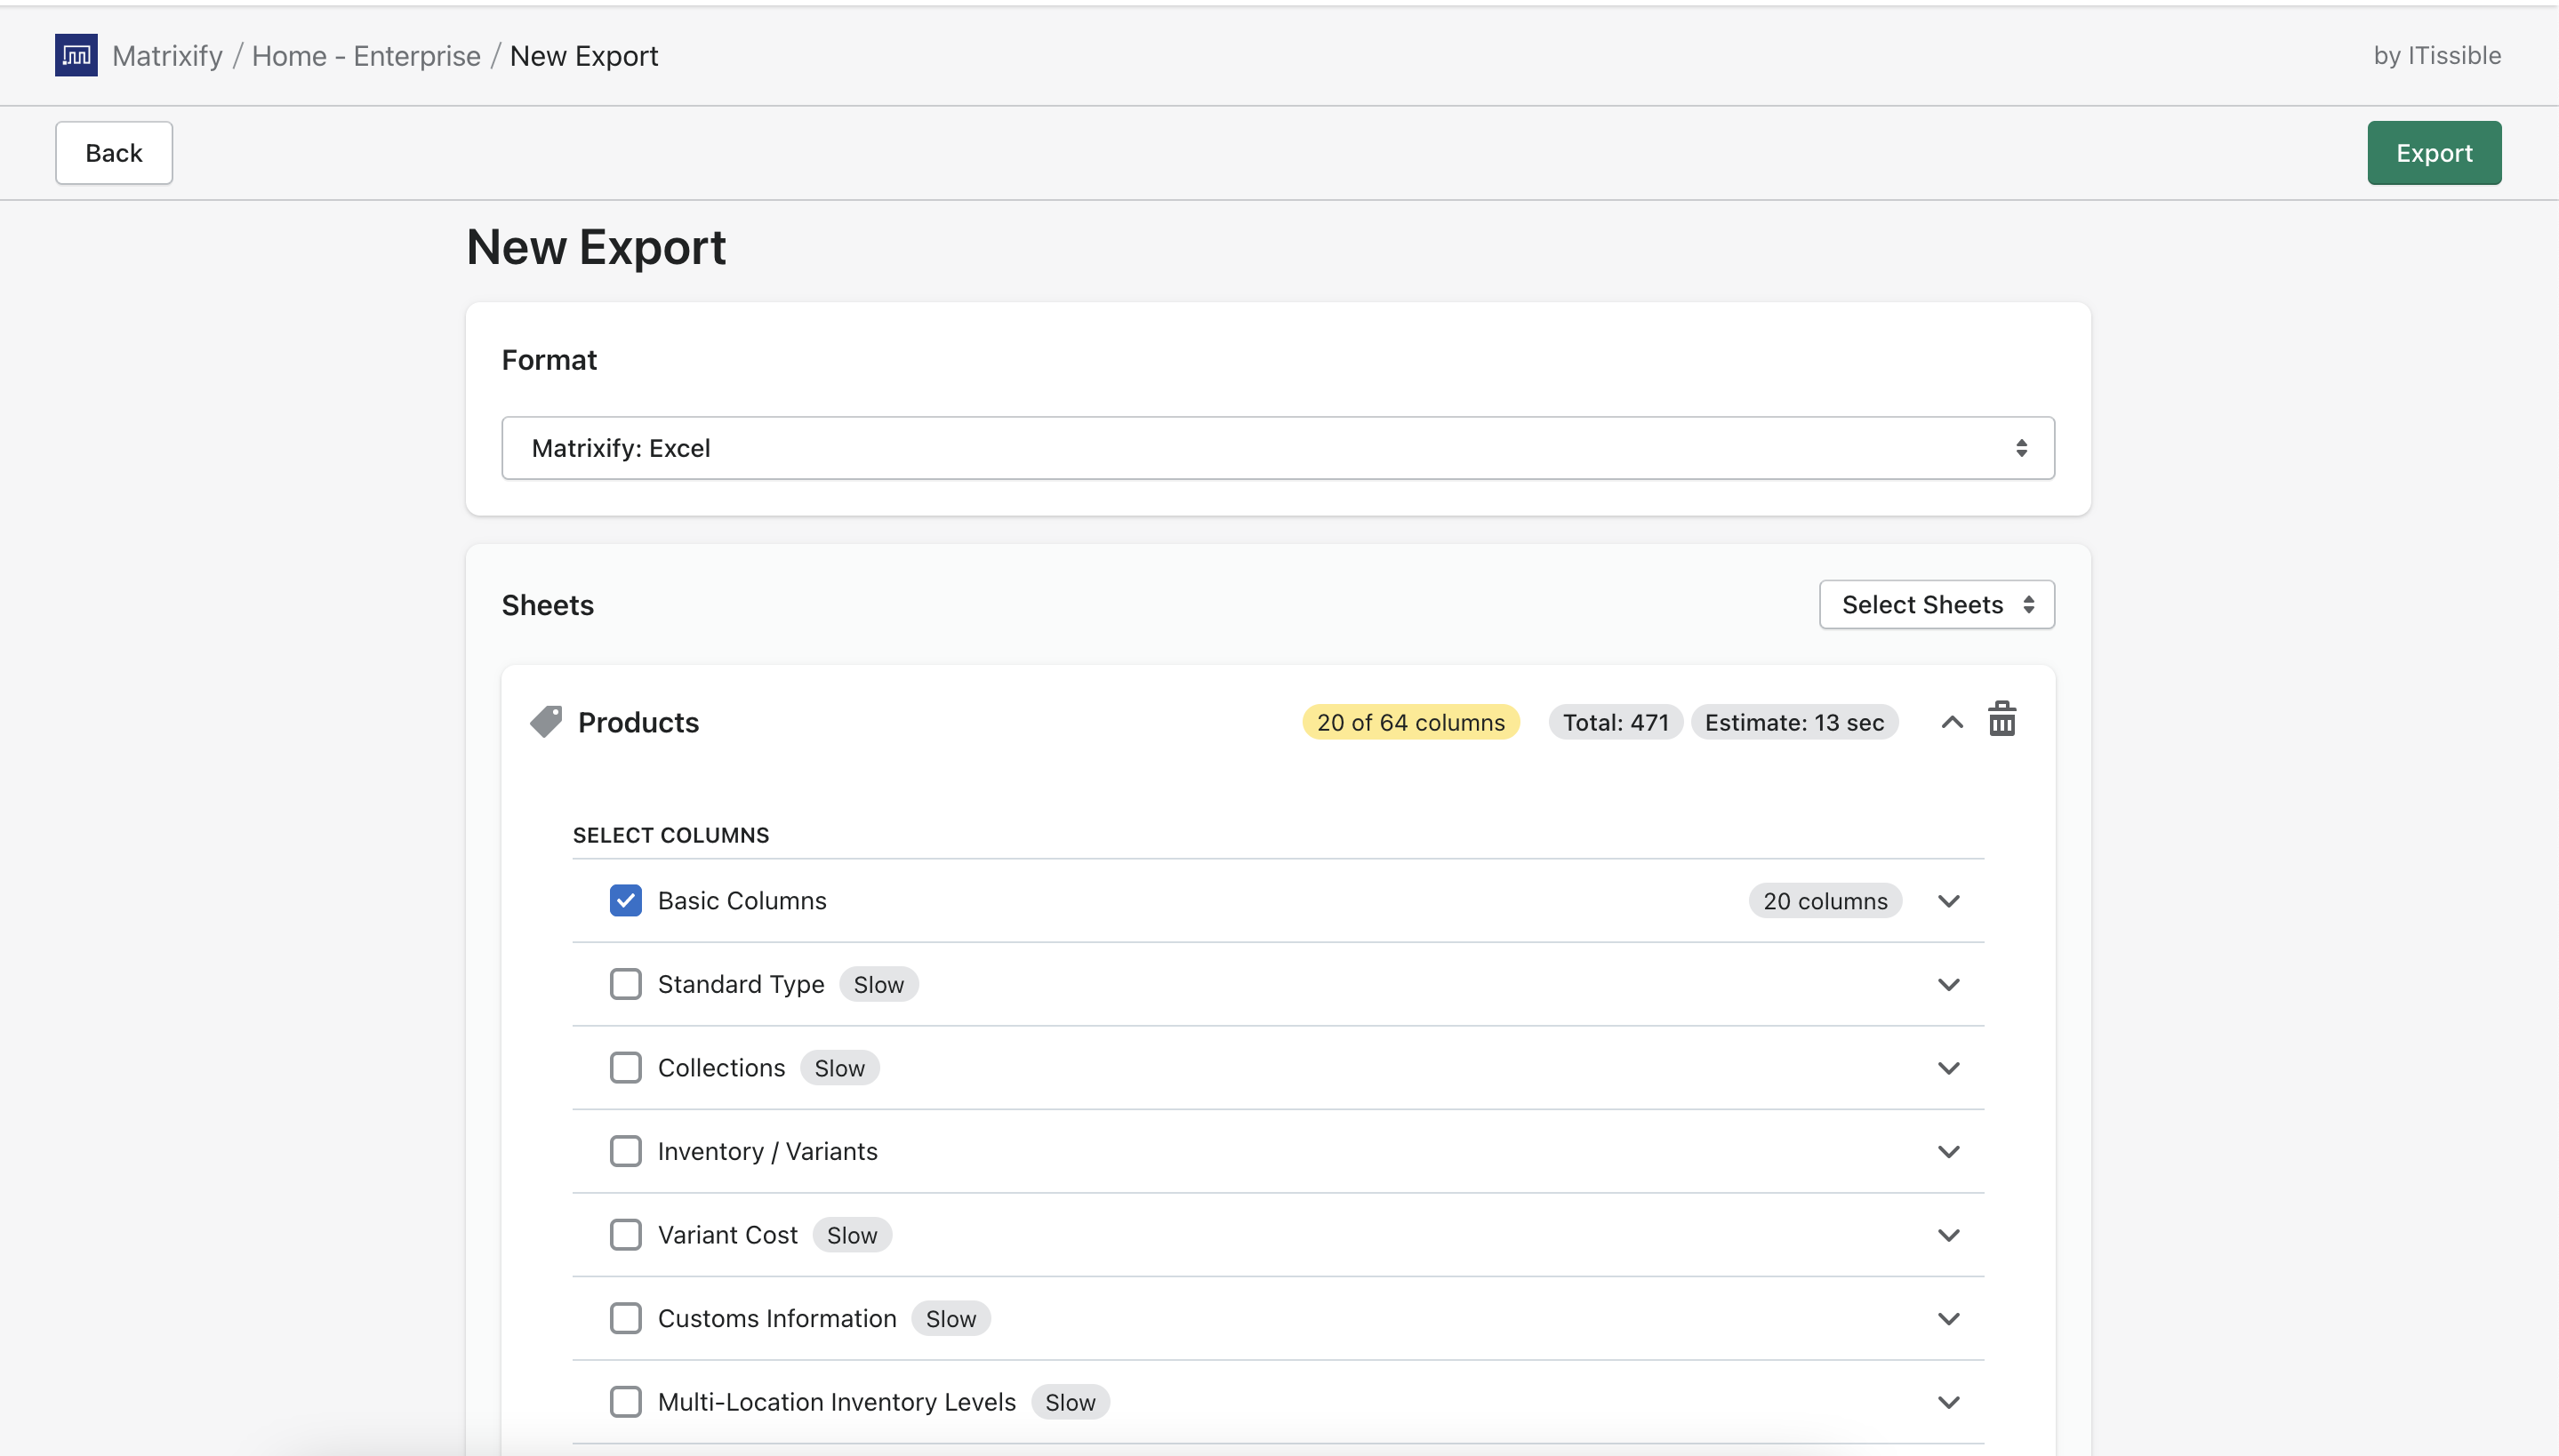
Then you can click on the filter icon to apply filters so you only export data that you wish to update Tags for.
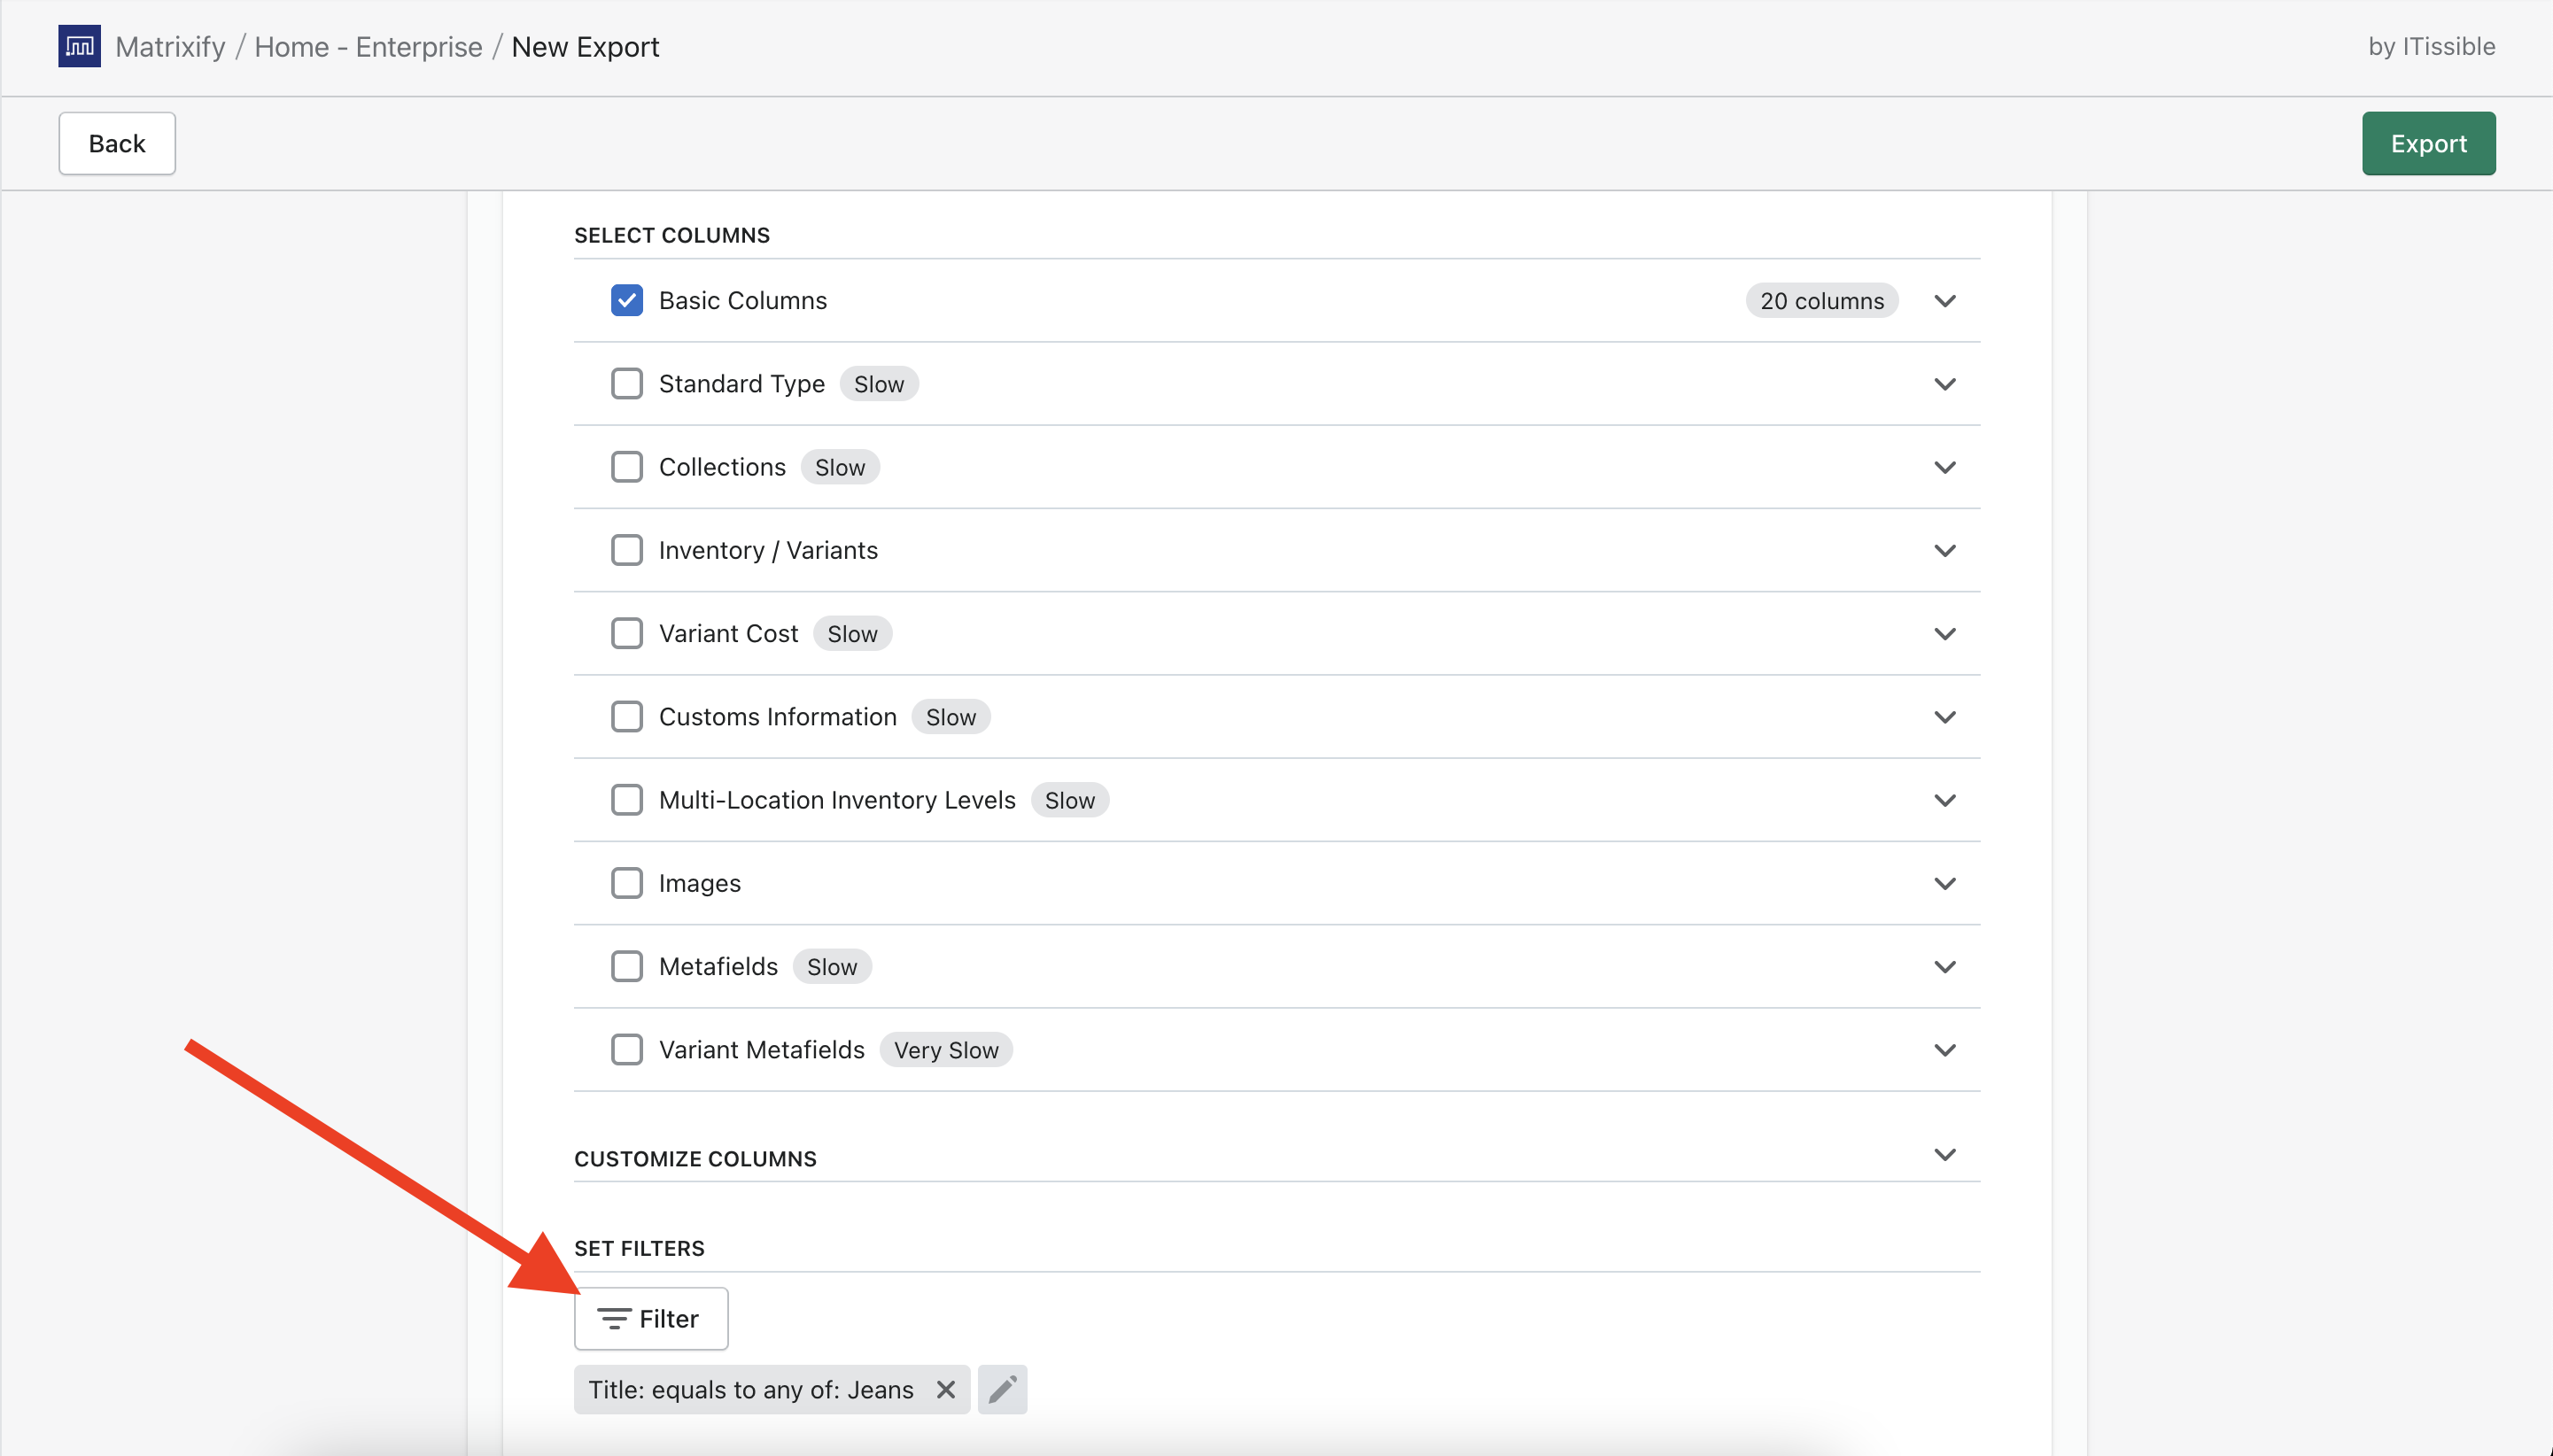
Press the “Export” button to start the Export.
2. Delete unnecessary columns
When the export is finished you can download the exported file by clicking on the button “Download Exported File“.
Since you only wish to bulk update Tags then we do not need to include all columns. You can delete all columns from the file and keep only those:
- ID
- Handle (for Products and Blog Posts)
- Name (for Draft Orders and Orders)
- Command (Needed only for Orders and Draft Orders with value “UPDATE”)
- Email (for Customers)
- Tags
- Tags Command
Before:
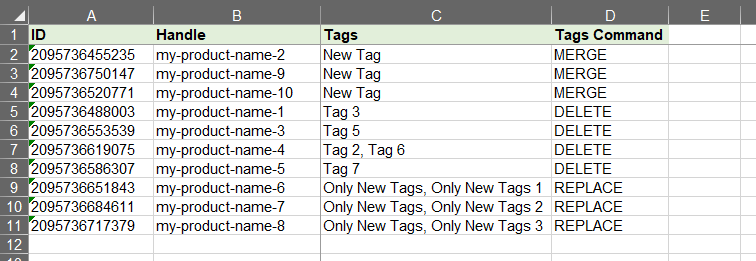
After: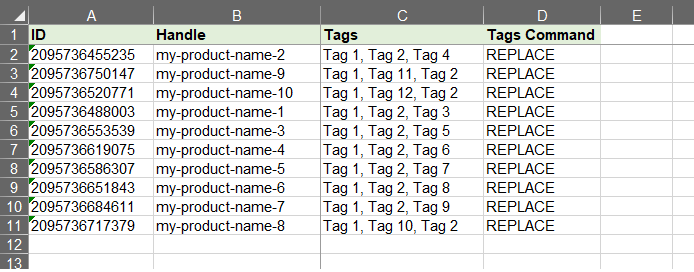
3. Update the “Tags” and “Tags Command” columns
Tags Command column
Now, you will need to choose what you wish to do with your tags. In the exported file you can see that the column “Tags Command” has the value REPLACE for all items.
Possible values for Tags Command are:
MERGE
MERGE Tags Command will add Tags to existing tags. It means that you don’t need to list all the tags in the import file, you can import those which you want to add. If some of the tags you are importing already exist, then the app will ignore it.
DELETE
The DELETE Tags Command will bulk delete the Tags that are listed in the import file. If the listed tag will not exist, then the app will ignore it. The app will only delete Tags that are listed in the row that has Tags Command DELETE.
REPLACE
The REPLACE Tags Command will replace all existing tags with the tags from the import file. Use this method to maximize the import speed, because if you will use MERGE, it means that the app will need first to load existing tags which takes additional time.
You can also combine MERGE and DELETE Tags Command values within the same item, for example, if you wish to delete one tag and add another one.
So within a single import, you can do multiple actions at once, to bulk remove some Tags and bulk add others.
If you have multiple rows with Tags and Tags Commands, then they will be executed in the same order within the item as you have them listed in the file.
Tags column
When you have selected Tags Command that fits your needs you can update the “Tags” column accordingly as I have in the screenshots above.
There are many ways you can go about updating your Tags, the most important is to understand the usage of Tags Command.
For example, if you wish to replace only 1 tag, then you can:
1 – List two rows for the item.
With one row having an old tag in “Tags” and “DELETE” value in “Tags Command“.
And the second row having a new tag listed in the “Tags” column and “MERGE” in “Tags Command“.
2 – Another option is to use “Tags Command” with the value “REPLACE” and list all your tags in the “Tags” and update the one tag that you need to.
In this case the app will delete all tags from the item in Shopify admin and replace it with the ones from your file, which will be the same ones except for your updated one.
4. Save, import and enjoy!
Now you can save the file. Go back to the Matrixify app and import the file in the Import section. The app will analyze the file and count how many items you are importing.
Press the Import button to start the import and the app will start making bulk edits to your Shopify tags.
If you see any Failed items, then after the import has finished, you can download the Import Results file and look into the “Import Comment” column. It will tell why particular item has failed. Then you can fix that issue and re-import just those failed and fixed rows again.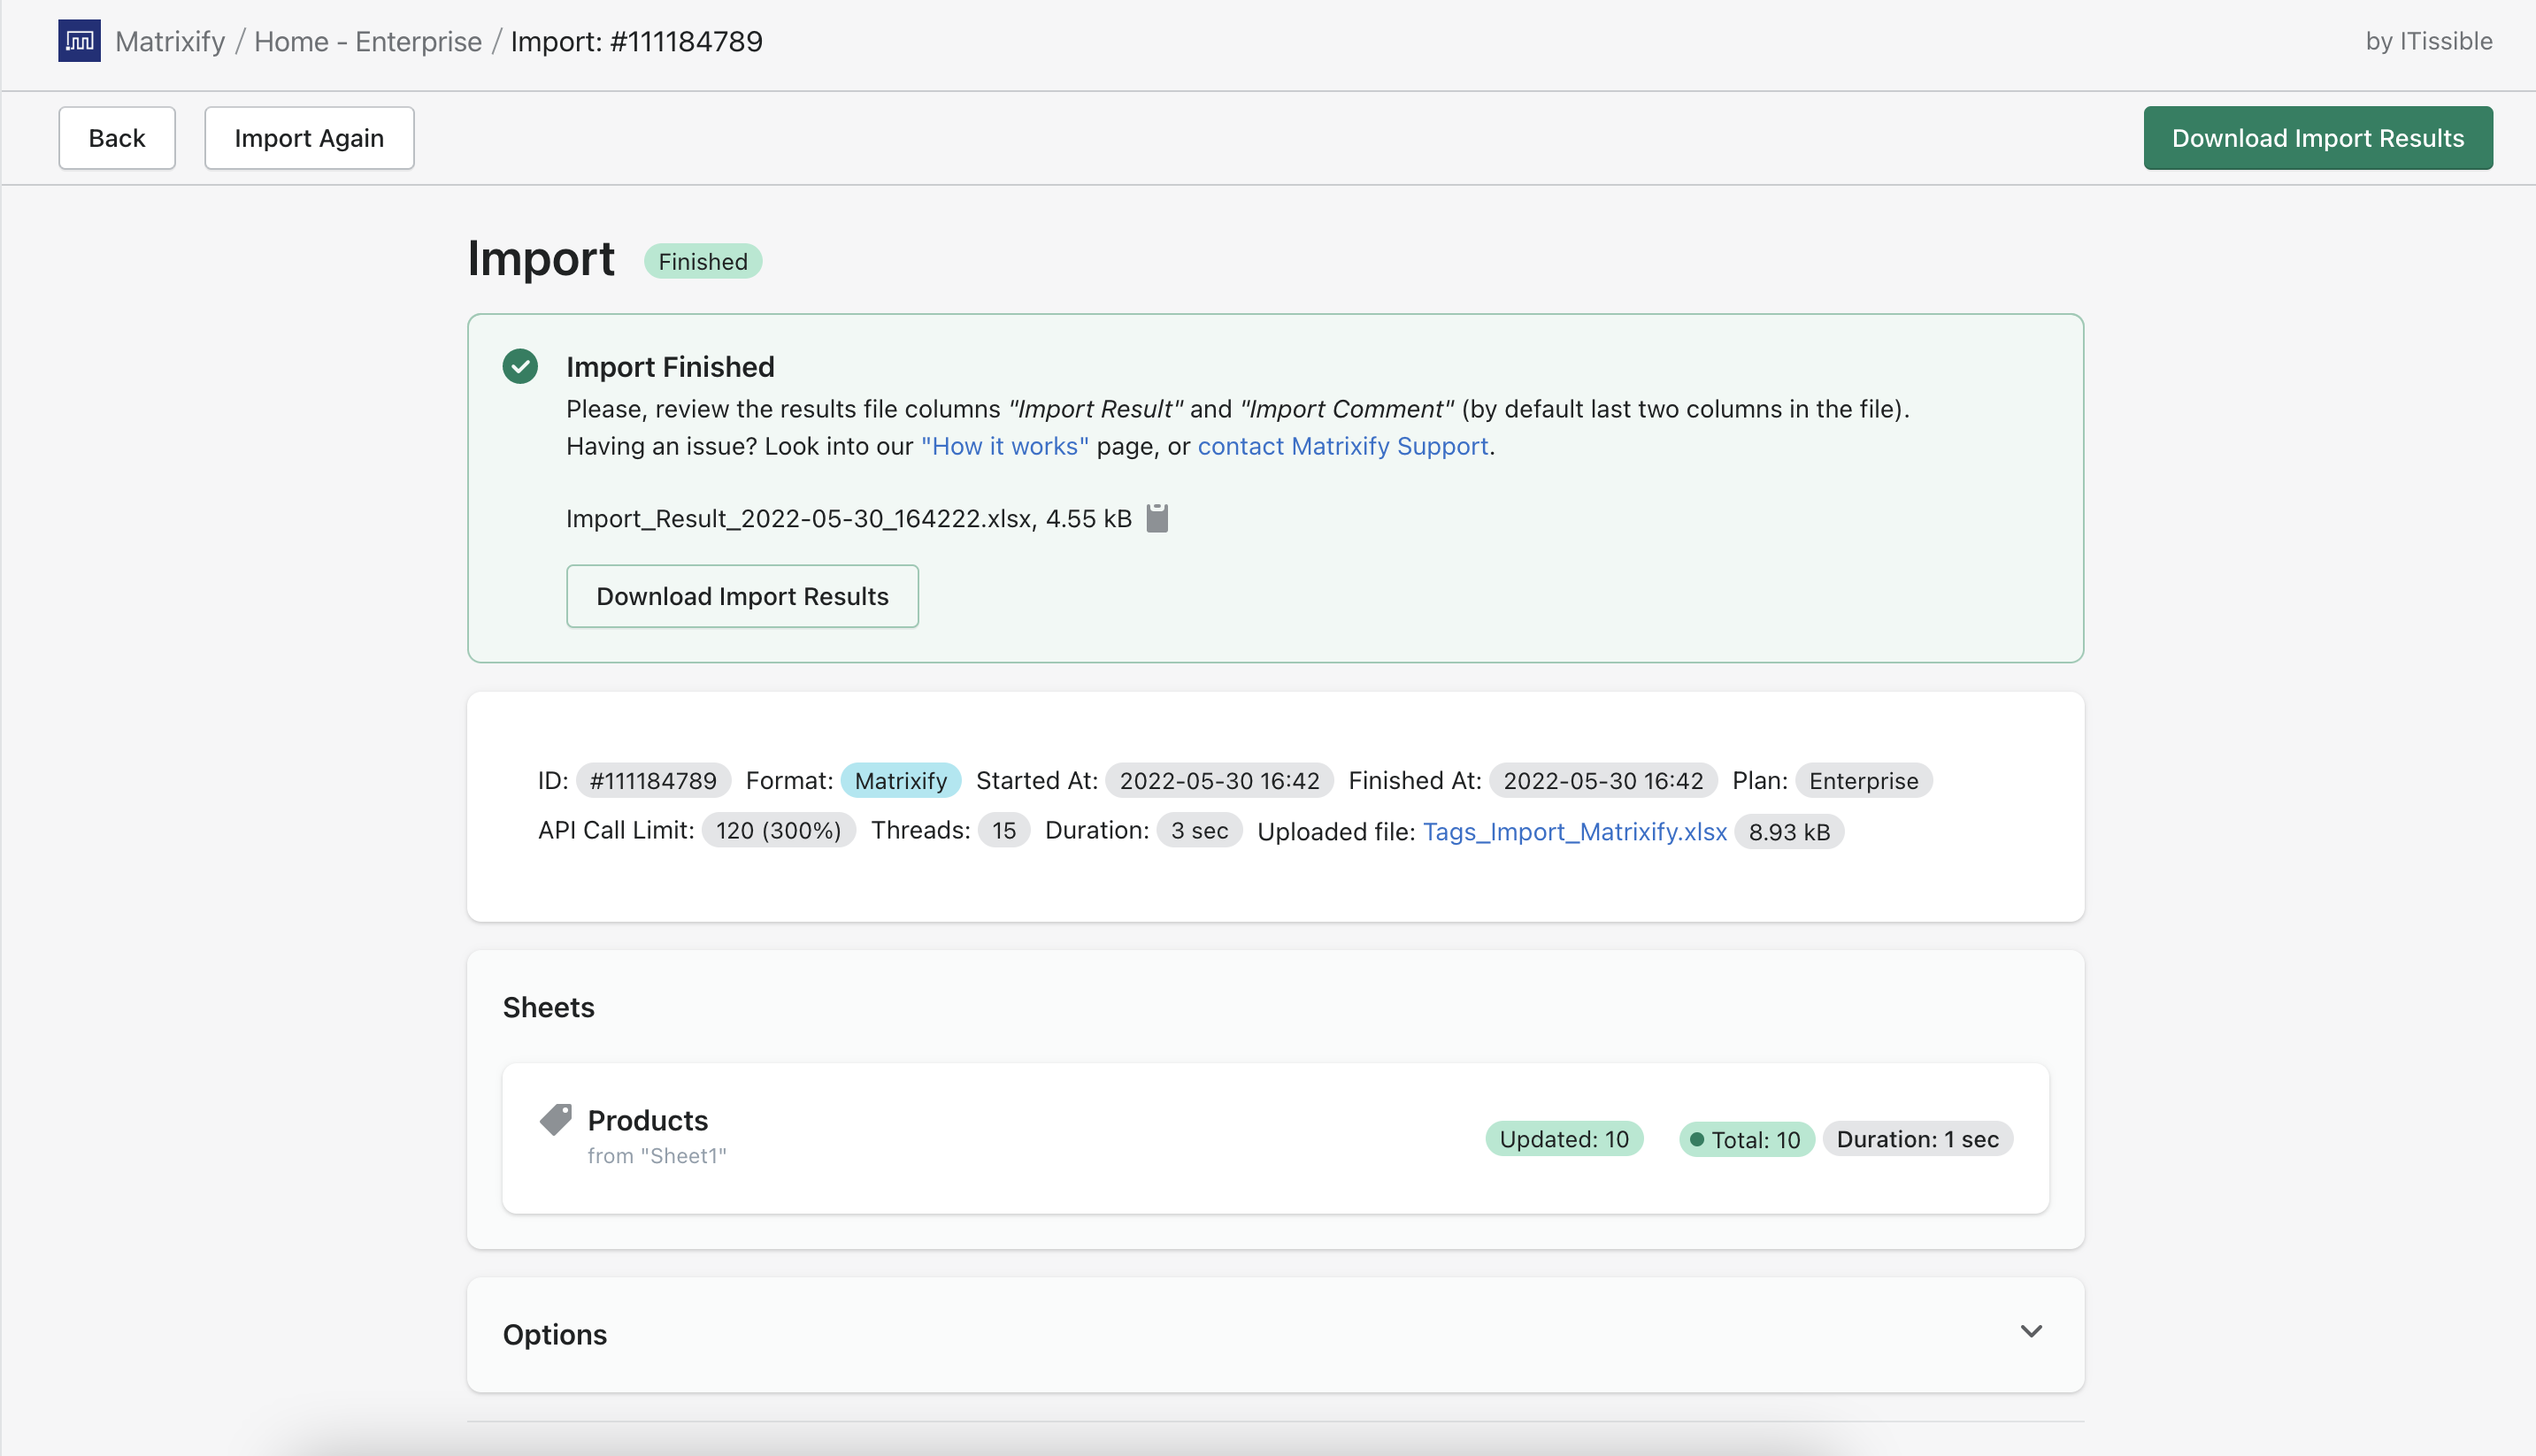
What to do next?
- Install the Matrixify App.
- Check out the documentation for each of our fields description.
- Check other related tutorials.
- View the full list of commands available in Matrixify
- Contact Matrixify support if you run into any issues or have additional questions.


