
With the Matrixify you now can also import, export and update your Shopify Shop Metafields in bulk.
These are Metafields that are attached to your Shop itself. To read about Metafields attached to Products, or other items, please see this tutorial.

Export Shop Metafields
1. In Matrixify app create new export
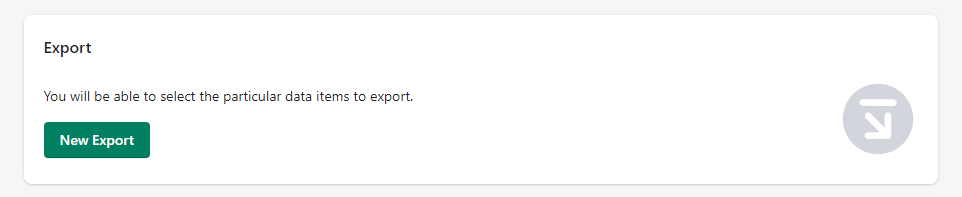
When you have entered the Matrixify app, you can locate the “Export” section with “New Export” button, where you can create new export.
2. Select to export Shop with Metafields
Once new export is created a new window will open where you can select to export Shop.
Under Shop, select to export “Basic Columns” and “Metafields“.
No need to include the “Other Details” checkbox – those are the shop attributes like Email, Domain, Owner, etc. – those columns can be only exported, so you don’t need them to update your Shop Metafields.
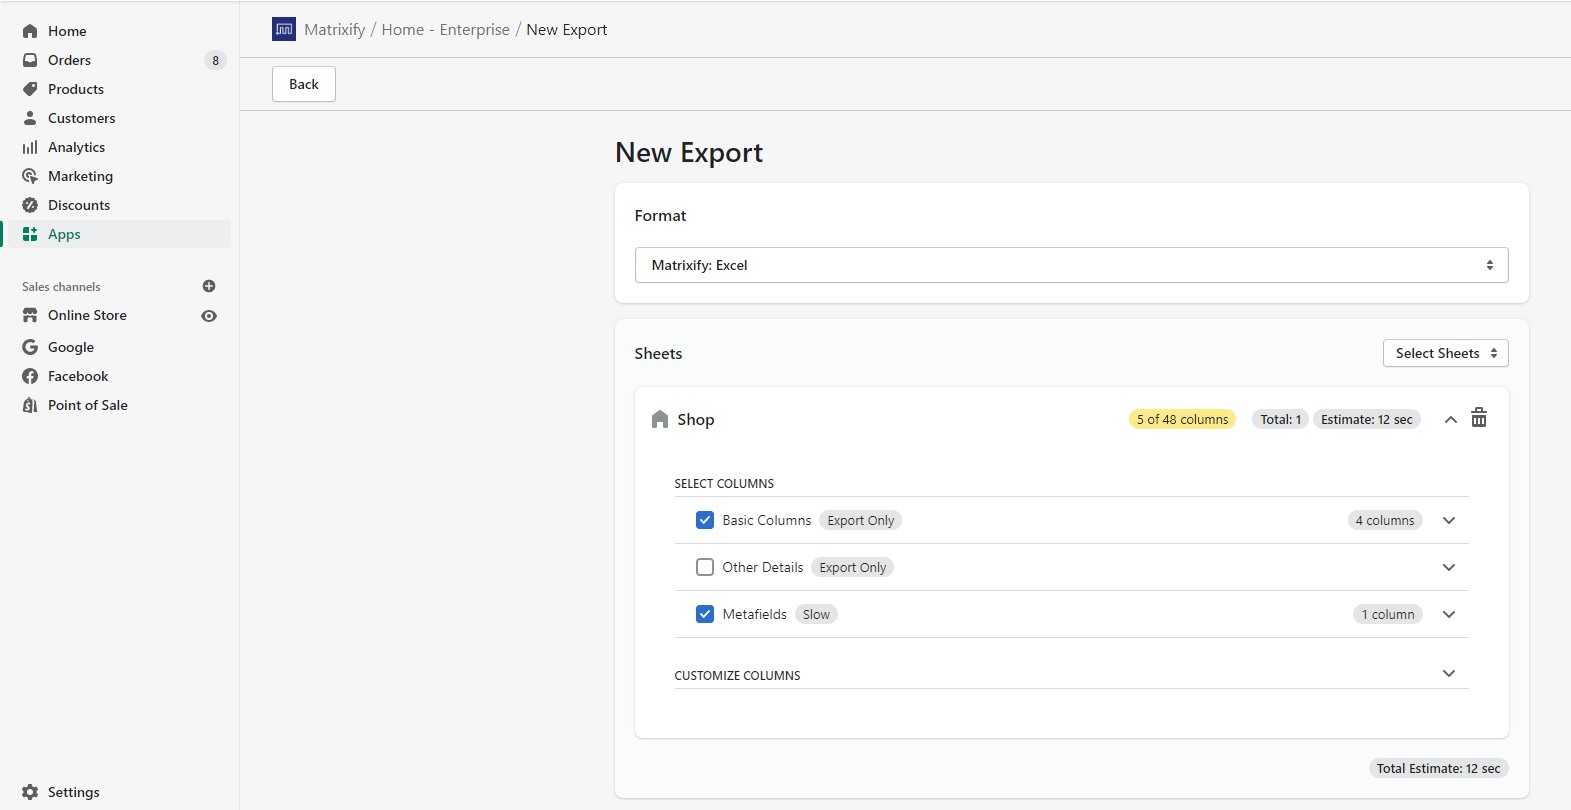
This way you can export all Shop level Metafields from your store.
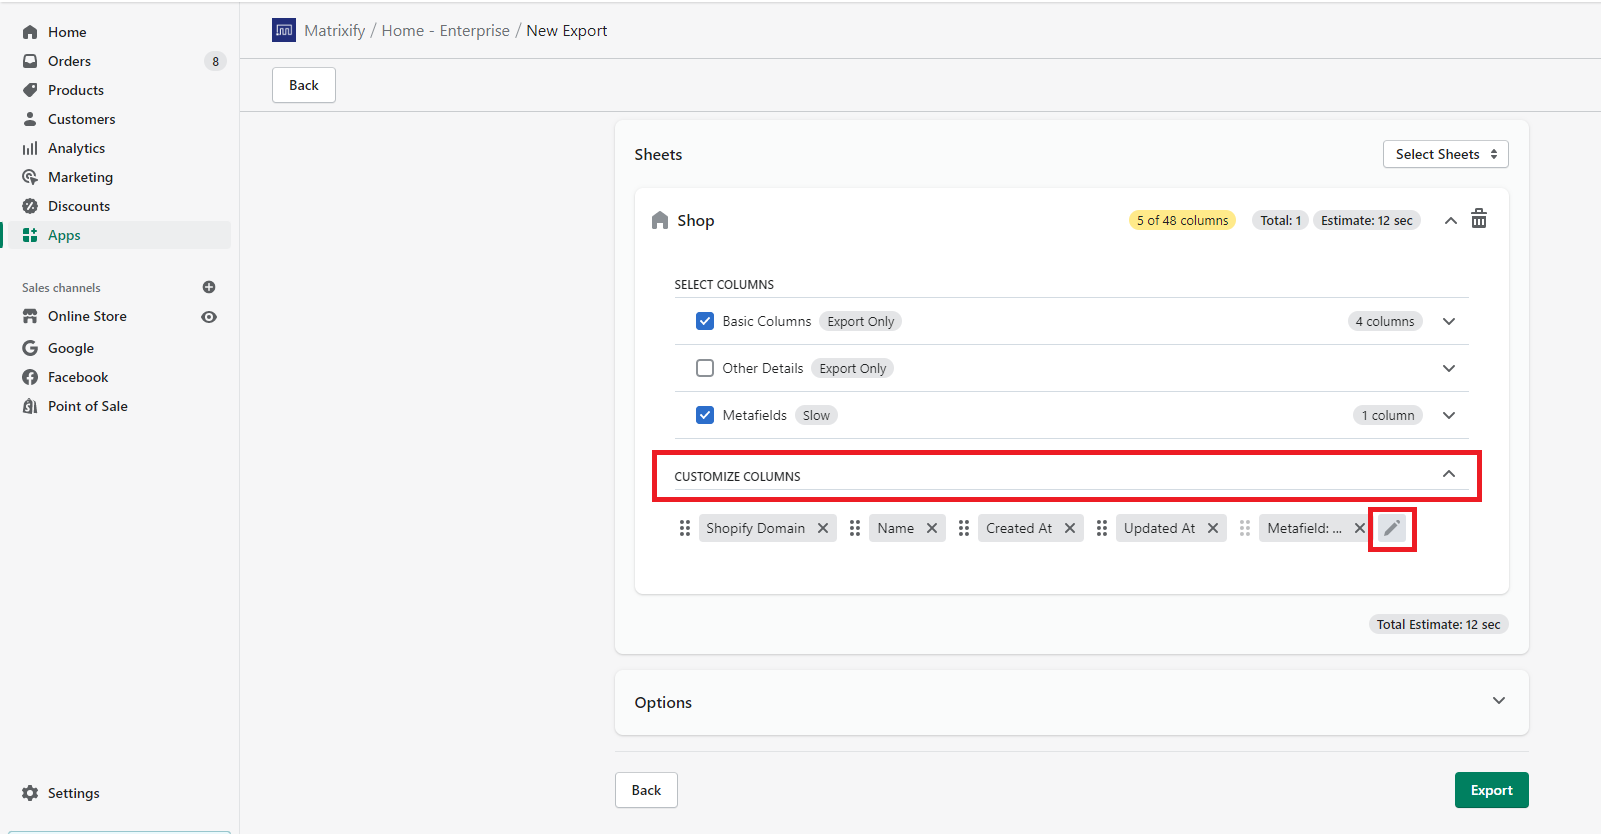
To export specific Metafields you can now open the “Customize Columns” section and click on the pencil button to specify what Metafields to export.
A popup will open where you can specify what Metafield Namespace and Key to export.
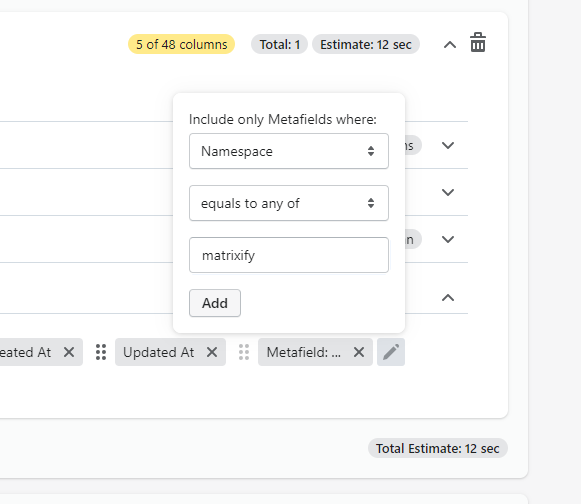
Once checkboxes are selected you can click on the “Export” button to start the export.
3. Download exported file
Once the export is finished you can click on the “Download Exported File” button to download the file.
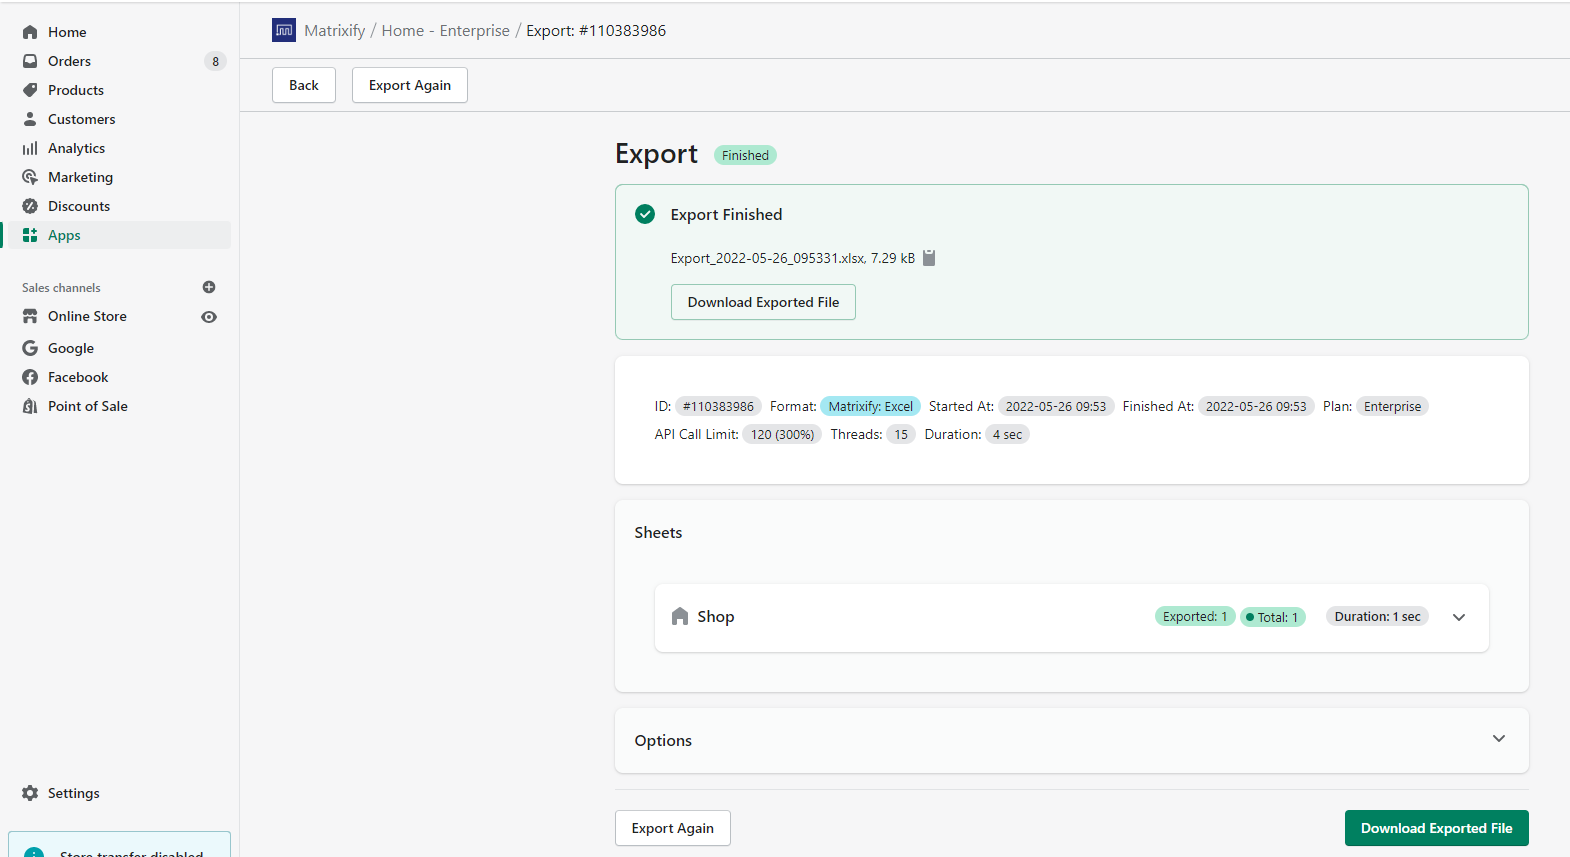
Open the file to check your Shop Metafields!
Import and Update Shop Metafields
You can also import to create and update your Shopify Store Metafields in bulk!

Update Shop Metafields
- Follow section “Export Shop Metafields” to export your Shop Metafields.
- Edit your Metafields in the exported file.
- Delete (remove) those Metafield columns you do not wish to update to speed up the import.
- Save and import this file to update the Metafields.
Add additional Shop Metafields
- Follow the section “Export Shop Metafields” to export your Shop Metafields.
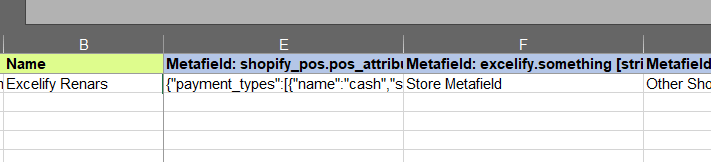
- In the exported file add the new Metafield columns that follow template – “Metafield: namespace.key [string]”, in example, “Metafield: excelify.my-metafield [string]”
You can find a detailed explanation on how to construct Metafields with namespace, key and field type in this Metafields tutorial. - Fill the values for your new Metafields in row 2.
- Save and import the file to create your Shop Metafields.
Delete Shop Metafields
- Follow section “Export Shop Metafields” to export your Shop Metafields.
- In the exported file – keep the columns, but clear the values in row 2 for the Metafields that you wish to delete.
- Save and import the file. The app will delete Metafields that have no values.
Good to know!
- If you do not wish to change or delete some Metafields, just remove them from the import file entirely (remove the whole column with the column heading). Then Matrixify app will keep this Store Metafield unchanged. That way – if you want to change one Metafield, you can have just this one column.
- You can also import, export and update Metafields for Products, Customers, Collections, Orders and other items.
- You can Delete, Create and Update different Metafields with the same import.
- Check out our detailed tutorial about managing Metafields.
- You can find more detailed information about displaying Metafields in Shopify tutorial about Metafield object – https://help.shopify.com/en/themes/liquid/objects/metafield.
- Matrixify app documentation about Metafield columns is here: metafields documentation.
- Have any questions or features you would like to see? Contact us now!


