
When you have a lot of products with multiple Variants it can be challenging to sort them by the price. With the Matrixify app, you can sort variants by Price or by any other field for that matter.
Let’s take a look at how it is done!
Steps in short
- Export Products with “Inventory / Variants”.
- Delete unnecessary columns.
- Sort the file by Handle and “Variant Price”.
- Fill “Variant Position” and delete “Variant Price” column.
- Save, import and enjoy!
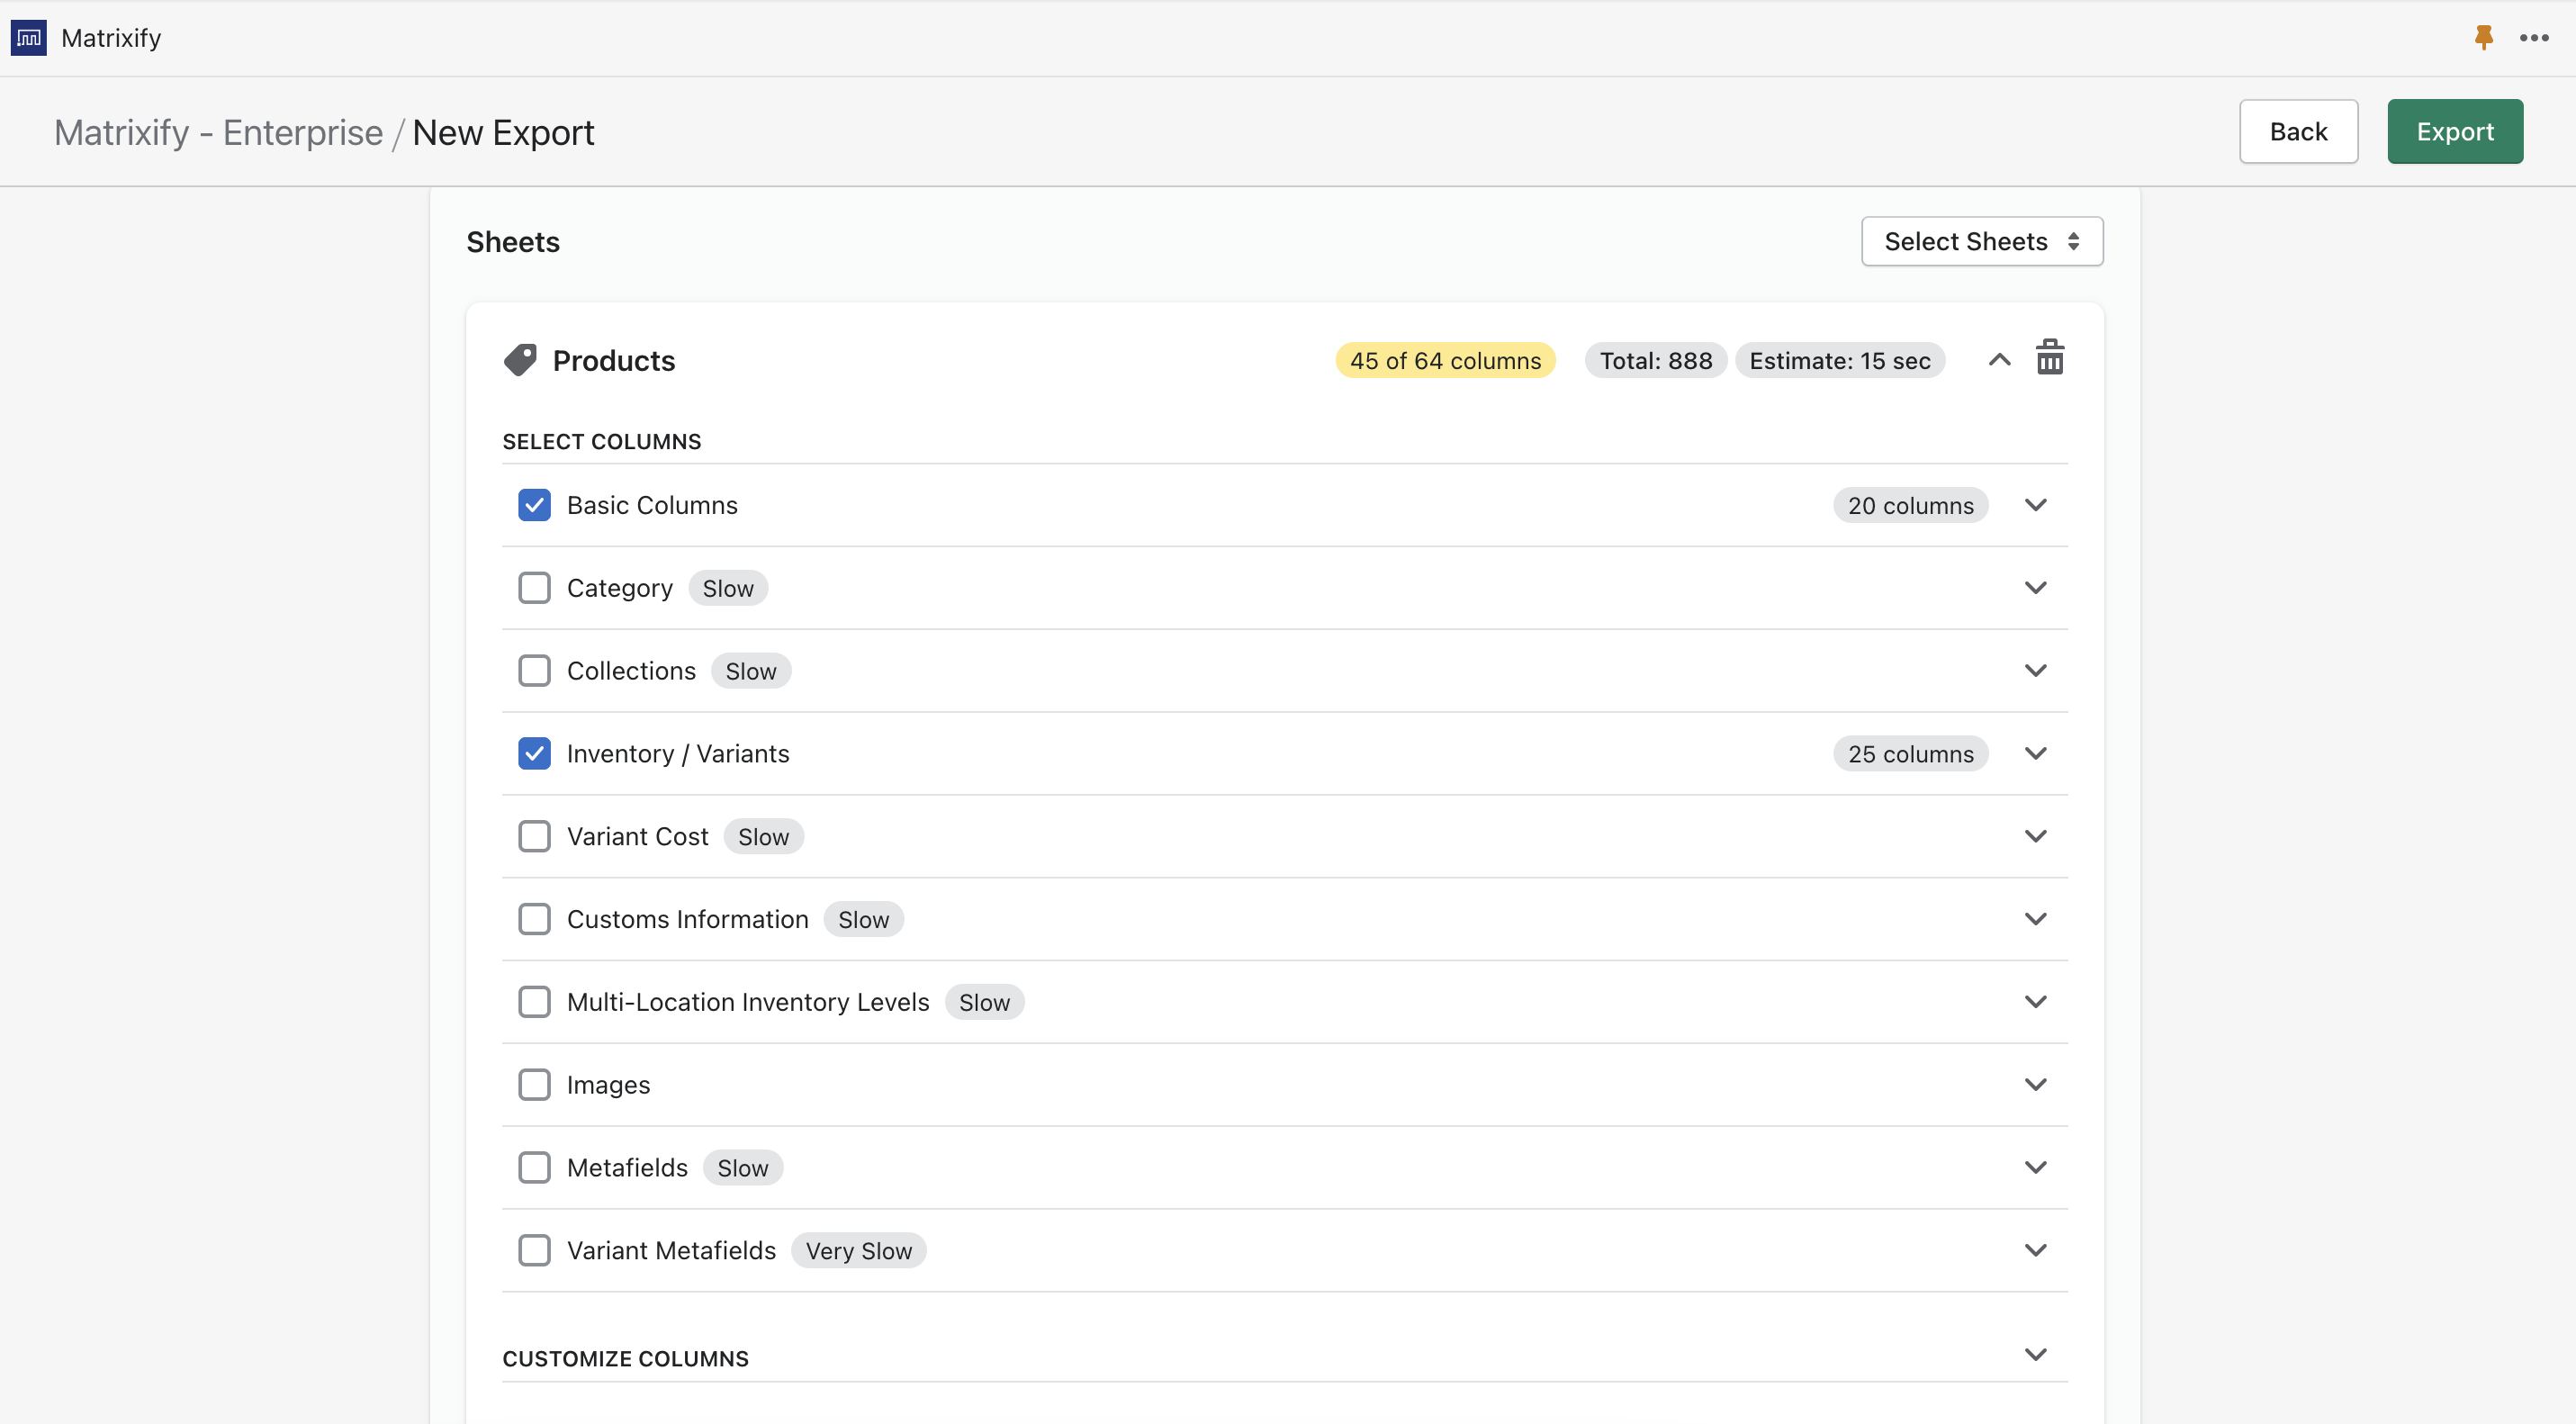
1. Export Products with “Inventory / Variants”
First, you will need to export your Products with the Matrixify app.
To do so you will need to go into the Matrixify app and in the Export section of the app, you will need to select the “Products” checkbox with only “Inventory / Variants” sub-checkbox.
Then select the export format “Matrixify: Excel” or “Matrixify: CSV”. We strongly suggest using the “Matrixify: Excel” file format if exported data will not exceed any of the known Excel limits.
You can also click on the “Filter” icon to apply filters so you export only Products you wish to update.
Press the “Export” button to start the export.
Once the export will be finished you can press on the “Download Exported File” button to download the file.
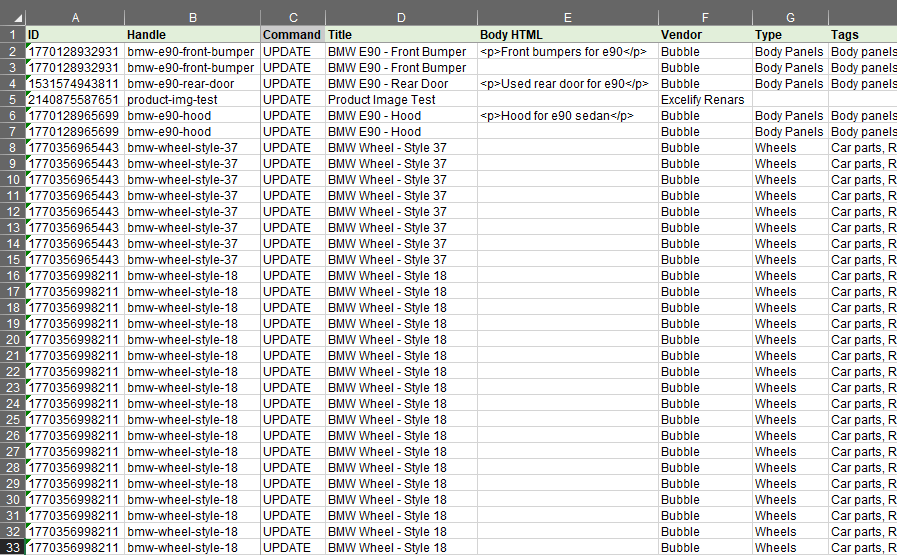
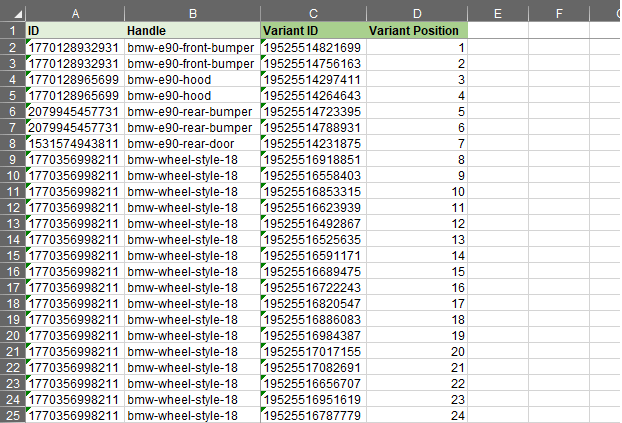
2. Delete unnecessary columns
Since in the exported file you have a lot of information that is not needed to sort Product Variants then we can delete columns that we do not wish to update.
To sort the products by the Price we only need the following columns:
- ID
- Handle
- Variant ID
- Variant Price
- Variant Position
Simply select all other columns, right click on one of them and select “Delete“ to completely delete it from the file.
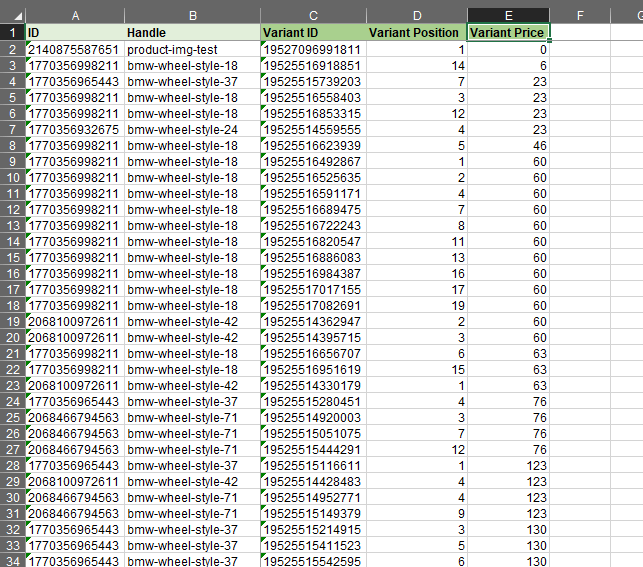
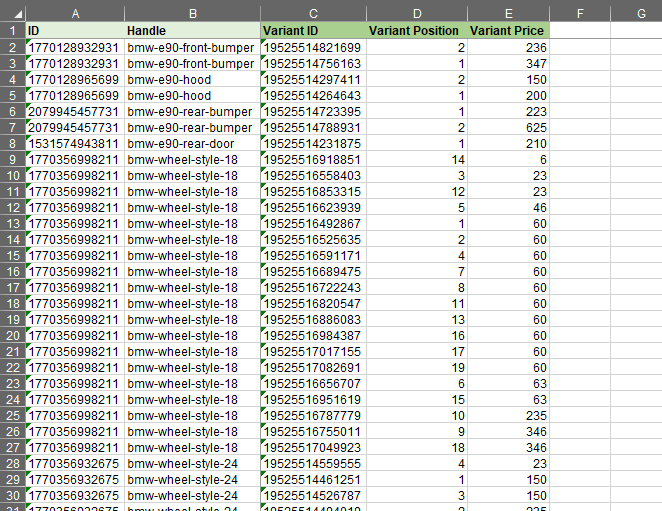
Before:
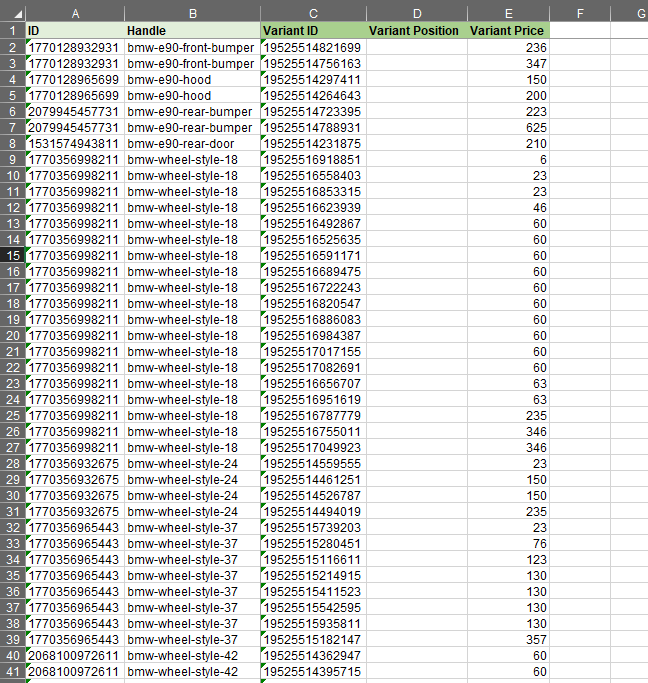
After:

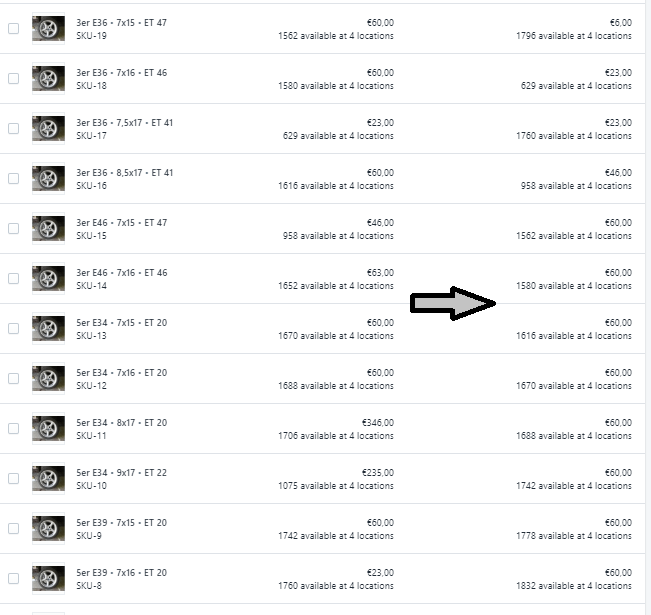
3. Sort the file by Handle and Variant Price
Next, you would need to achieve that in the file the Variants within each product are sorted by the price, so first, we right-click on the “Variant Price” column and press Sort -> Sort A – Z.
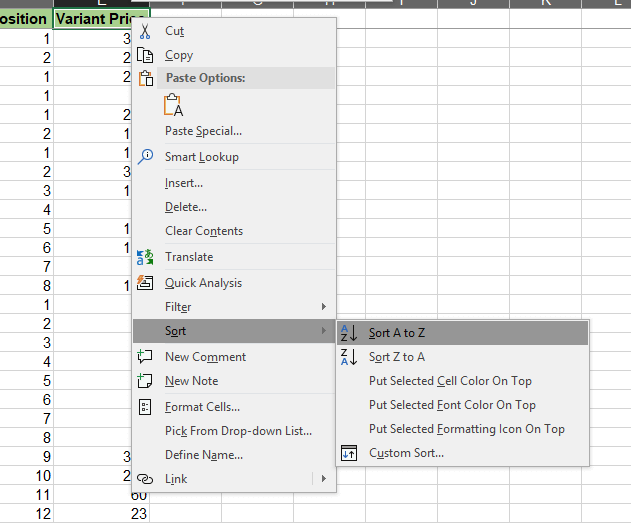
To tell the Matrixify app what rows are from the same Product we would need to make sure that all rows with the same “Handle” and “ID” are adjacent to each other. To do this we right-click on the “Handle” column and again press Sort -> Sort A – Z.
After that is done you should see that all rows from the same product are adjacent to one another and Variants within the product are sorted by the price.
4. Fill Variant Position and delete Variant Price column
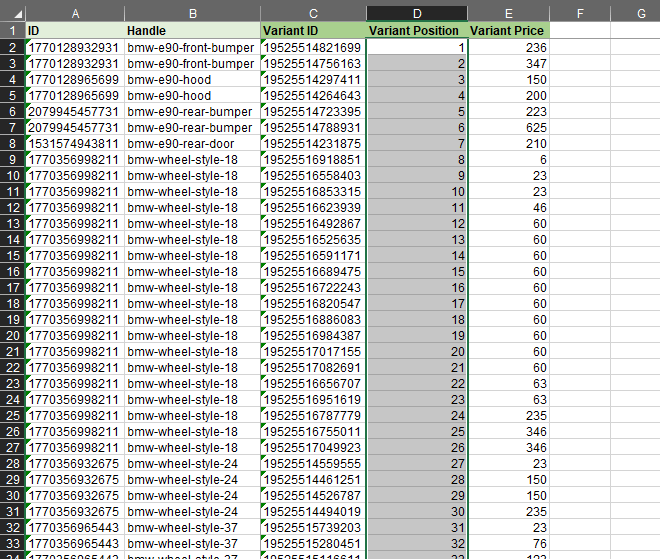
Now we see that values in the “Variant Position” column do not represent what we wish to achieve so we select the whole column except column header and press the delete button on the keyboard to empty the values from this column.
To tell the app that we wish to sort these Variants we need to fill the “Variant Position” column with values 1, 2, 3, etc. with a value in each row.
The easiest way to do this is by entering value 1 in the second row and 2 in the third row.
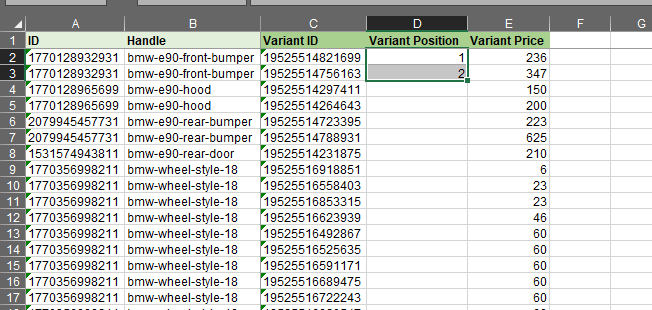
Then select both these cells and double-click the square in the bottom right corner of selected cells.
Now we can delete the “Variant Price” column as we do not wish to update, so we do not need to include it.
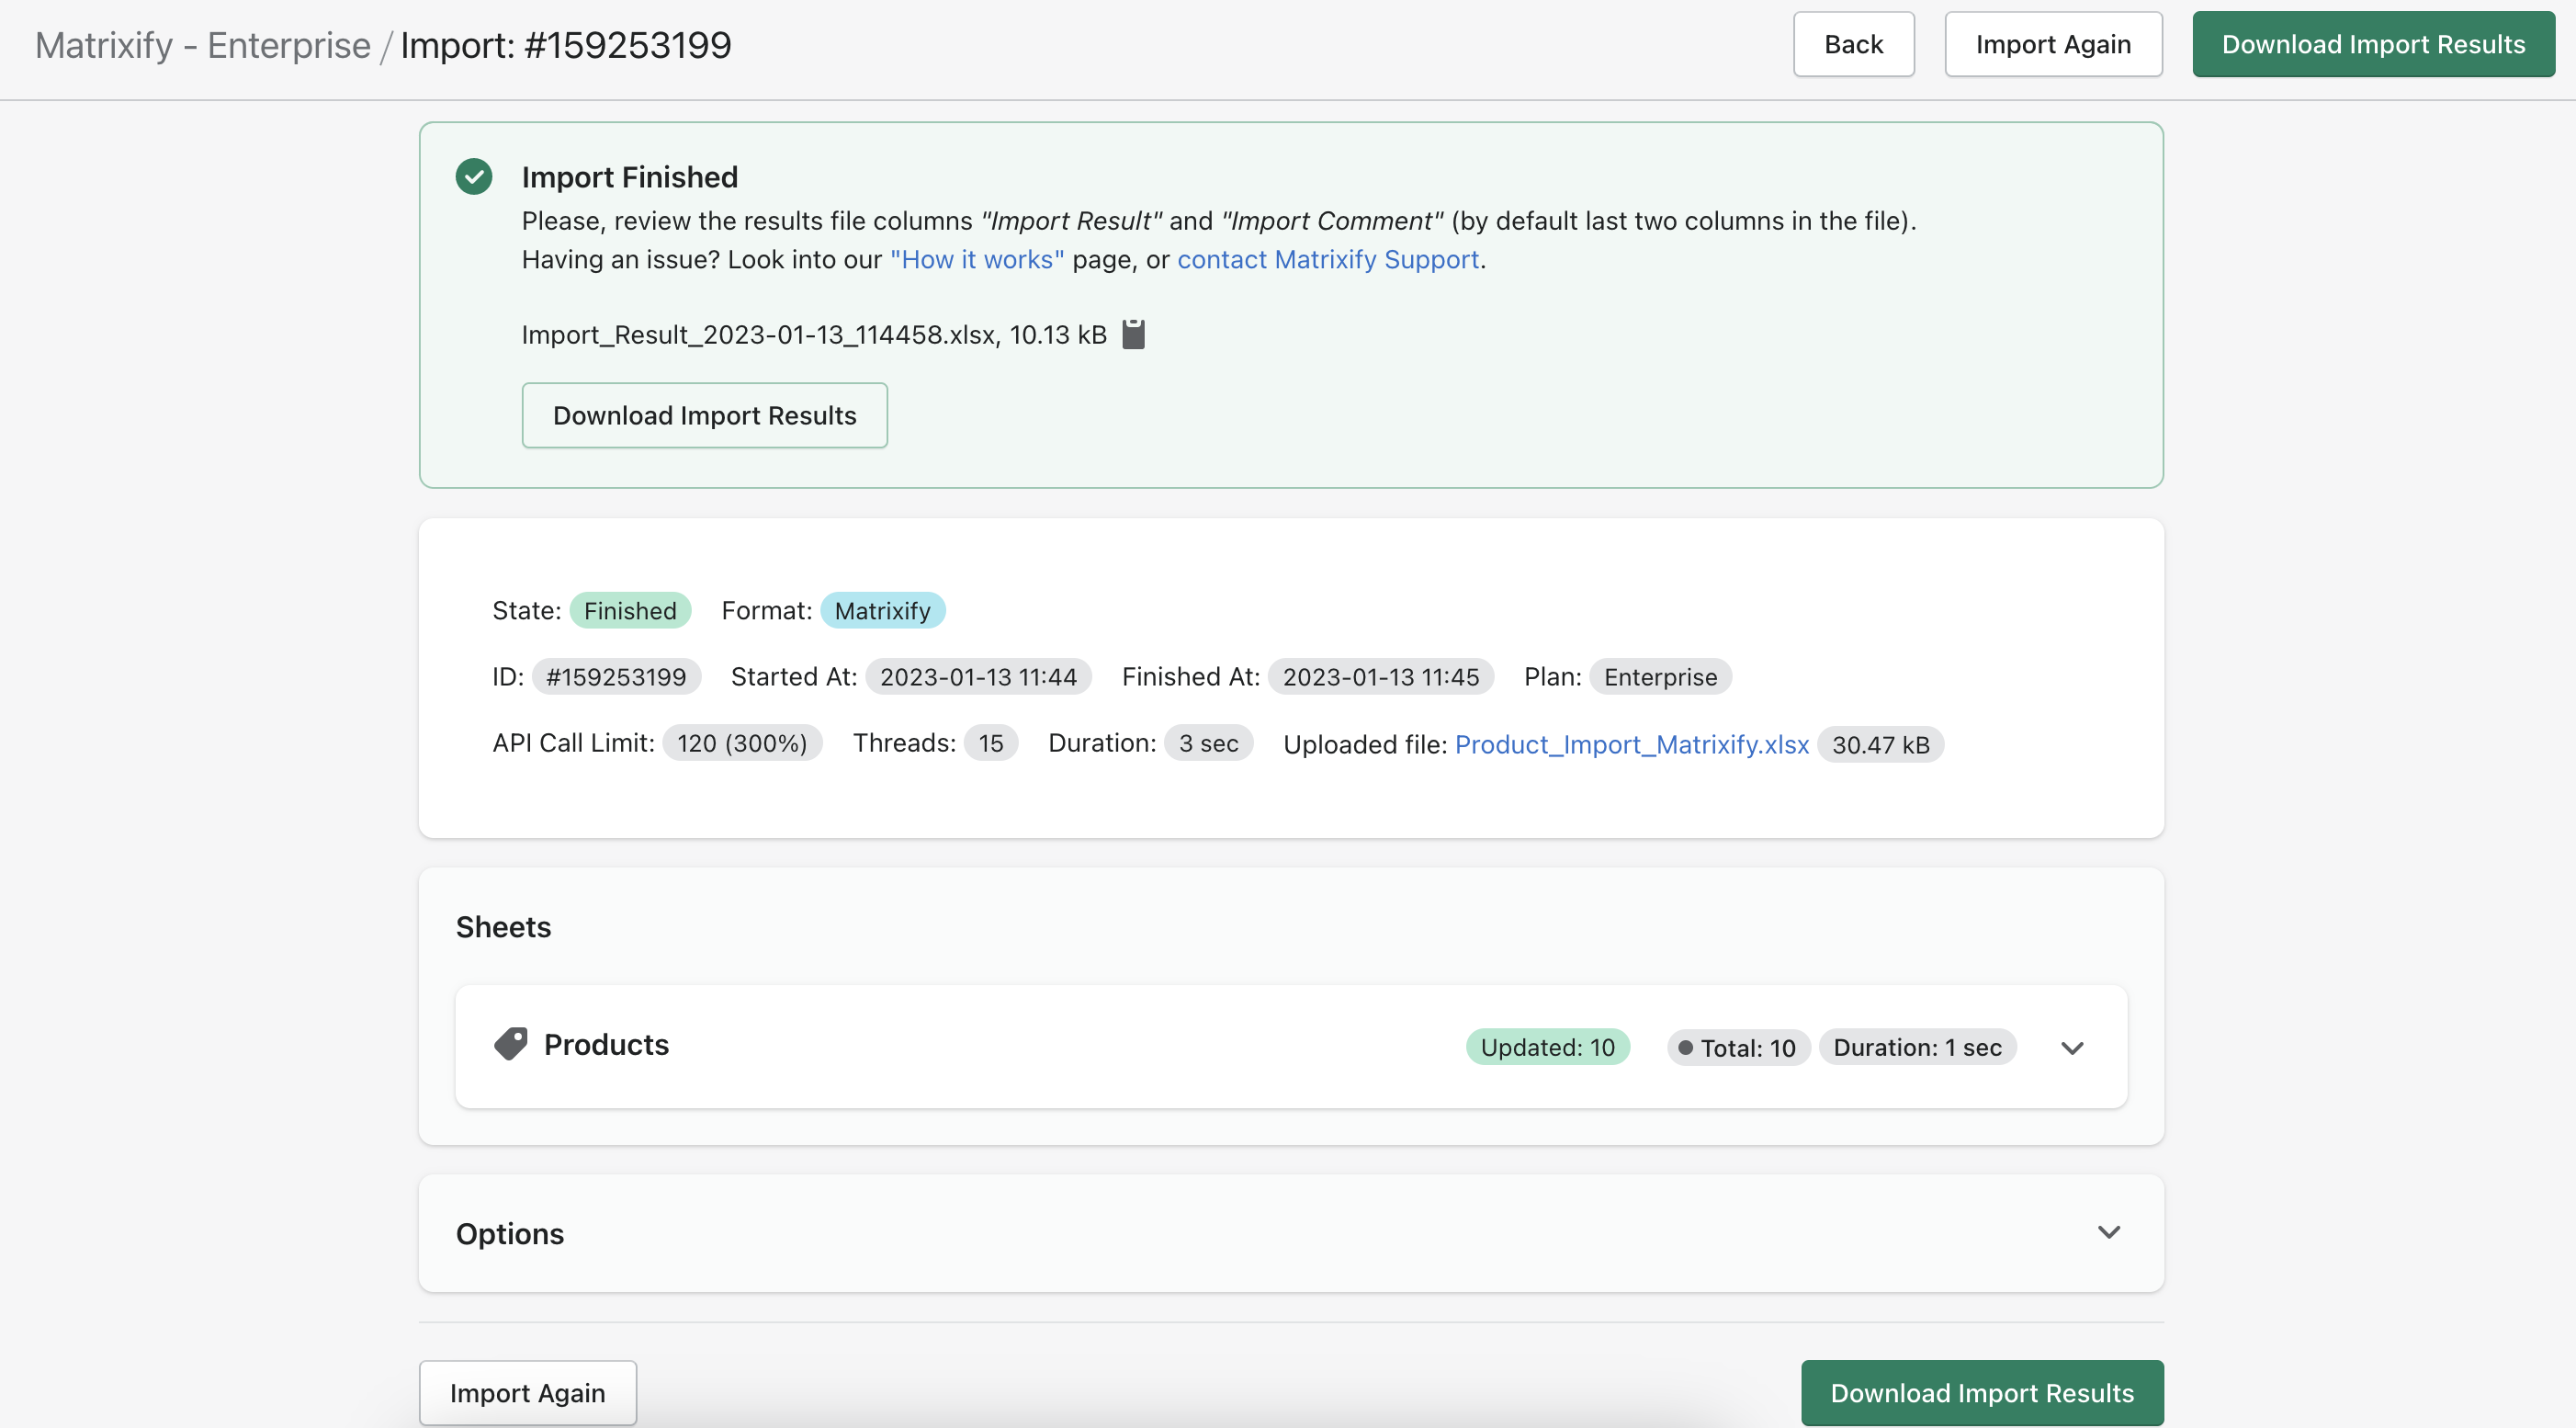
5. Save, import and enjoy!
Now the file with these 4 columns is exactly what we need to re-sort Shopify Product Variants.
You can save the file. Go back to the Matrixify app and upload the file in the Import section. The app will analyze the file and count how many Products you are importing.
Press the Import button to start the import.
If you see any Failed items, then after the import has finished, you can download the Import Results file and look into the “Import Comment” column. It will tell why particular Products have failed. Then you can fix that issue and re-import just those failed and fixed rows again.
What to do next?
- Install the Matrixify App.
- Check out the documentation for our Products sheet template.
- Check other related tutorials.
- Contact Matrixify support if you run into any issues or have additional questions.


