Shopify allows adding line items Shopify Orders, but doing this manually is a slow and tedious process – if you need to add line items for many Shopify Orders.
With Matrixify you can bulk add Line Items to your existing Shopify Orders quickly with just a few steps.
Steps, in short, to add line items to Orders
- Use Matrixify to export the Orders that you need to update.
- Remove unnecessary fields and add the required ones.
- Fill the columns in your file
- Import your edited file.
- Enjoy your updated Orders in bulk. ?
1. Export Shopify Orders
First, you would need to have basic data about the Orders that you wish to update.
As a minimum, this would be Shopify’s internal Order ID or Order Name.
You can construct a file manually if you have a list of Orders, but you can also use Matrixify to export specific Orders by applying filters to your export.
Create new export in Matrixify
Go into the Matrixify app and create a new export. Press the “Select Sheets” button and select to Export “Orders”.
Once you have done this, select “Basic Columns”.

Apply filters to your export
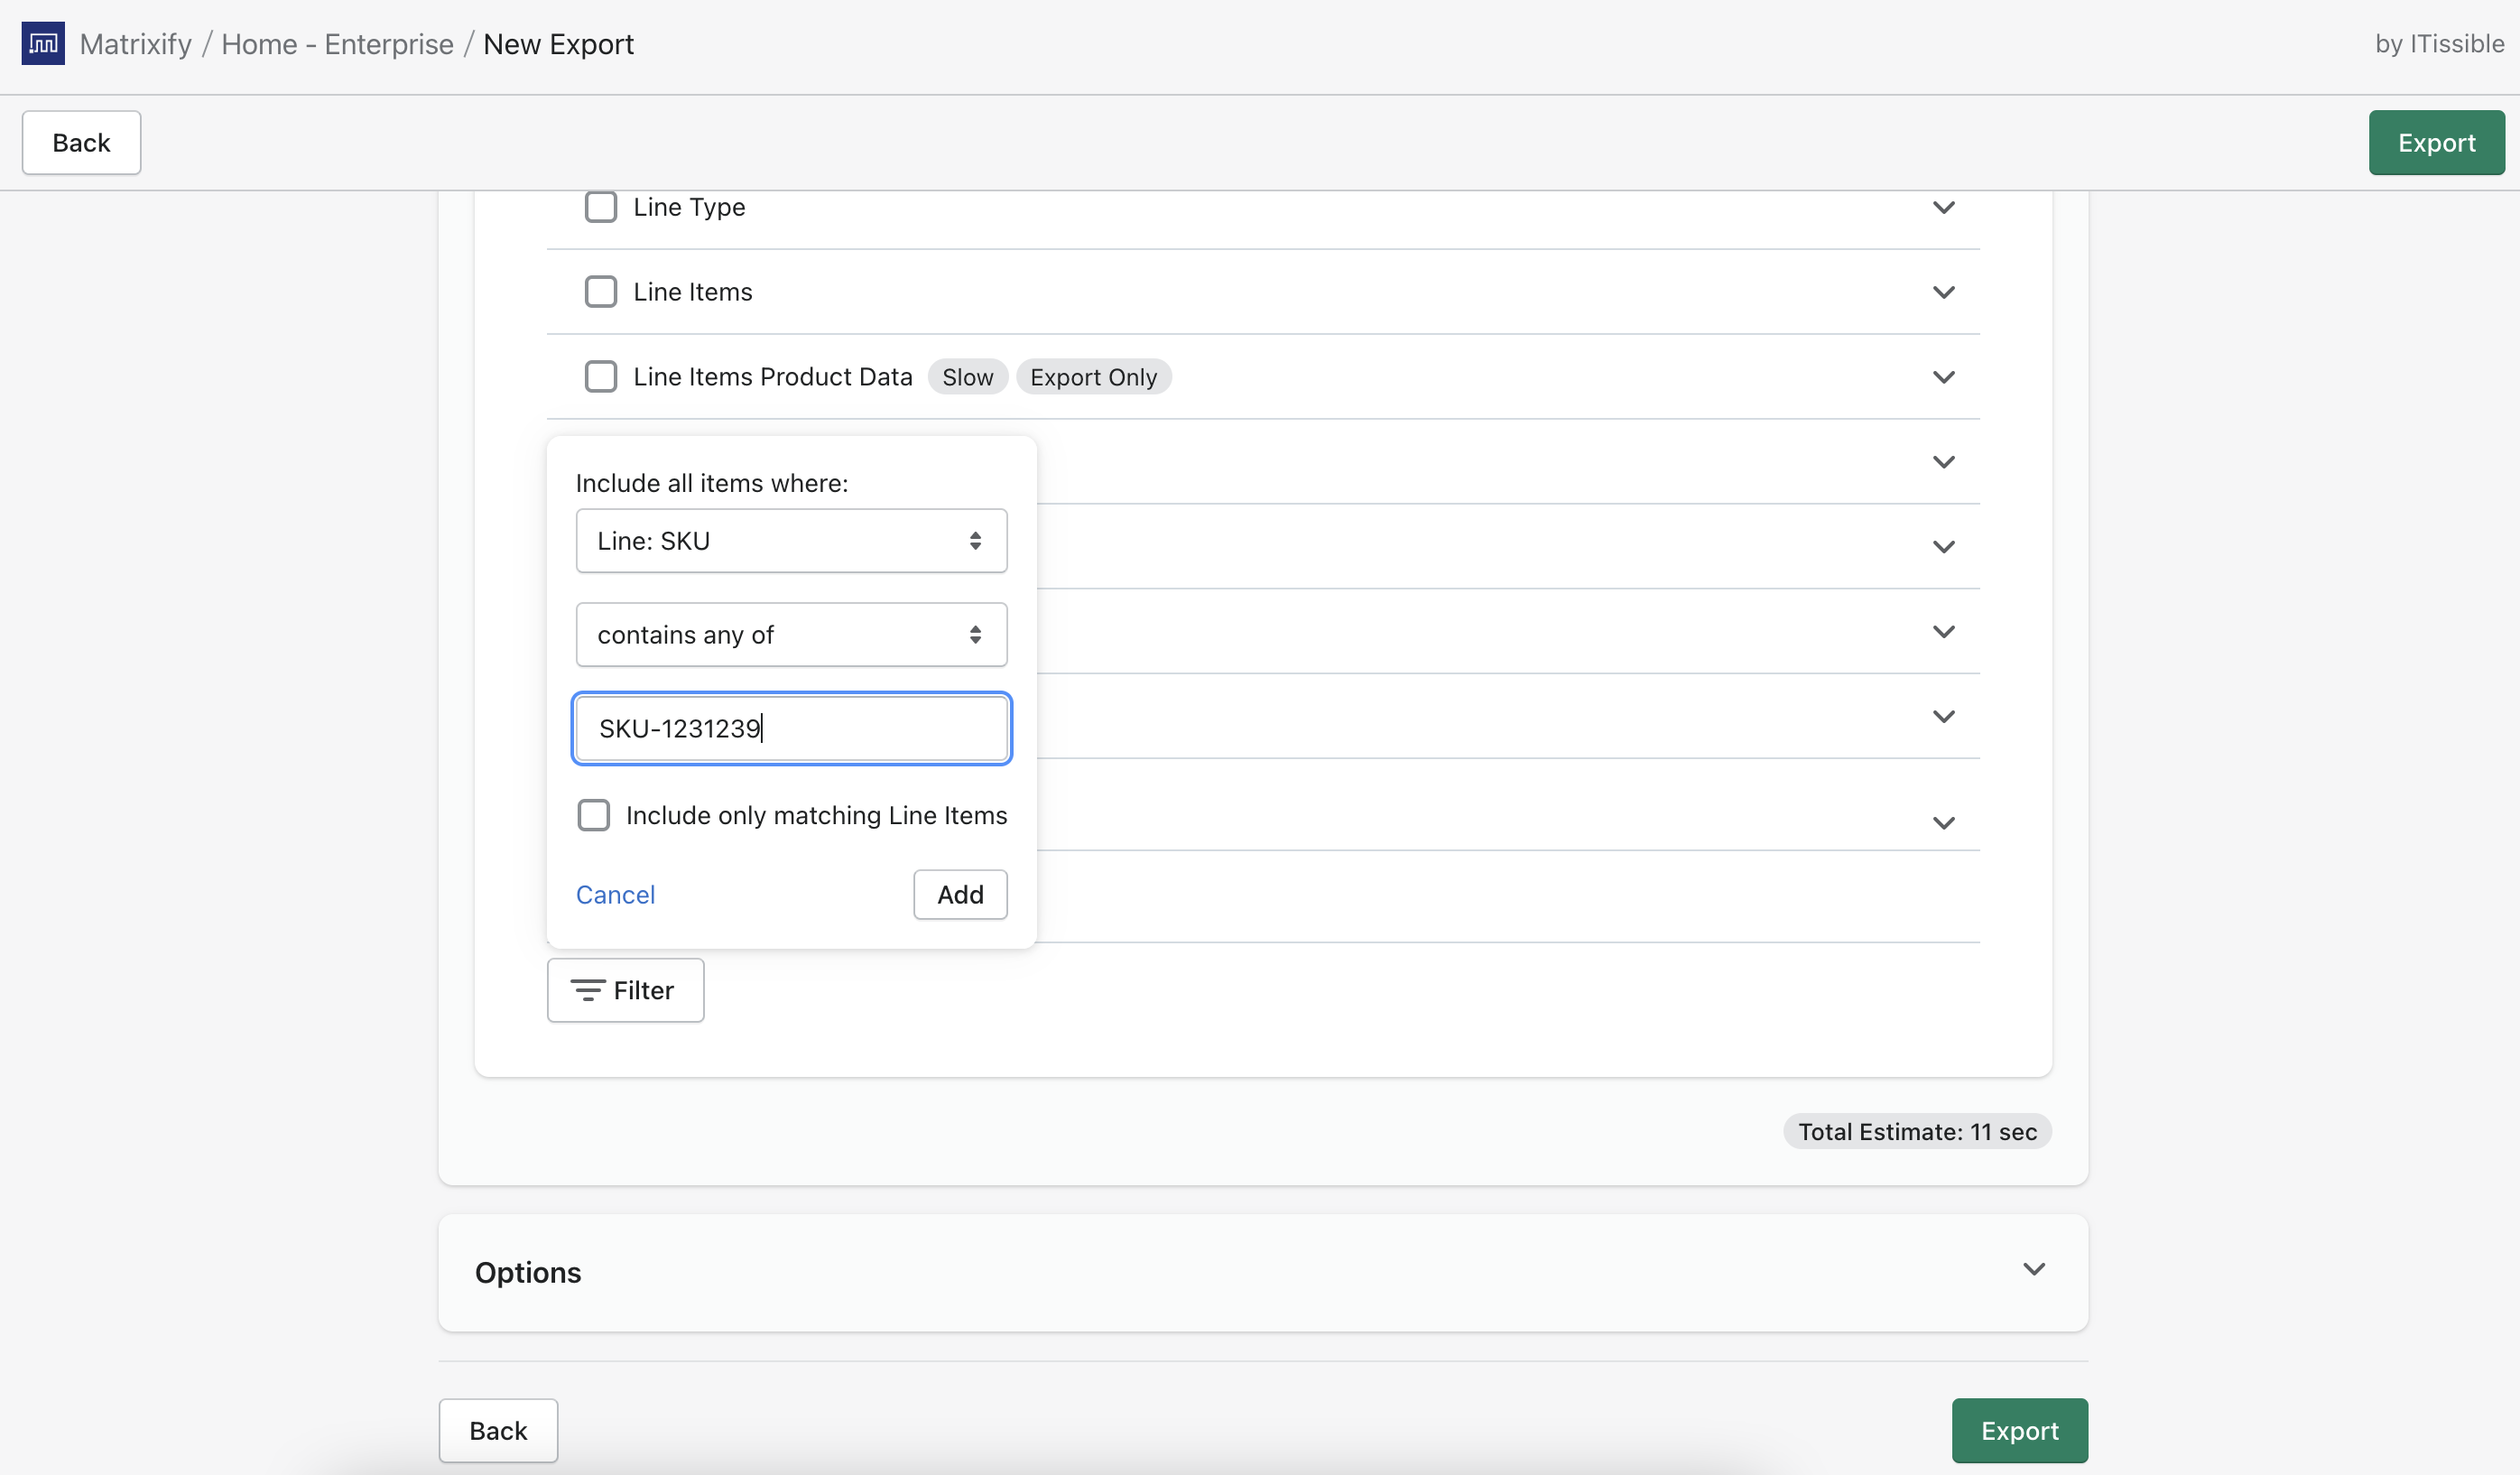
Click on the “Filters” button under the Orders to apply filters if needed.
There are many filters you can apply to the Orders export, see each of them explained in our Matrixify Export Filters documentation.
In this example, we will export all orders that contain line items with specific SKU and add another line item to these Orders, but you are free to apply any filters you need to the export.
Start the export
After this, you can click on the “Export” button to start the export.
You do not need to adjust any export options, default ones will work fine.
Wait for the export to finish and download the exported file.
You don’t have to keep the browser open while exports or imports are running, because everything happens on our servers. By default, you will receive an e-mail notification when the import or export finishes. Go into the app, find this job on the Home page or All Jobs page. Open that job and see its progress or download the file if the export is finished.
2. Remove unnecessary fields and add the required ones
Now you have a file with the Orders that you need to update.
There is some preparation needed for the file so let us dig into that.
Remove columns
From the exported file you only need the following fields:
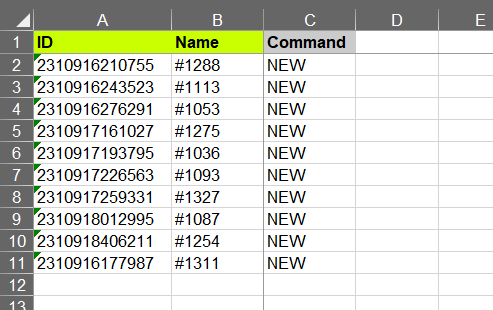
You can also choose those fields under the “Advanced” tab of the Export window before exporting and export only those.
Add additional fields
In addition to the columns above you require a few fields that you can manually add to the file:
Fields to link Line Item to existing Product
Shopify Line items can be custom line items that are not linked to a product in your store or linked line items that have a connection with the existing products in your store.
To link Line Items to existing Product you need to add fields by which the app will identify a product to link to the line item – if you want to link the Line Item to the Product.
There are multiple field configurations that you can use to identify the product to add line items.
You need to identify products and if the product has multiple variants then also the variant.
Identify Product by:
Identify Variant by:
You can also use only Variant level identification. So you can add line items only by having Line: SKU, Line: Variant Barcode or Line: Variant ID.
In this example, we will use only SKU to add Line Items.

Fields to add Custom Line Item to Order
If you wish to add a Custom Line Item that is not linked to a Product in your store you will need the following columns:
You can also have identification columns, “Line: SKU” and “Line: Product Handle”.
If the app will not be able to find an existing line item to add by this SKU and/or Product Handle, then the Line Item will be added as a Custom Line Item.
3. Fill the columns in your file
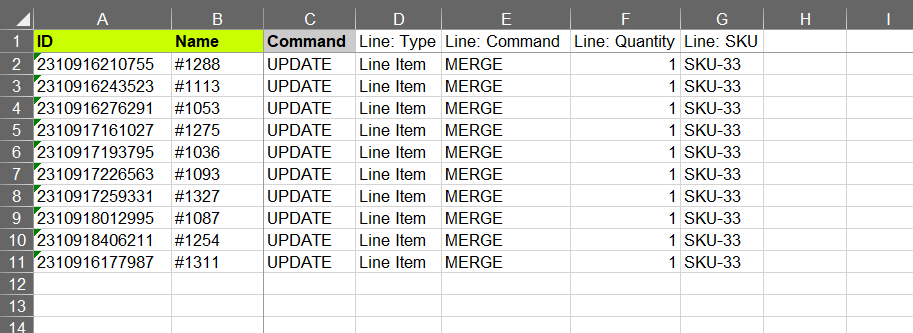
As we are updating the Order – we need to set the “Command” column to the value “UPDATE” in all rows.
Then edit the added columns:
- “Line: Type” – set the value to “Line Item” in all rows
- “Line: Command” – set the value to “MERGE” in all rows
- “Line: Quantity” – set the amount of how much of this line item you will need to add to the order
Then fill your Product/Variant identification column/s with values so that the app can find the existing products and link line items to those.
Save the file and let’s head back to the Matrixify app for an import.
4. Import your edited file
Now go back into the Matrixify app and in the Home page Import section you can upload the file.
First, the file will be analyzed by the app.
Once the data is analyzed, make sure that the app detects your import as “Orders” and that the order count in the file looks correct.
You do not need to adjust any Import Options, default ones will work fine.
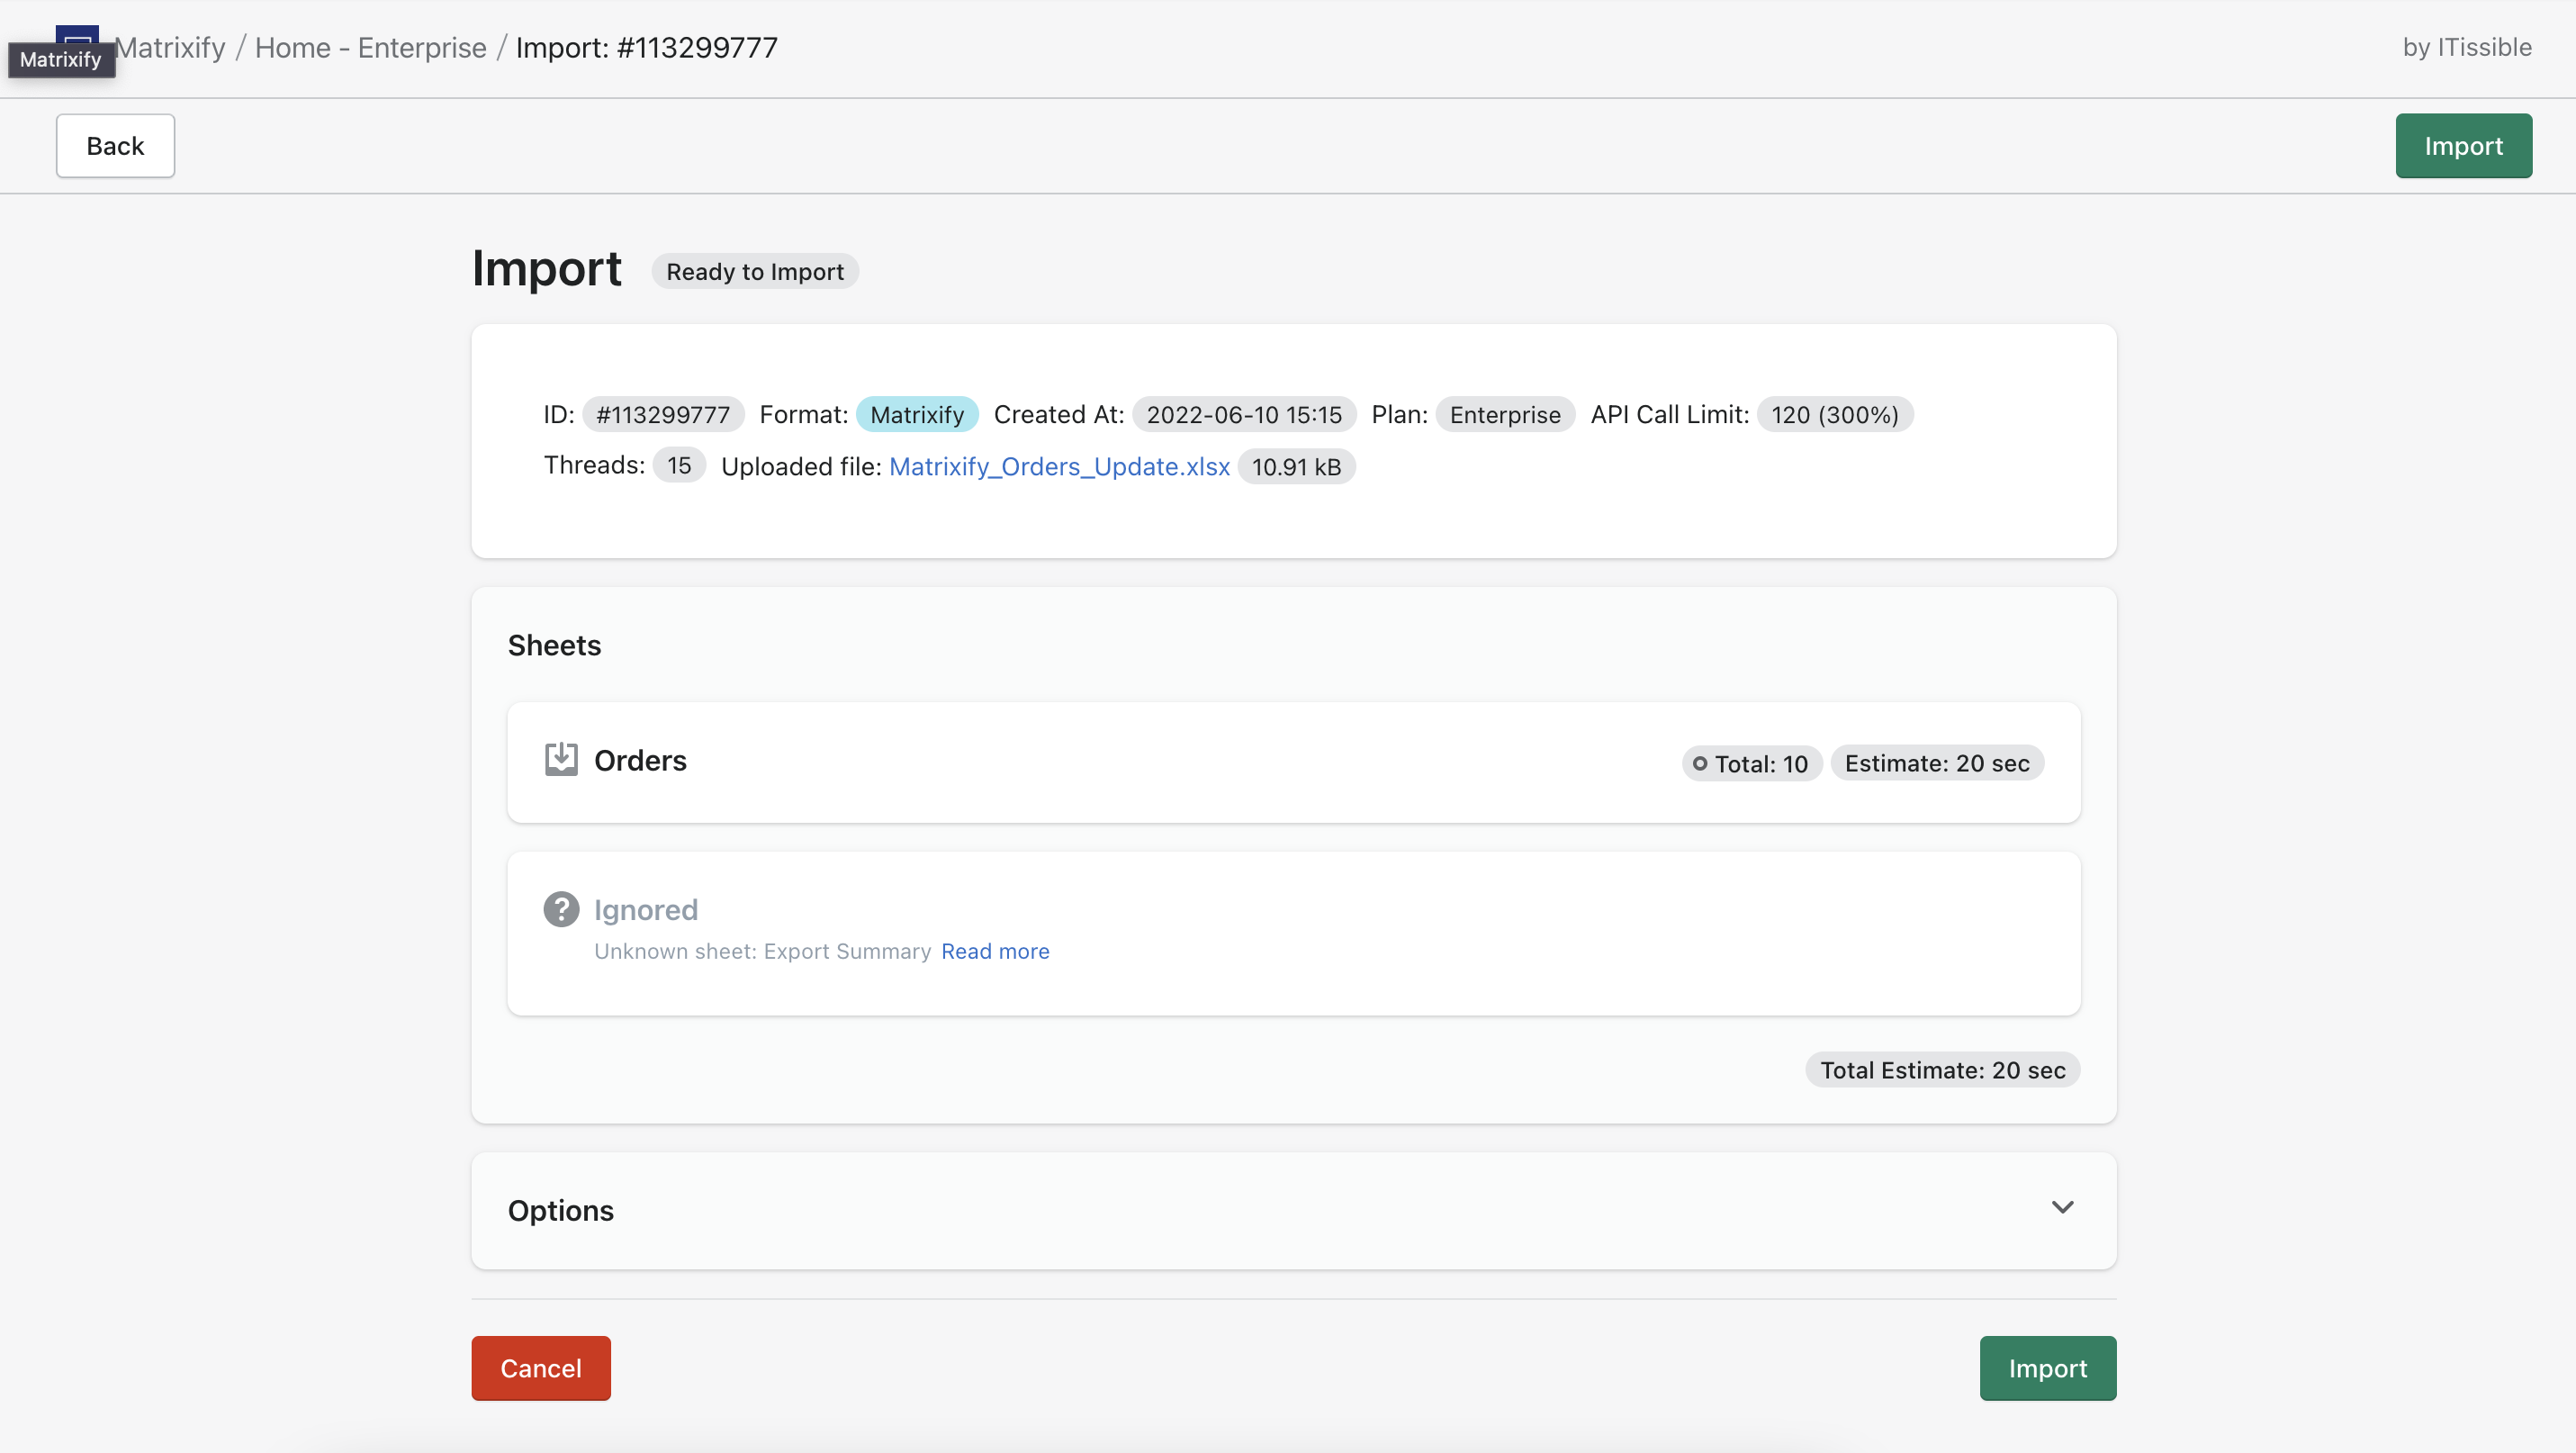
To start the import press the “Import” button at the top or bottom of the page.
Once the import is started, you can follow its progress in the app.
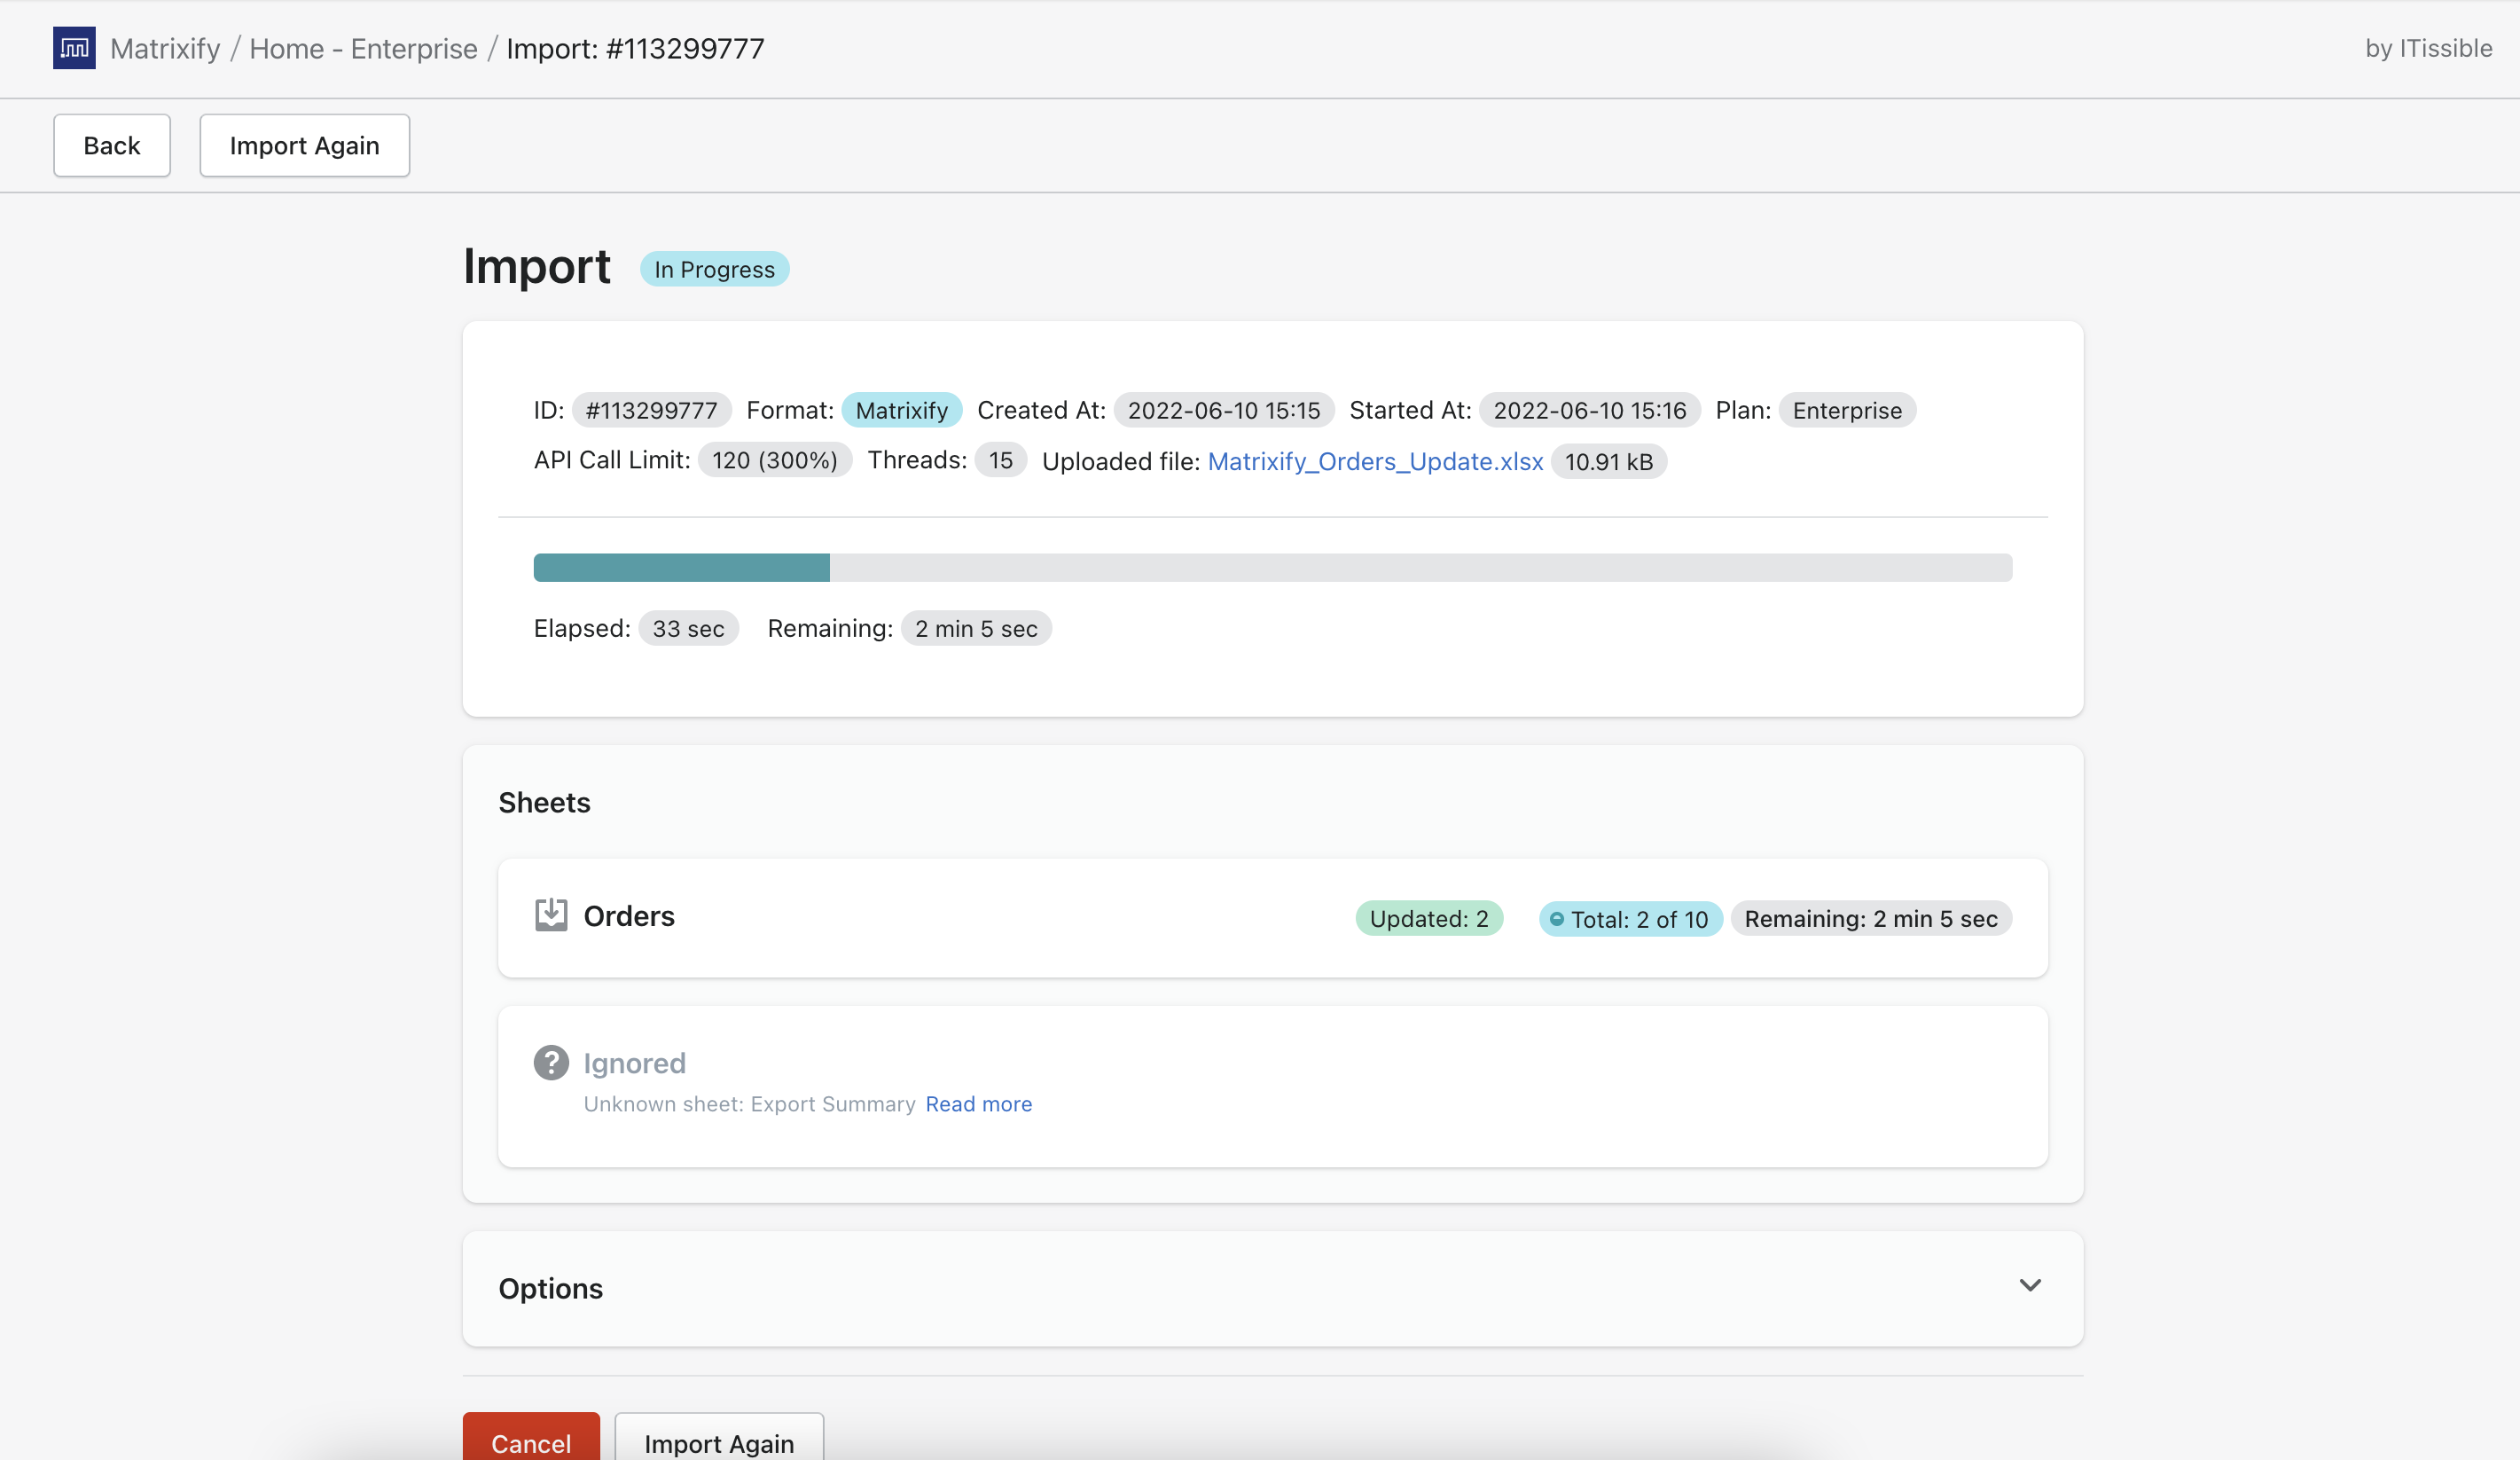
By default, the Shopify store owner will receive a notification e-mail when the manual import job finishes.
If you change your mind about something, you can press the “Cancel” button to cancel the import job, and start over. Thus far imported Orders will still be on your Shopify store. Also, when canceling the import job, Matrixify will still generate the Import Results file for you for the items that were imported before canceling.
5. Enjoy your updated Orders in bulk ?
Once the import is finished, you will see the job status as “Finished” in the Matrixify app.
If you see any Failed items, then after the import has finished, you can download the Import Results file and look to the “Import Comment” column. It will tell why the particular Order failed. Then you can fix that issue and re-import just the orders that failed with the fixed rows again.
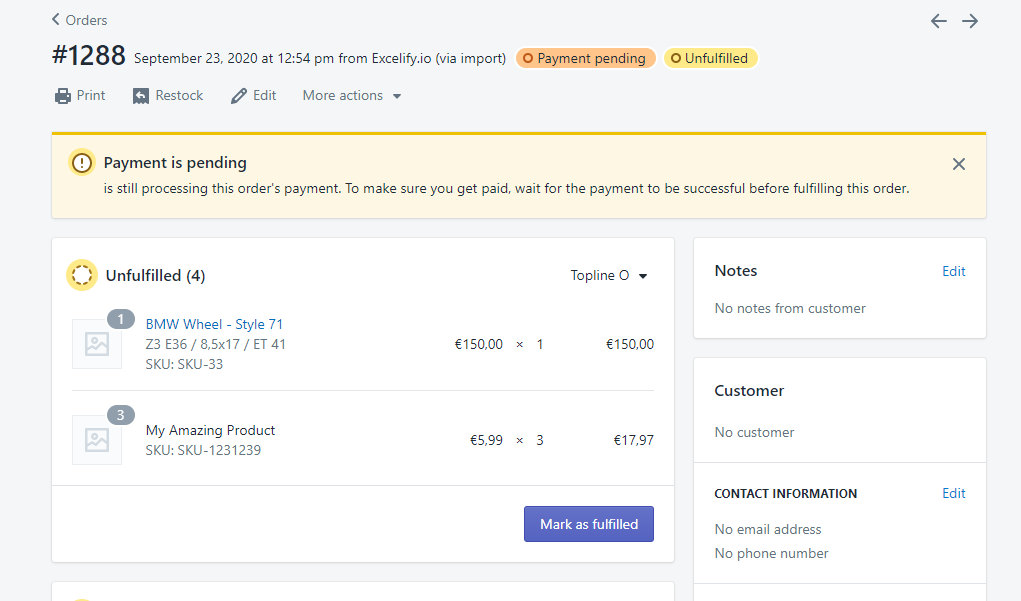
You can go into your Shopify Admin -> Orders section and check your added line items to Shopify Orders.