
Learn how to bulk update your Shopify Product Category in a few simple steps using Matrixify import!

Steps in short to bulk update Shopify Product Category
- Export Products with Basic Columns and Category.
- Update data in the exported file.
- Remove columns you do not need for the import.
- Import your file to bulk update Shopify Products Category.
1. Export Shopify Product Category
First, go into the Matrixify app in your Shopify store and create new export by clicking the “New Export” button.
Select the export format as Matrixify: Excel. Then the app will be able to export data to Excel XLSX file which is a lot more user-friendly than the CSV files.
If you need to export to a CSV file, you can instead select the export format Matrixify: CSV.
Then select what data to export.
To update only the Shopify Product Category for your Products, you need to select to export Products with Basic Columns and Category.

You do not need to select any other checkboxes or export options. The default ones will work just fine here.
If you need to bulk update the Shopify Product Category only for specific Products not all, then click on the “Filters” button under Products where you can apply various filters to limit what Products are exported.
Start the export by pressing the “Export” button at the top or bottom of the page.
Wait for the export to finish and download the file by pressing the “Download Exported File” button.
2. Update Shopify Product Category columns in the exported file
Now that you have the file, open it and see how it looks.
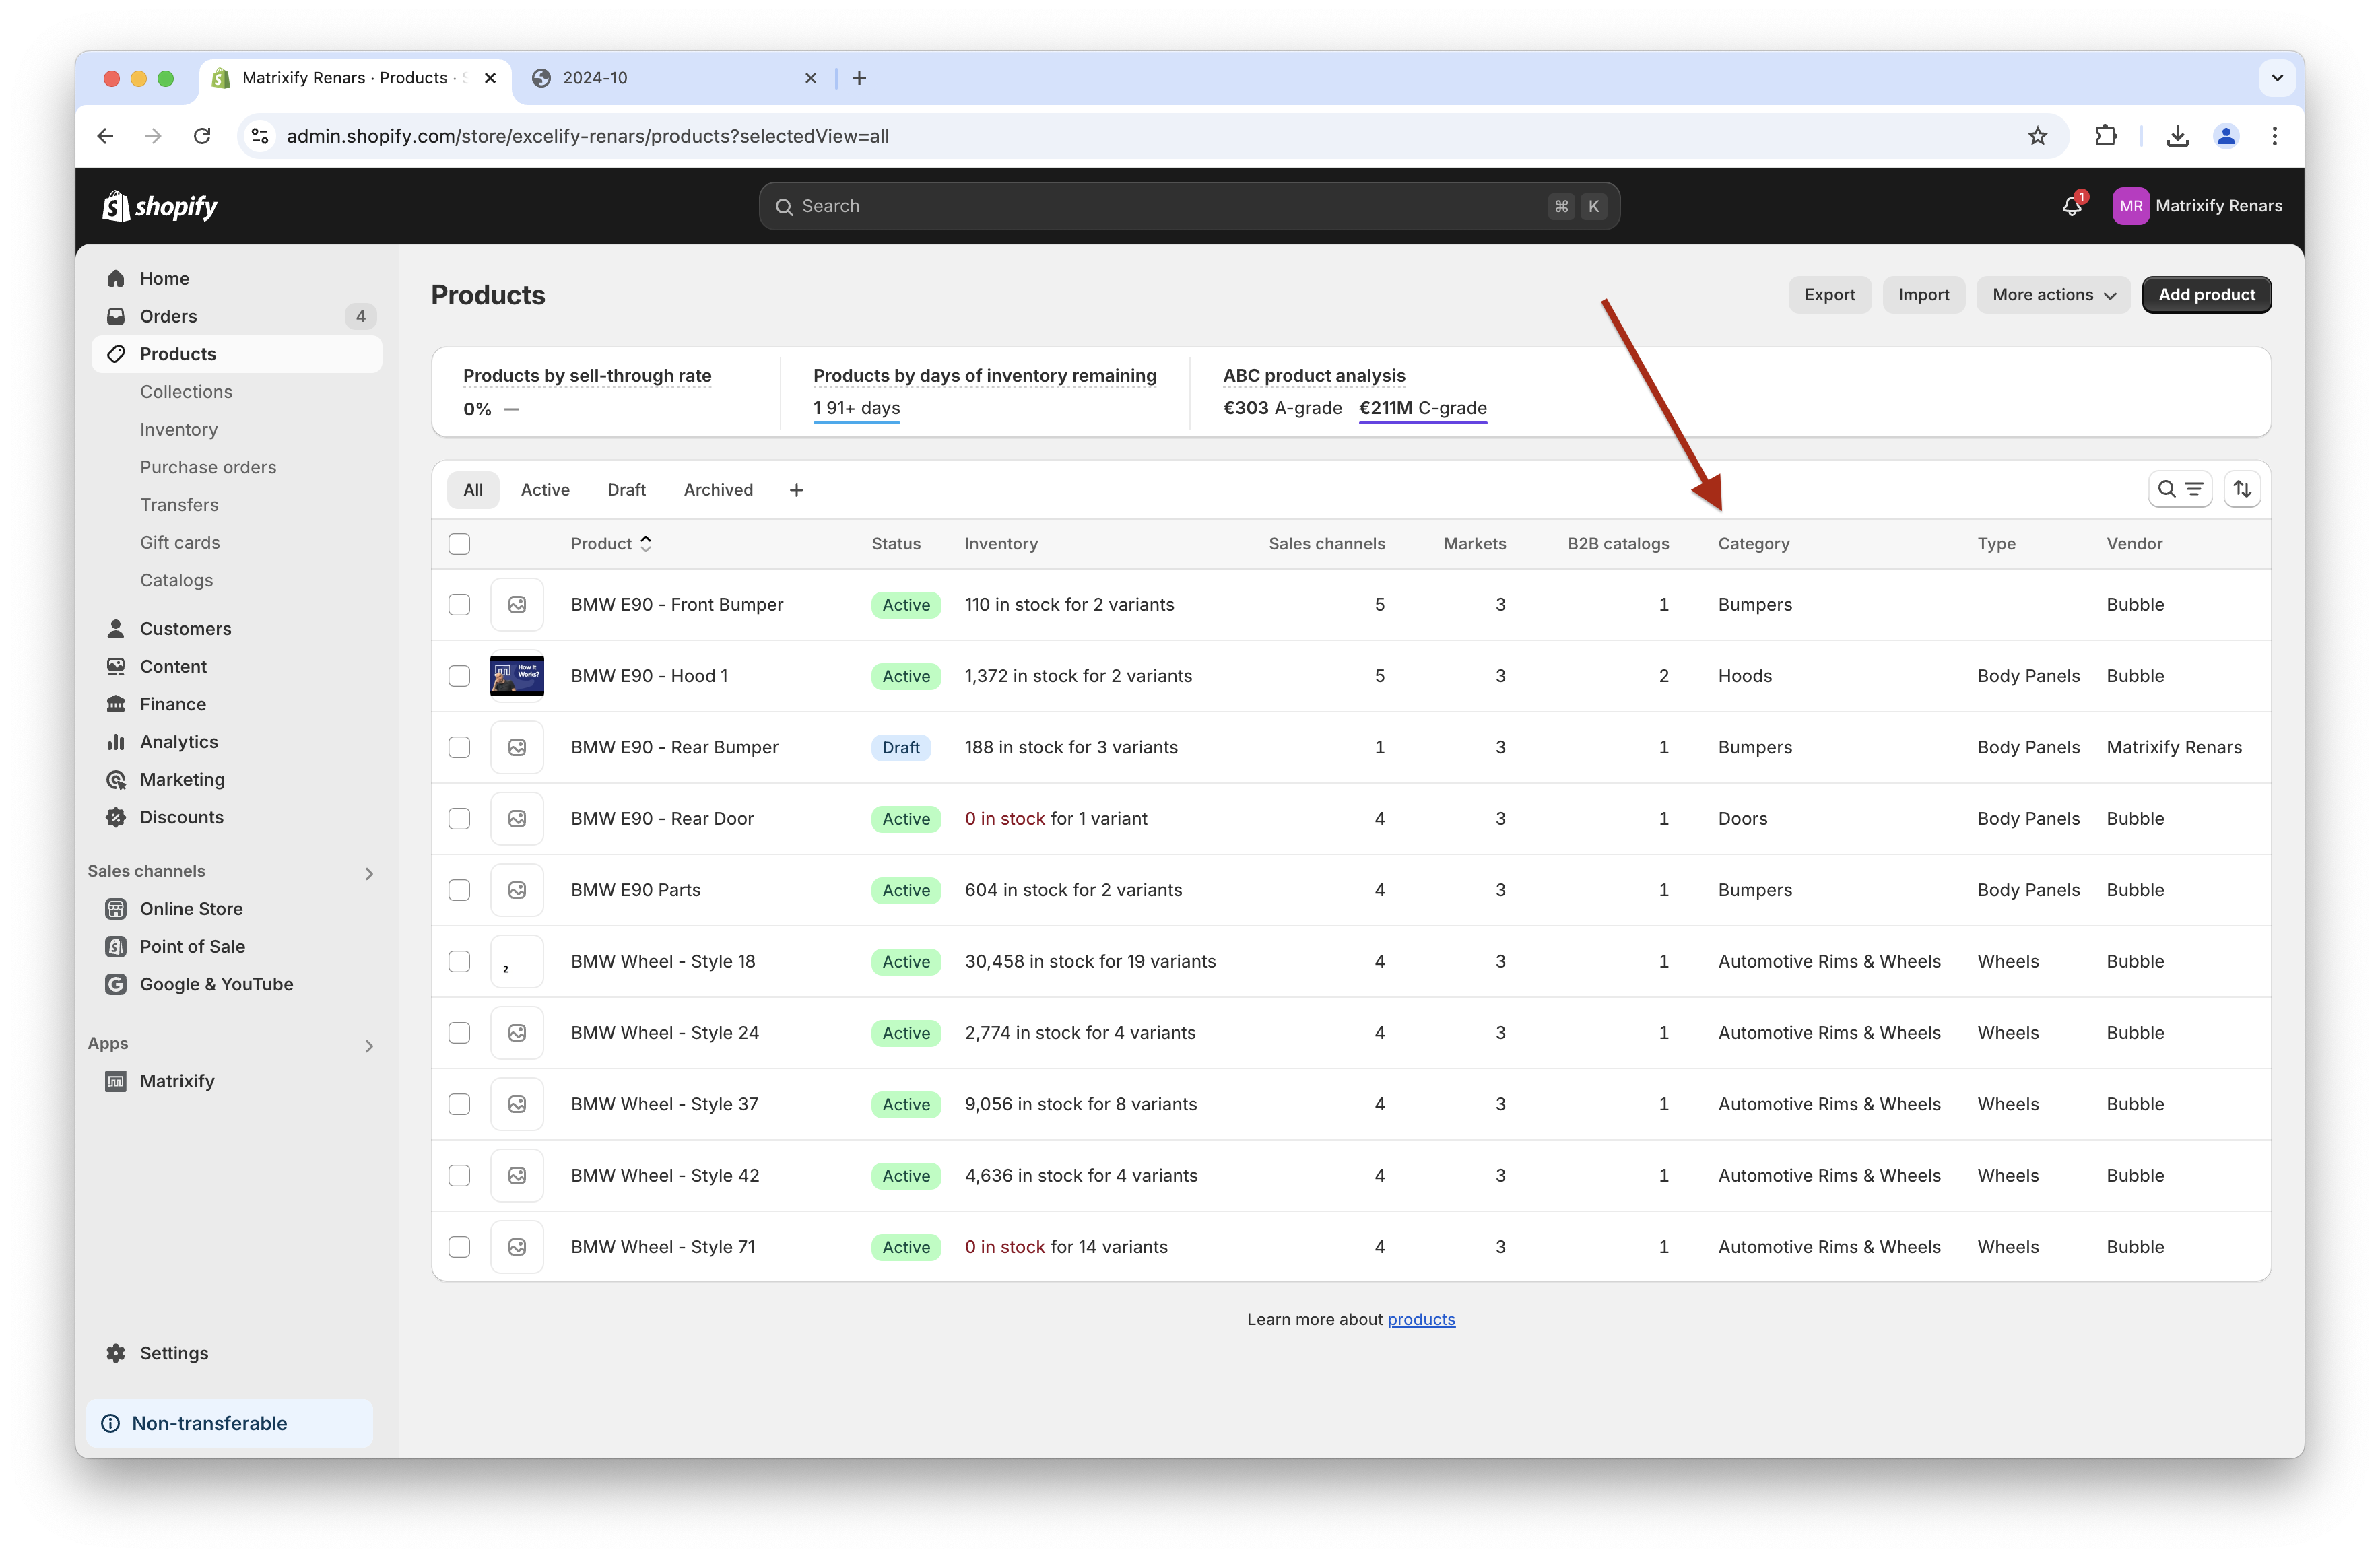
You should have one row per product and in the columns Category: ID, Category: Name and Category you can see each products Category.
If those columns are empty, then this product does not have a Category set in Shopify yet.
Now, let’s dig into what those exported columns actually mean!
- Category: ID – this column is the Shopify internal Category Taxonomy ID for the Category.
- Category: Name – in this column, you can see the actual Category as you see it in the Shopify Admin. Last category is from the full path. This can be useful if you need to use the Category in reporting.
- Category – here you see the full path of the Product Category.

Now you can update values in those columns from the Shopify Product Taxonomy list to change/update Category for your Products.
You can use either of the 3 Category columns, but the simplest way to do this is using only the Category column. As it provides unique identification via the breadcrumb as well as is more user-friendly and readable than IDs.
Locate your needed category in the Shopify Product Category taxonomy page and see the Breadcrumb value for your needed Category:
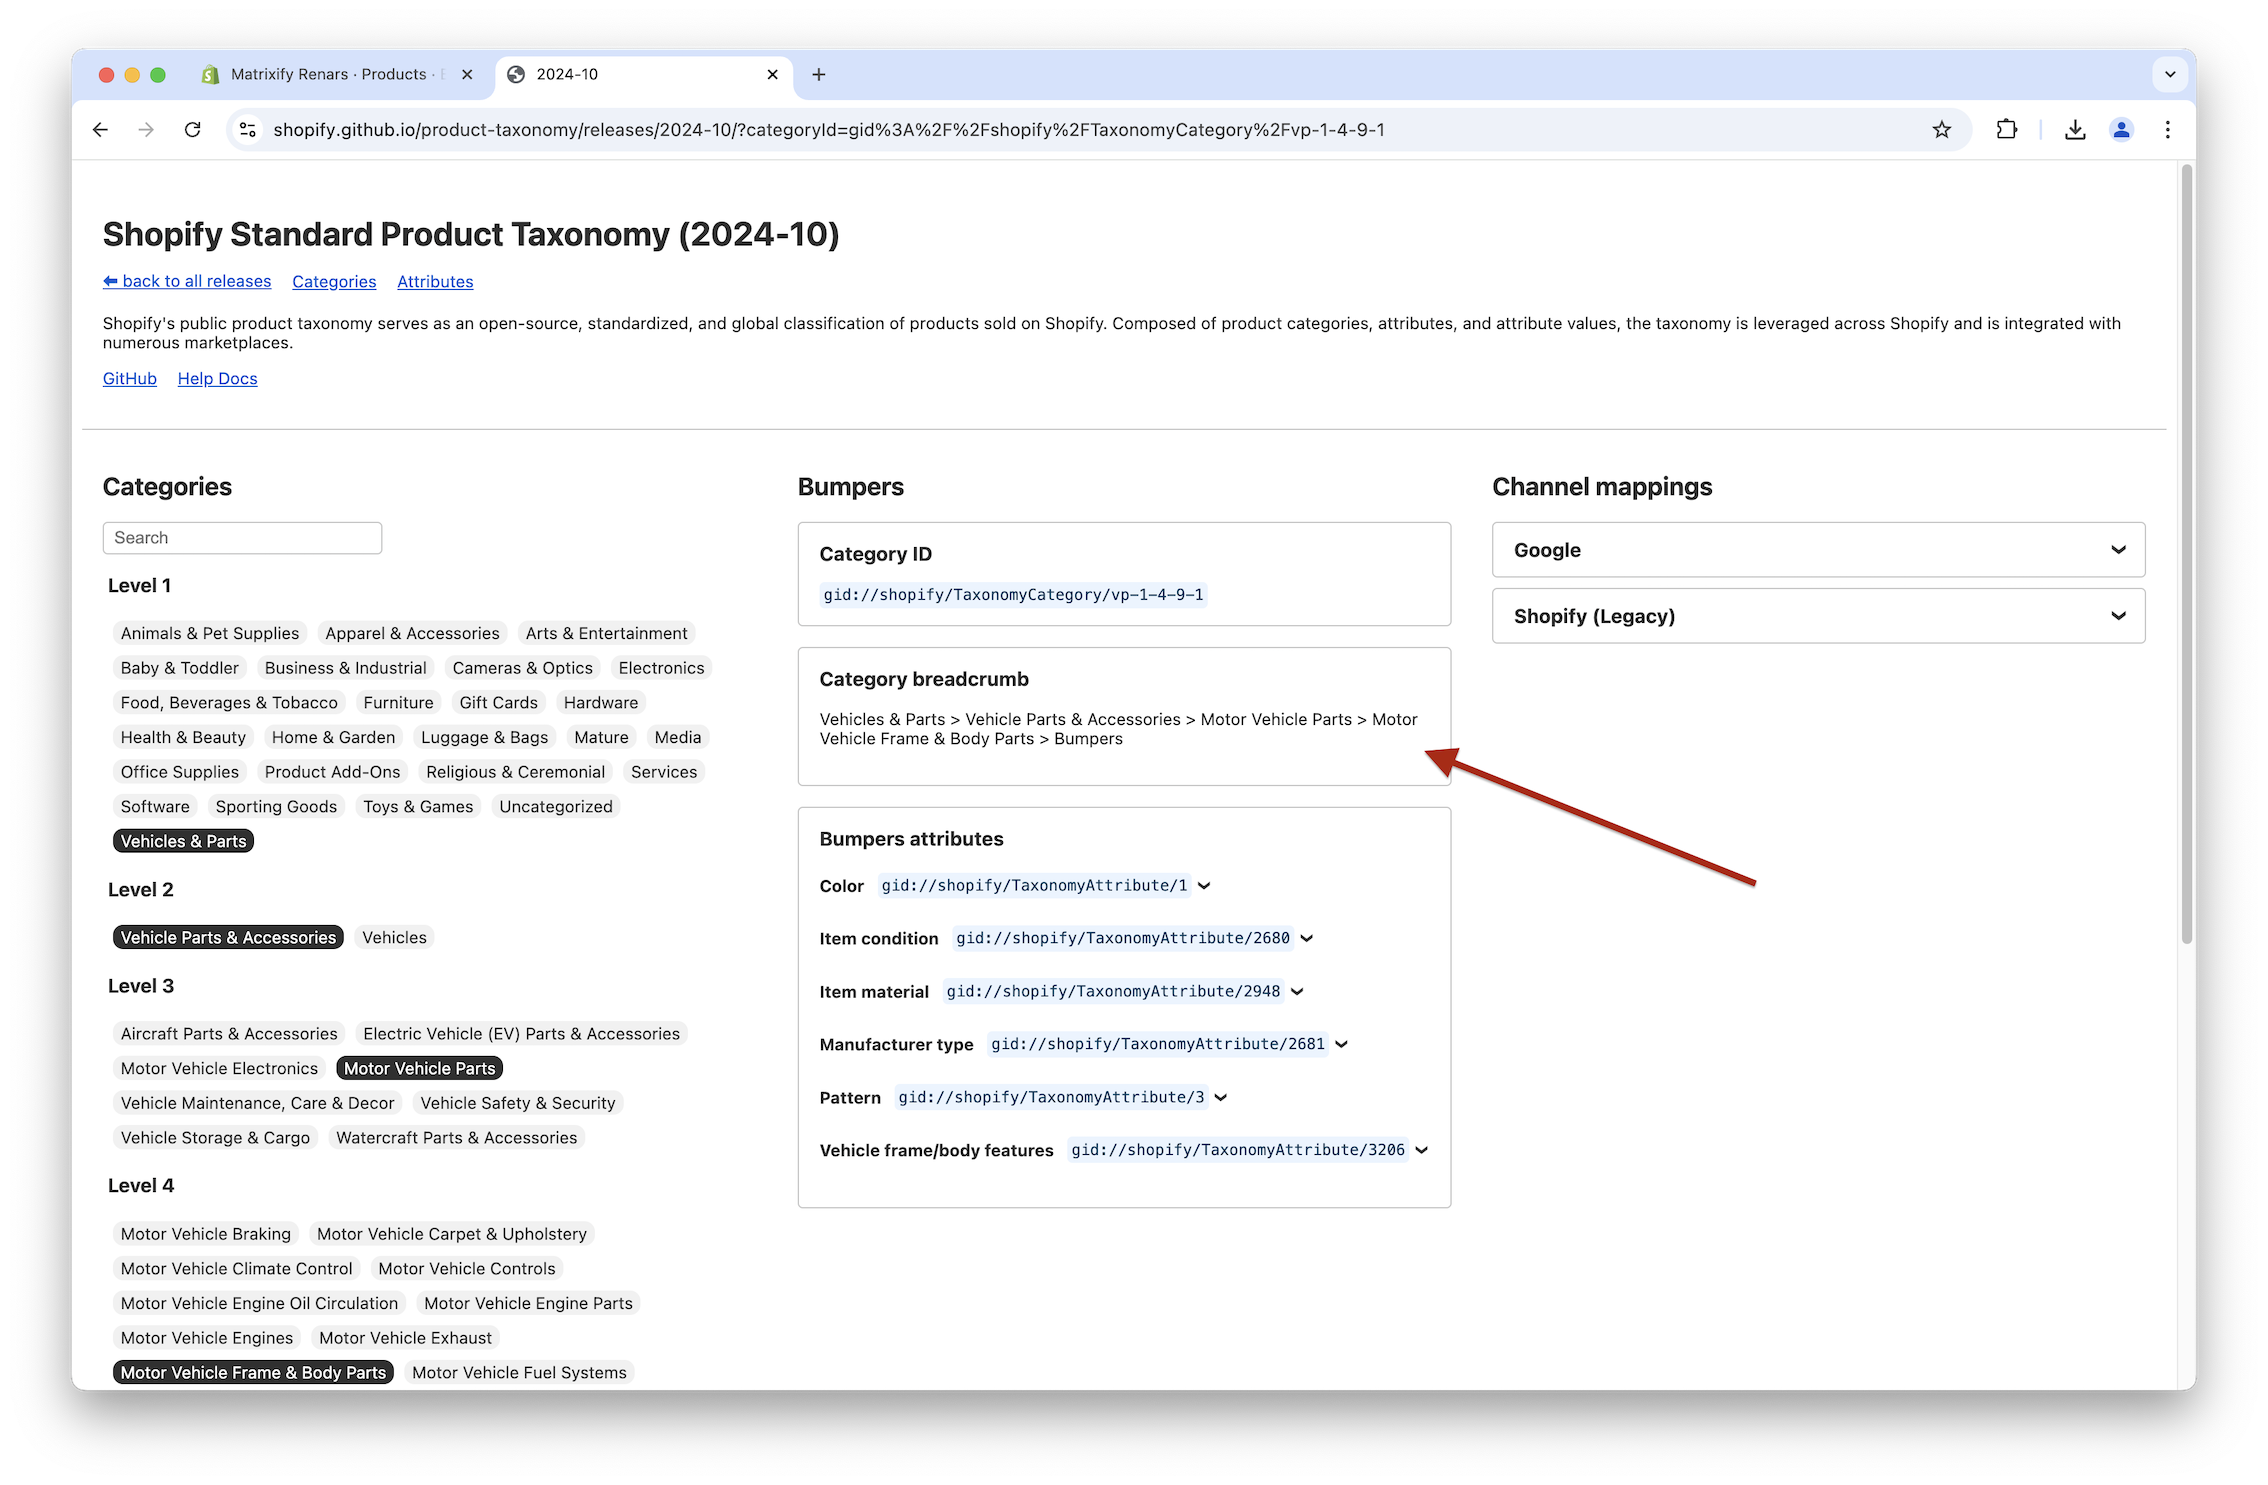
Copy and paste the Category breadcrumb into your file in the Category column:
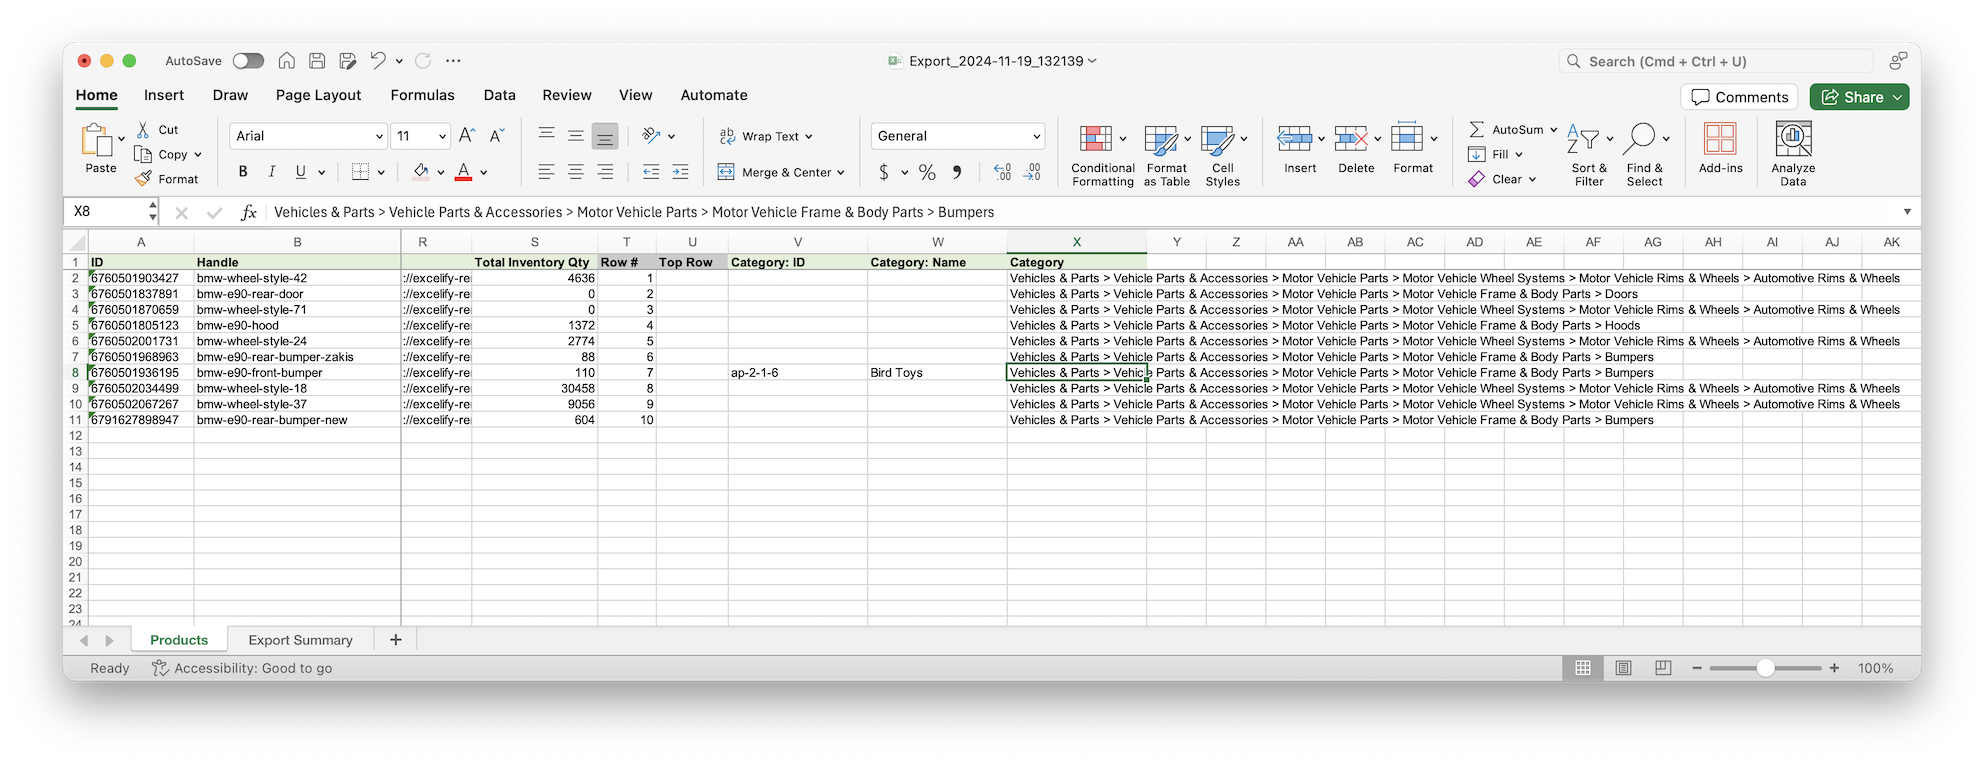
Notice that we have only set the Category column in the file.
Whatever is simpler for you – you can set values through other columns as well, for example, fill only Category: ID, or Category: Name, or Category, or any other combination of those.
Note that Category: Name might be same for multiple different categories in Shopify. If it is used as the only identification for the assigned Category and the app will not be able to find a single unique Category to link to then that product will fail to import.
If filling multiple Category columns then make sure that values are from the same category as you cannot have multiple Categories set for a single Product in Shopify.
3. Remove the unnecessary columns
Now that you have set the Category for your Products in the file, you can remove columns that you do not need for this import.
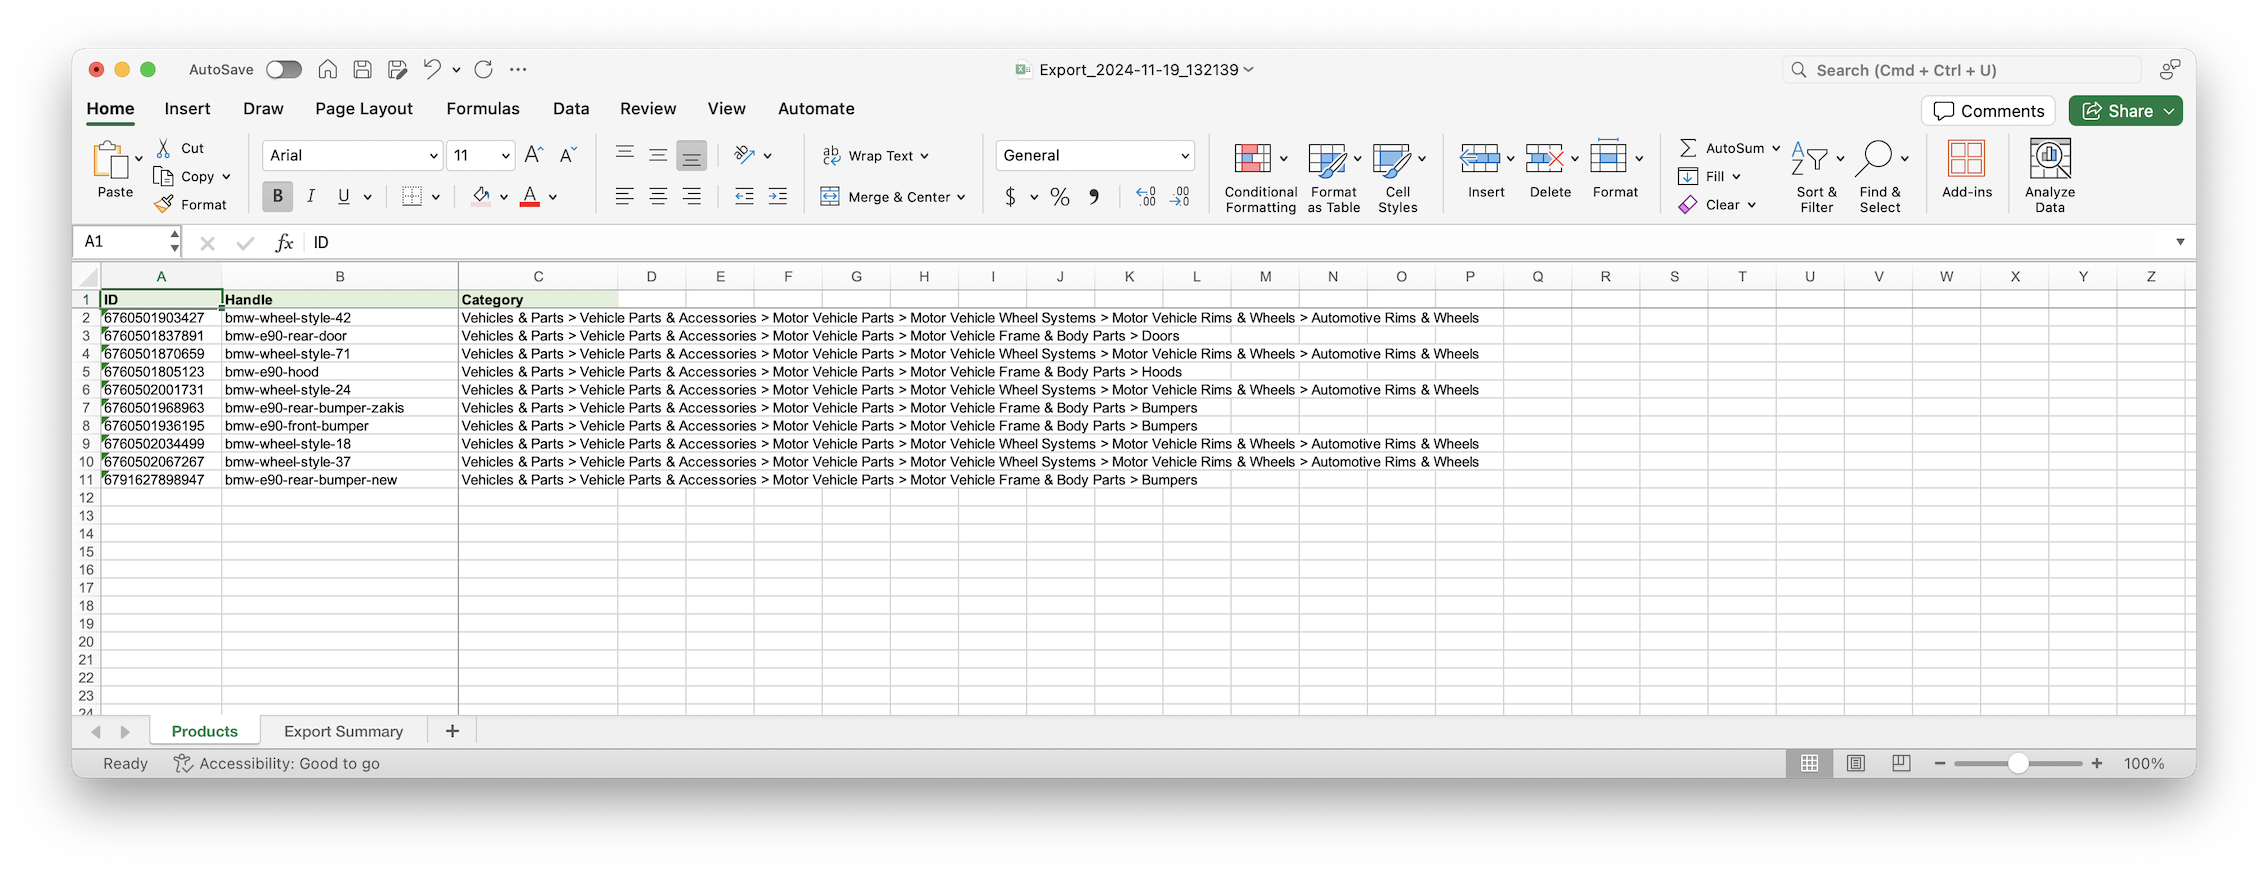
To update this data, you only need the following columns from exported file:
IDHandleCategory(and/or other Category columns that you set in previous step)
So the file now should look like this:
Save the file and head back into the Matrixify app in your store.
4. Import updated file to bulk update Shopify Product Category
Go to the Matrixify app Import section – upload your updated file.
First, the app will analyze the file. Once it’s done make sure that everything looks correct – that app detected import as Products and the Product count is correct.
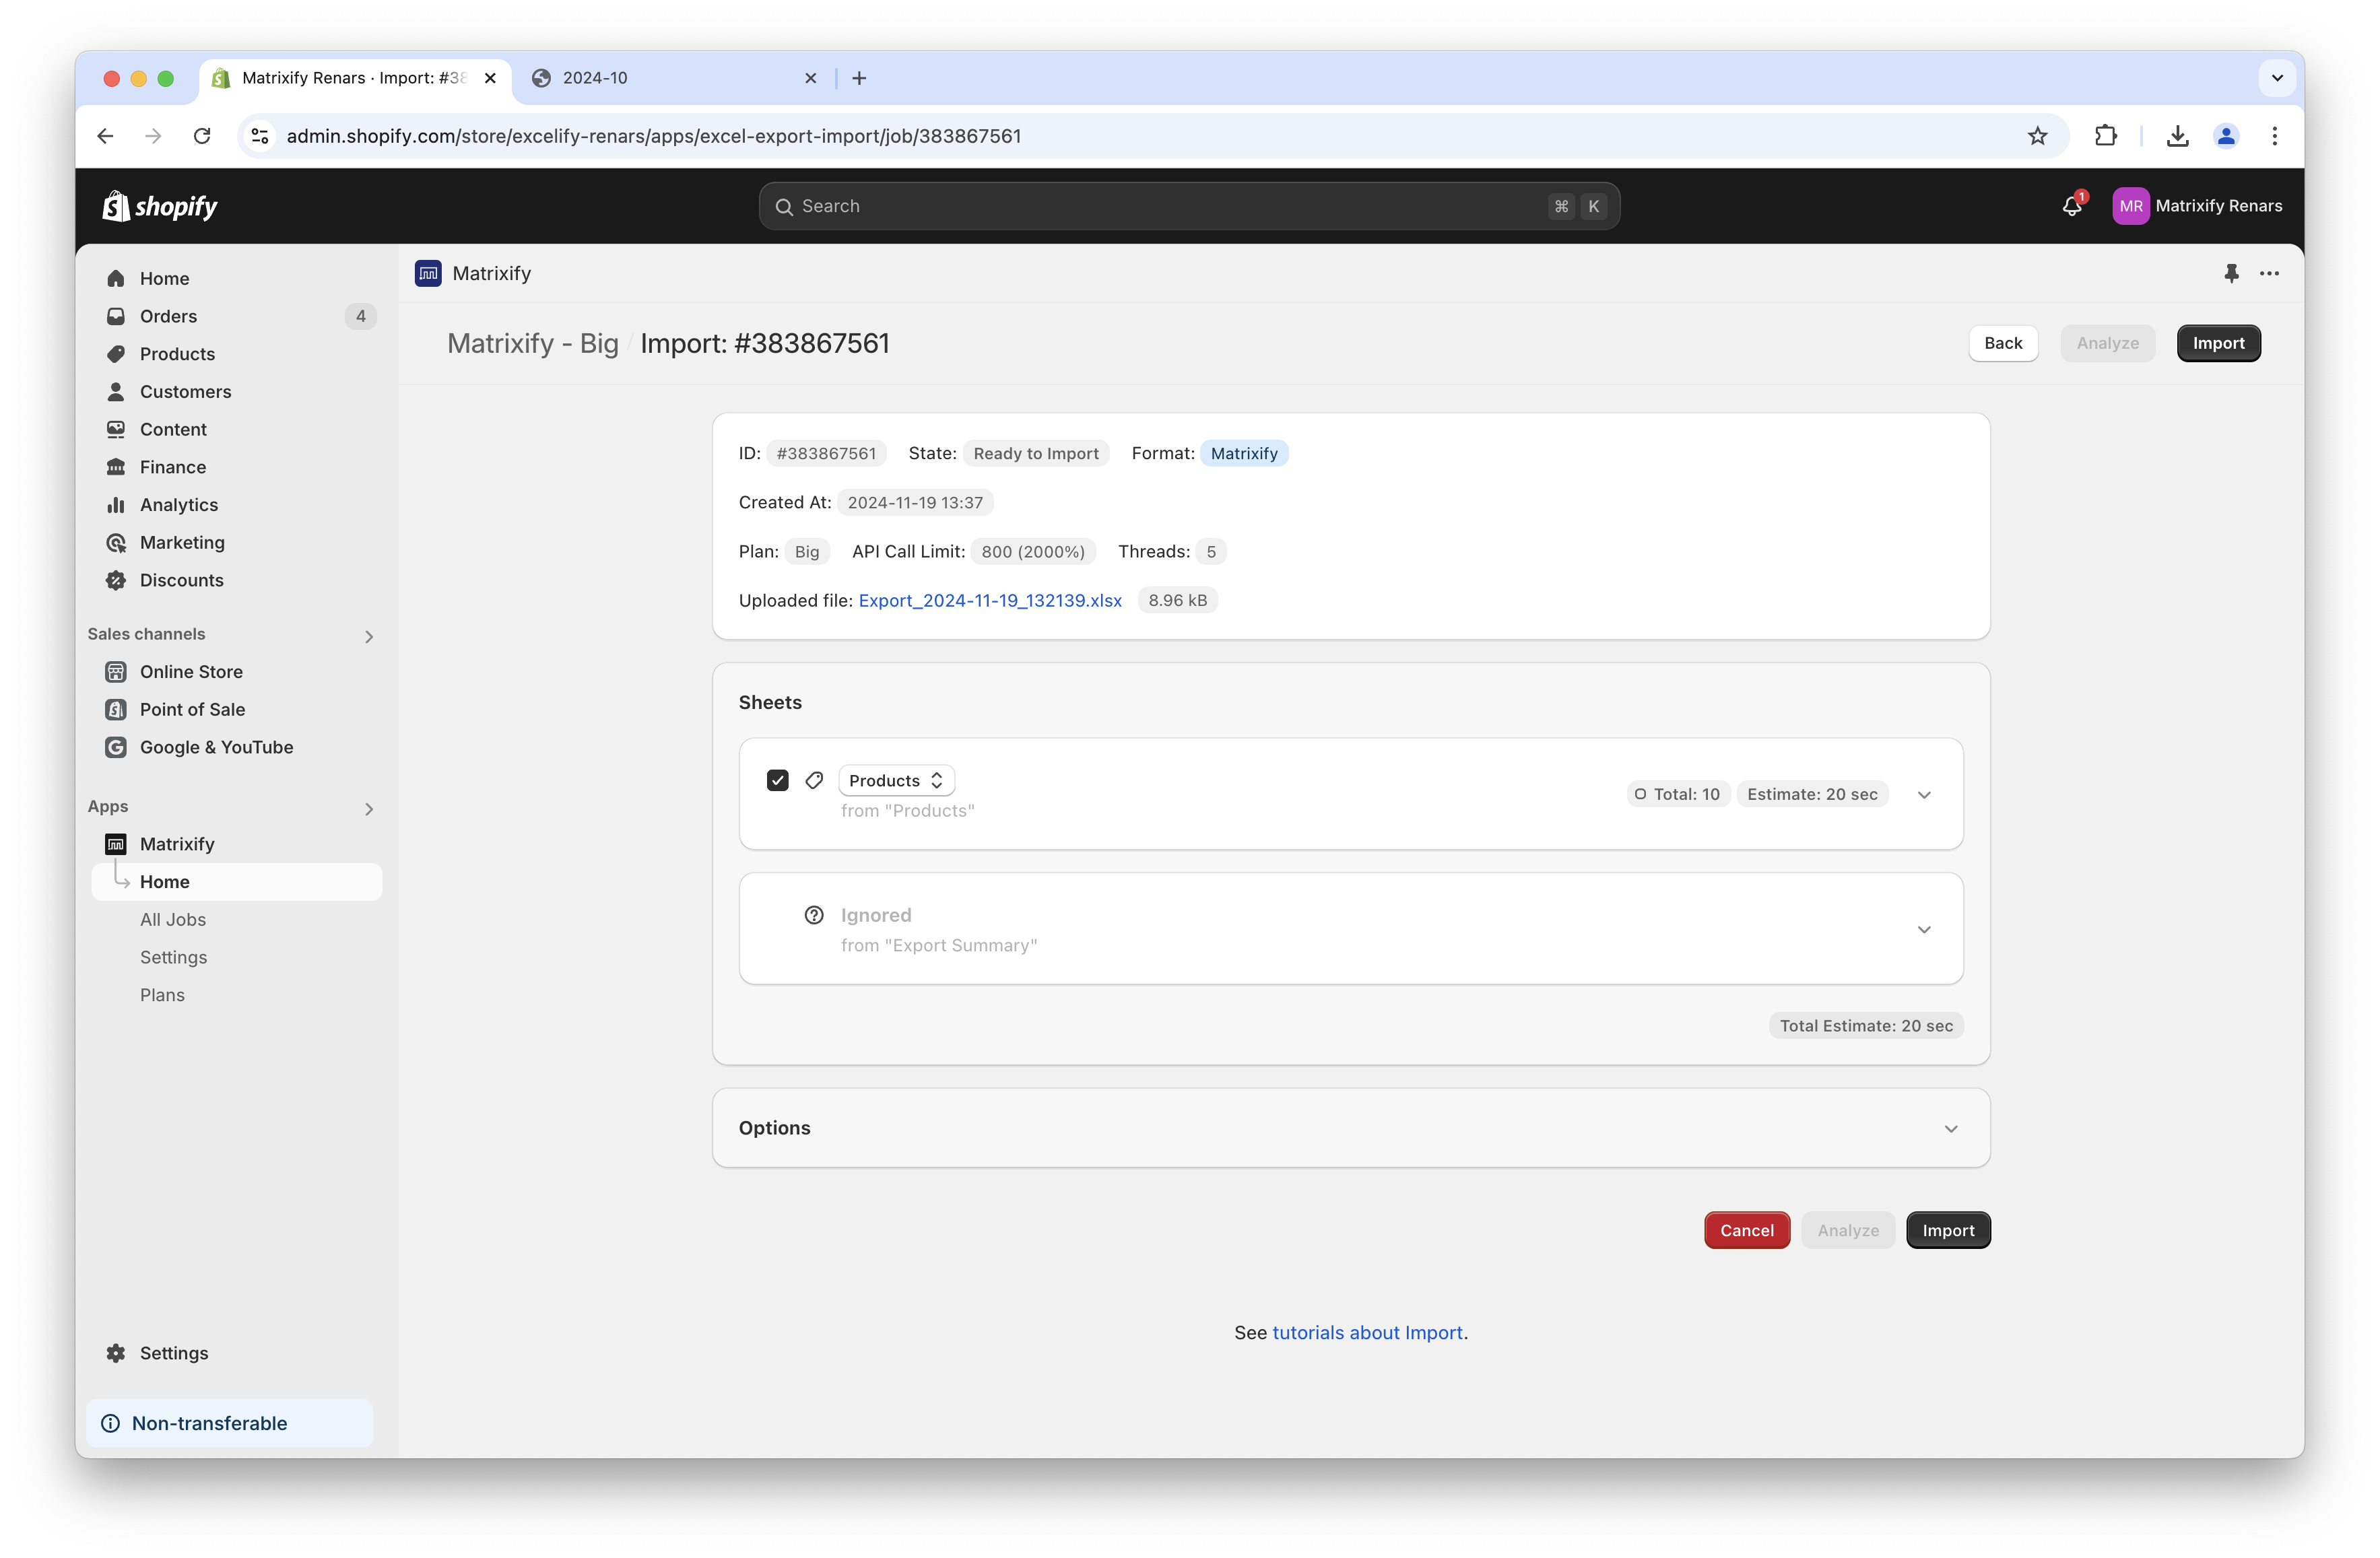
No need to change any import options, default values are good for typical updates.
If all looks correct, press the “Import” button to start the import.
Learn more about the import process and how to troubleshoot issues on our “How it works” page.
Once the import is finished, go to your Shopify Admin and enjoy the updated Product Category for your Products!
Good to know
- You can also update the Shopify Product Type in bulk the same way by changing value in the
Typecolumn. - If you wish to double-check that all Products have the Category set in Shopify, you can do another export as in step #1.
- If you have questions or issues during the import, reach out to the Matrixify support team directly!
- See other Matrixify Product related tutorials.
- Read Shopify manual about Product Category and Custom Types.


