
It’s quite challenging to delete everything from your Shopify store quickly, so the Matrixify app can help you with that!
This is useful if you wish to start fresh in your store, or wish to clean out your test/sandbox Shopify store.

This tutorial shows you how to delete the following items from your store:
- Products
- Collections
- Customers
- Companies
- Discounts
- Orders
- Draft Orders
- Pages
- Blog Posts
- Redirects
- Files
- Metaobject Entries (Matrixify will delete Metaobject Entries, but the app will not delete Metaobject Definitions from your store.)
- Menus
- Shop level Metafields
Steps, in short, to delete everything from your Shopify store
- Export everything that you need to delete – with just Basic Columns to Matrixify: Excel format.
- Edit the exported file:
- Save and import the file with Matrixify.
- Enjoy your clean store.
1. Export everything to Matrixify: Excel format
On the Matrixify app Home page, find the “Export” section and press the “New Export” button.
This will open a new export page where you can configure what data you wish to export.
Select export format
At the top of the new export page, you can select the format you wish to export to.
As here we will be working with multiple entities at the same time (Products, Customers, Collections, etc.) then we need to select the “Matrixify: Excel” format.
Then the export will be to an Excel XLSX file with multiple sheets/tabs.
Select items to export
After selecting the format you can select what items to export.
To clean out everything from the Shopify store we would need to select all entities with only “Basic Columns” with few exceptions:
- Do not select items with the “Export Only” tag. Those cannot be imported and cannot be deleted.
- For the “Shop” entity, select only the “Metafields” sub-checkbox.
The export page should look like in the following screenshot:

Once you have selected details to export, click on the “Export” button at the top or bottom of the page to start your export.
Exporting only Basic Columns from each item should be quick, but if the import is long, there is no need to keep the app open as export is happening on our servers.
You can close the app, by default you will receive an email when the export job finishes. You can check our tutorial on how to configure import and export job notifications.
2. Edit the exported file
Once the export finishes you can click on the “Download Exported File” button to download the file.
In the exported file you can see multiple sheets/tabs one for each exported entity.

Now we need to edit data in the sheets to delete everything from the Shopify store.
Delete “Export Summary” sheet/tab
The “Export Summary” sheet only tells details about what was exported, how many items, and any filters if applied. This is not needed for the import so we can delete this sheet.
Reverse the sheet/tab order in the file
Multiple entities cannot be deleted if they are linked to different entities, for example, you cannot delete a Customer if it has an Order linked to it.
Because of this, we need to change the sheet/tab order in the file. This is done by dragging tabs in the Excel file.

In the “Shop” sheet, empty metafield column values

Now the first sheet/tab in the file should be “Shop“. As we cannot delete the shop, the only thing we would need to delete on the shop level is Metafields.
To delete Metafield we just need to set its value to empty. As result, this sheet should only have Metafield column headers.

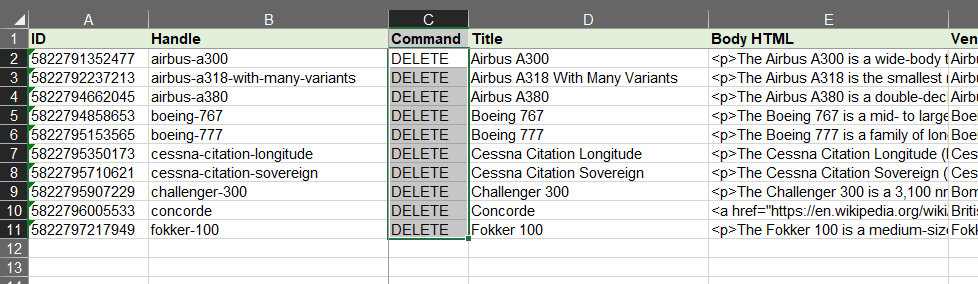
Set “Command” to “DELETE” in all sheets
In all other sheets/tabs in the file, you have the “Command” column. When importing a file, this column tells the app what to do with that item.
We now need to set the “Command” column values to “DELETE” in all rows for each sheet.
A simple way to do this in Excel is to set the value “DELETE” in the second row in the “Command” column and double-click the small square at the bottom-right side of the cell. This will copy the same value till the end of the data in the current sheet.
Do this for all other sheets/tabs in the file.
Note – For Orders, Shopify will only allow deleting Orders that match one of the following criteria:
- orders that were paid with a manual payment method
- draft orders that were marked as paid
- orders imported through the Shopify API
- test orders
Shopify will not allow deleting real customer placed Orders in Shopify where Shopify Payments were used. If the Order is not deleted then the Customer that is linked to that Order also cannot be deleted.
This should not be an issue for test/development/trial stores.
If the Order or Customer will not be allowed to delete, then those particular items will show as Failed in the import result file, with the respective comment.
3. Save and import the file to delete everything
Once all the data is edited and each sheet in the file has its items set to “DELETE”, you can save the file and head back into the Matrixify app.
In the Matrixify app home page “Import” section, upload the file.
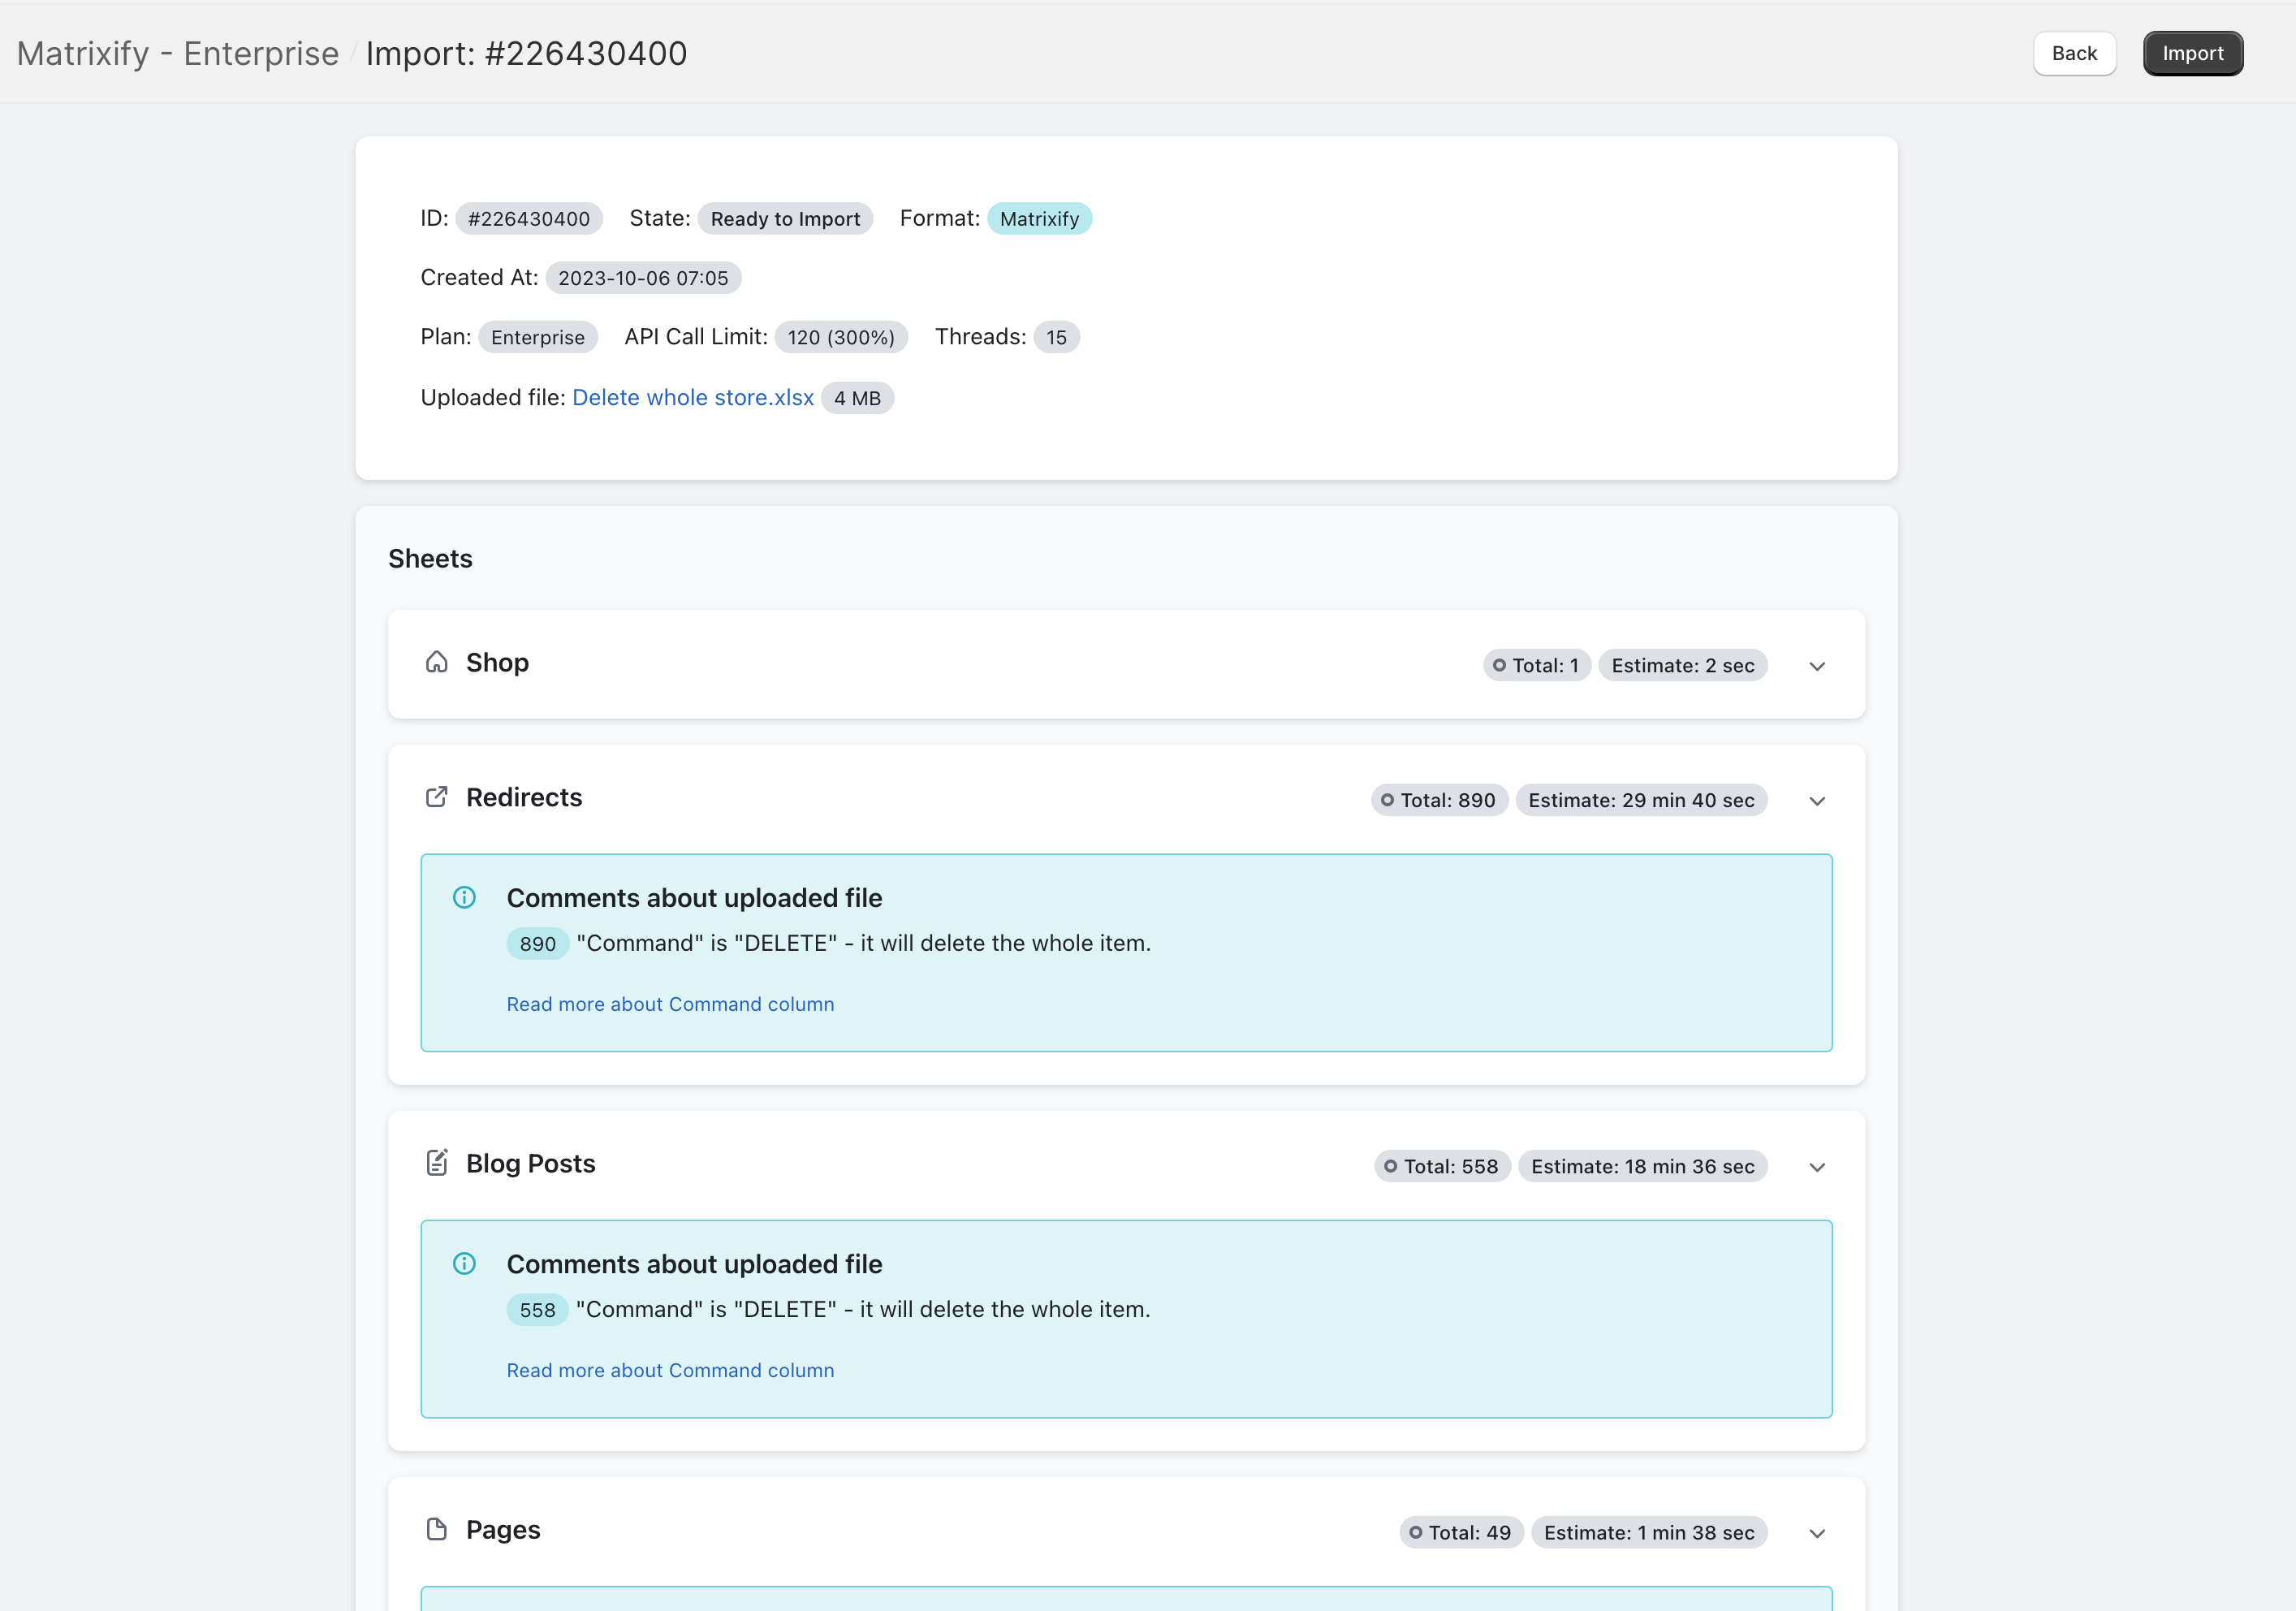
The app will open a new page and start to analyze the file.
When the file is analyzed you will see the “Ready to Import” tag at the top of the page.
This means that the app has finished analyzing your file. You can check that all item counts look correct and start the import by pressing the “Import” button at the top or bottom of the page.
Following the import progress
As the import is starting you will see that the app shows how many items are being deleted.
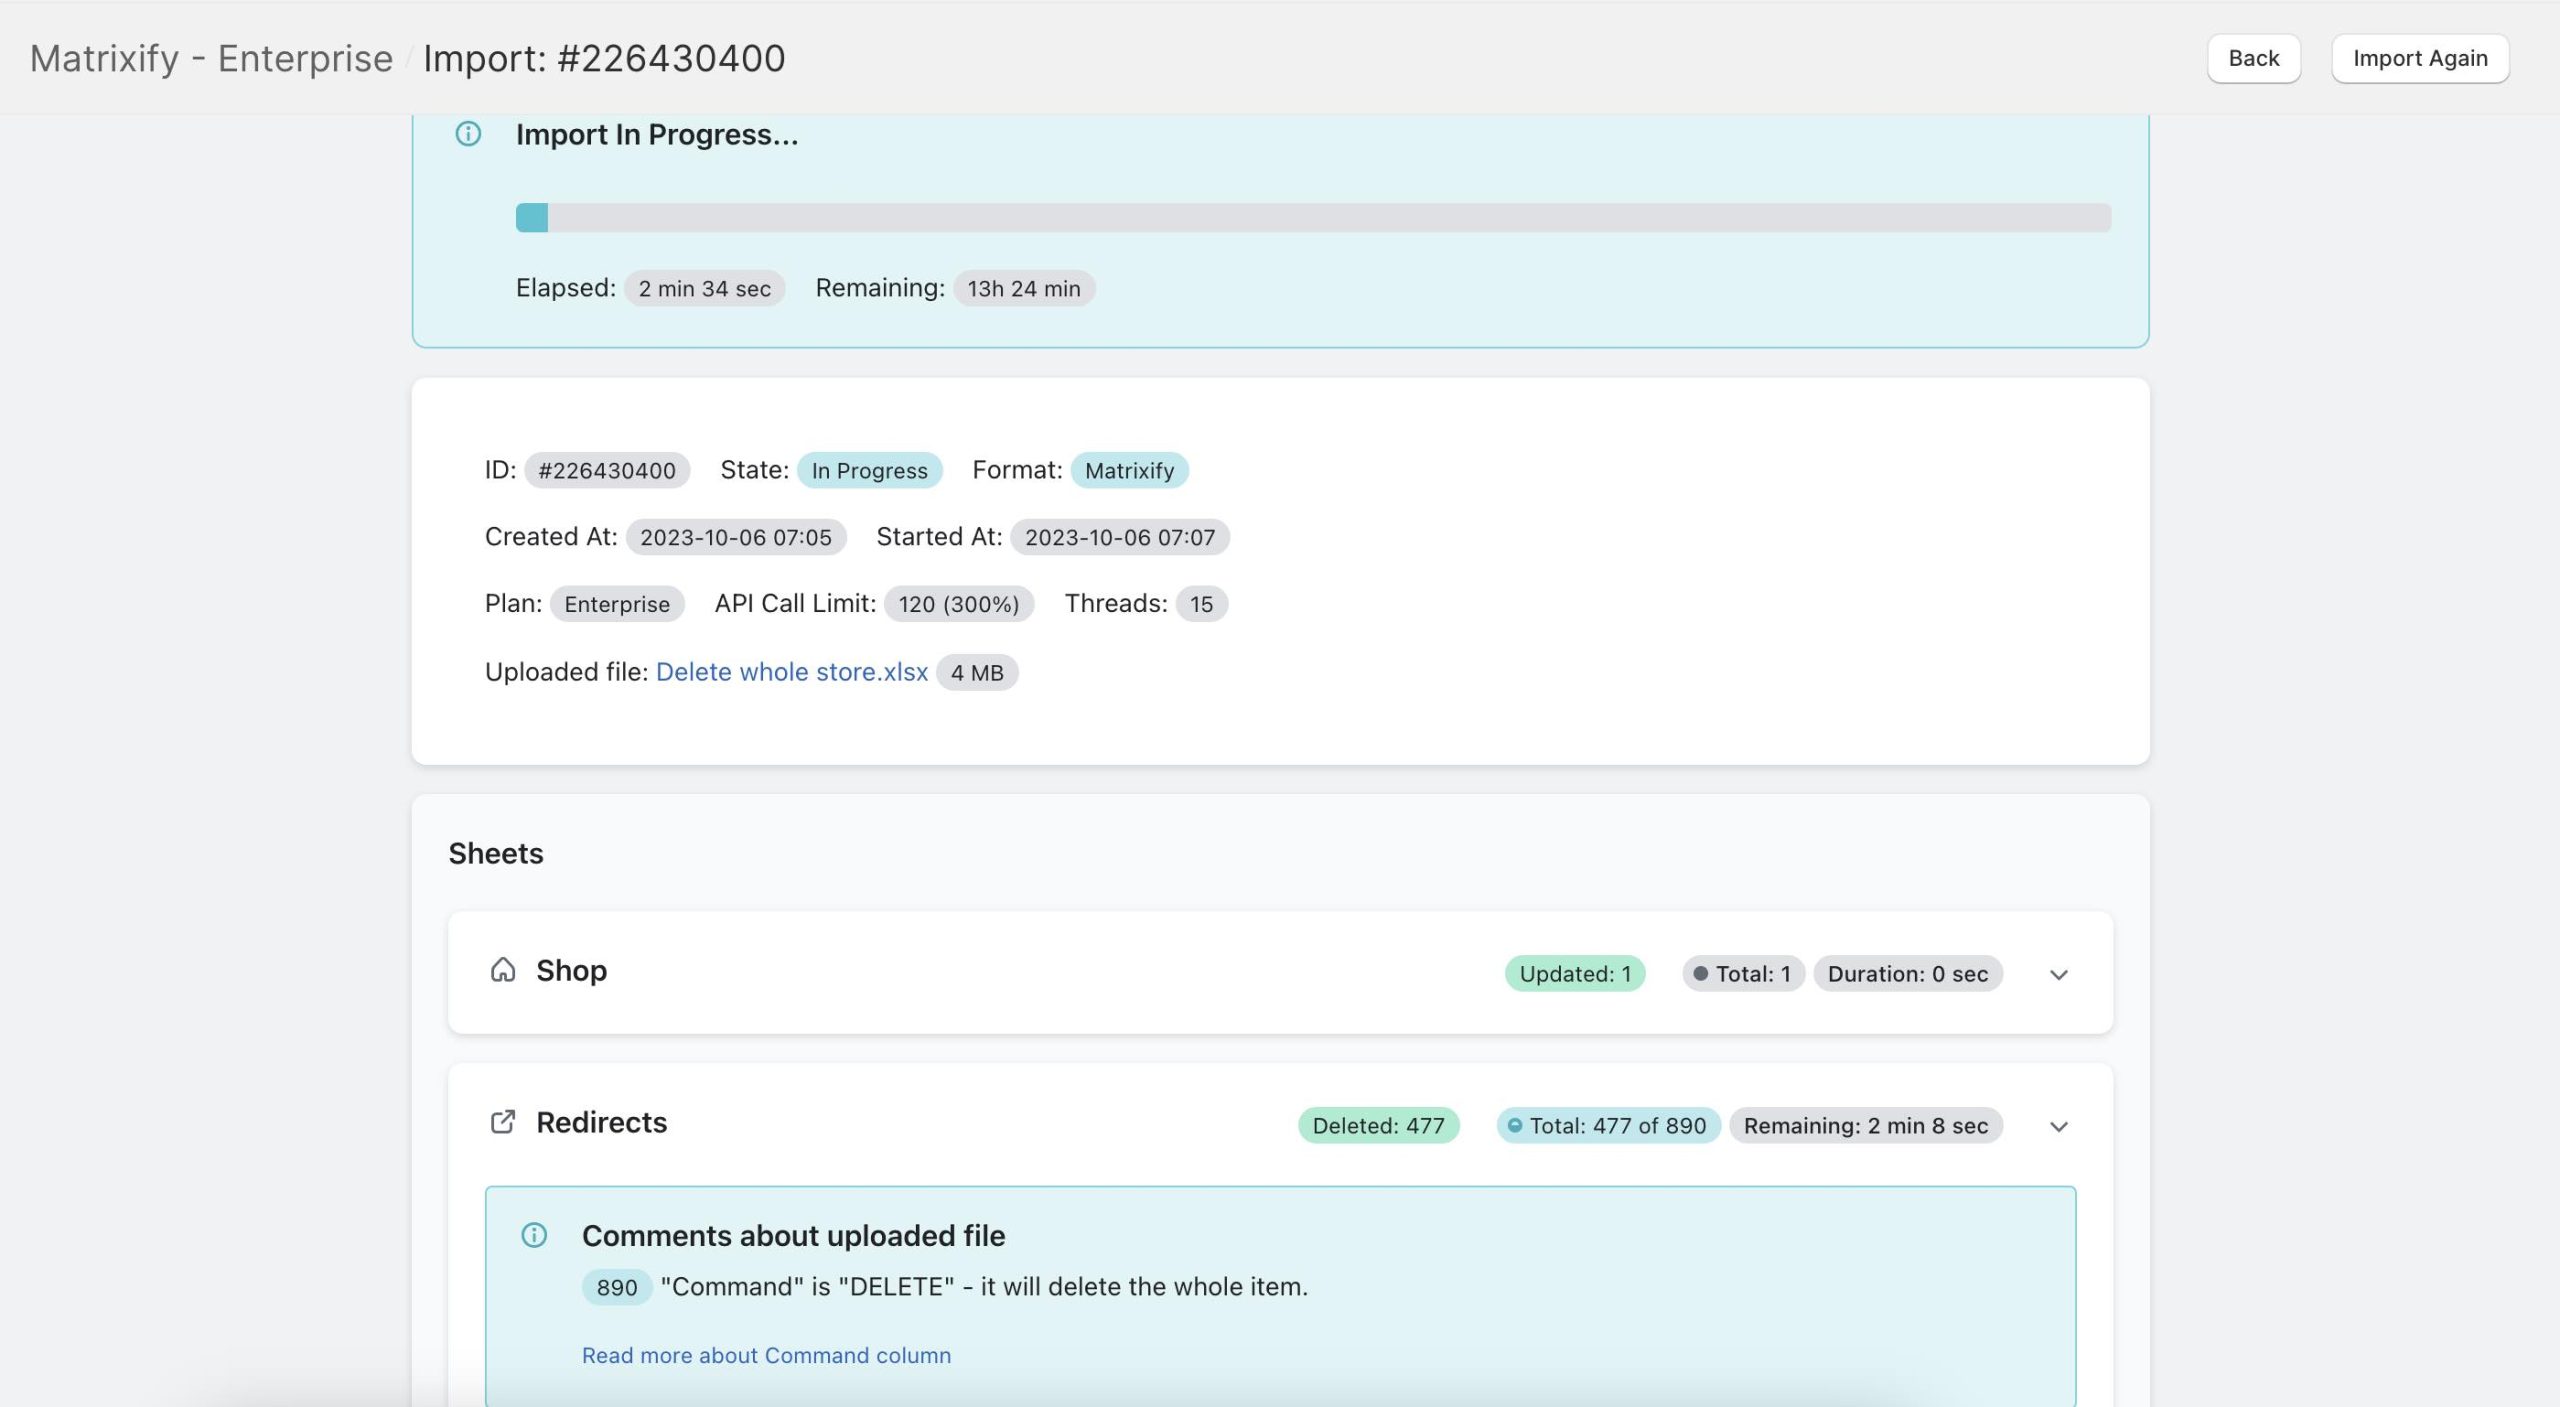
Same as for export, at bottom of the item list you can see Duration and estimate of how long the import will take – so you can track how much data is already deleted, and how long it will take approximately.
If there are any Failed items, it means that for some reason the app failed to delete something. After import finishes you can download the Import Results file, open the correct sheet, and in the “Import Result” and “Import Comment” columns see what items failed to delete and with what error.
If you change your mind, you can press Cancel any time, and it will stop deleting. However, the items which are already deleted will stay deleted.
4. Enjoy your clean Shopify store
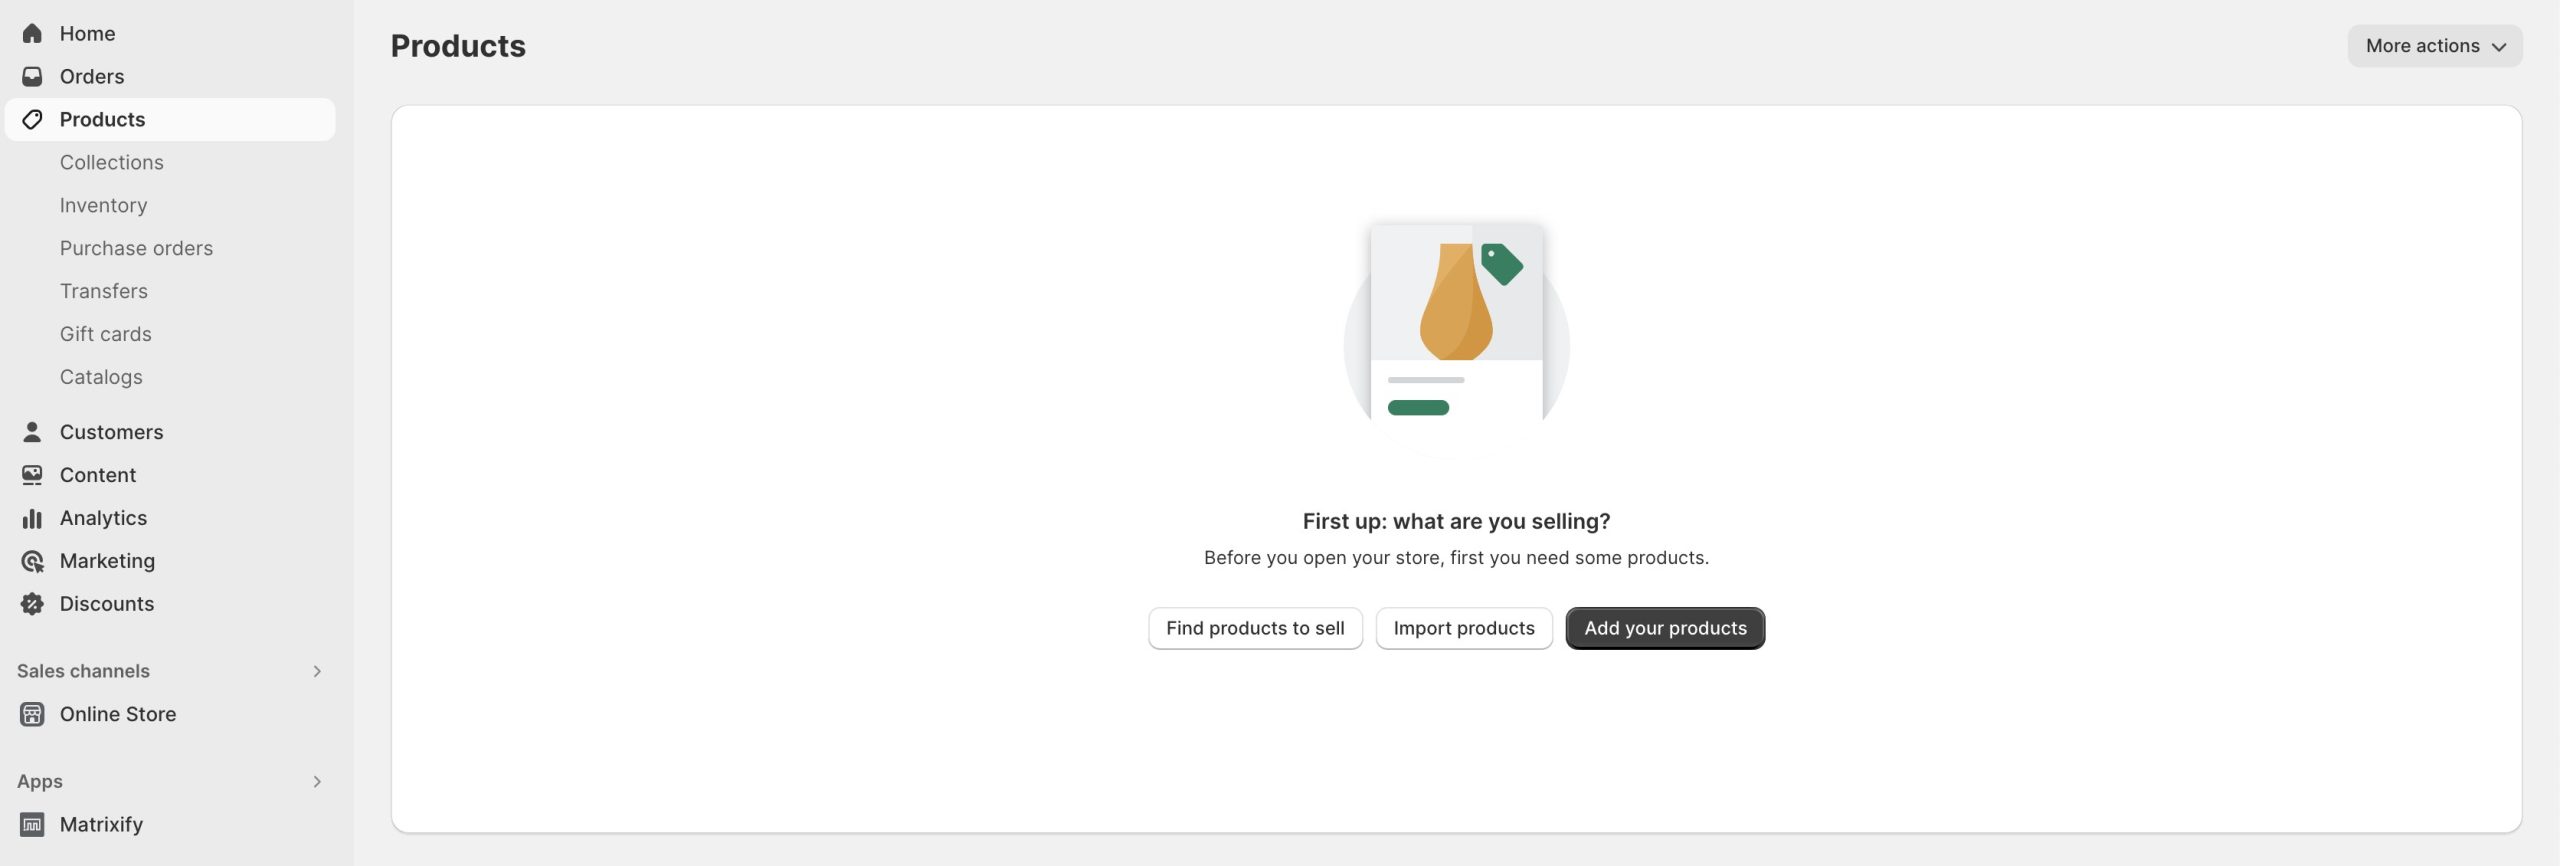
While the import is running you can also browse your store and see how data is disappearing from the store.
Once the import is finished, all the entities should be deleted.
Good to know!
- You can also delete individual items from your store. Check out other Matrixify “Delete” tutorials.
- Have any questions or issues? Reach out to us directly by any means listed on our Matrixify “Contact Us” page.
- Learn more basics about Matrixify on our “How it works” page.


