
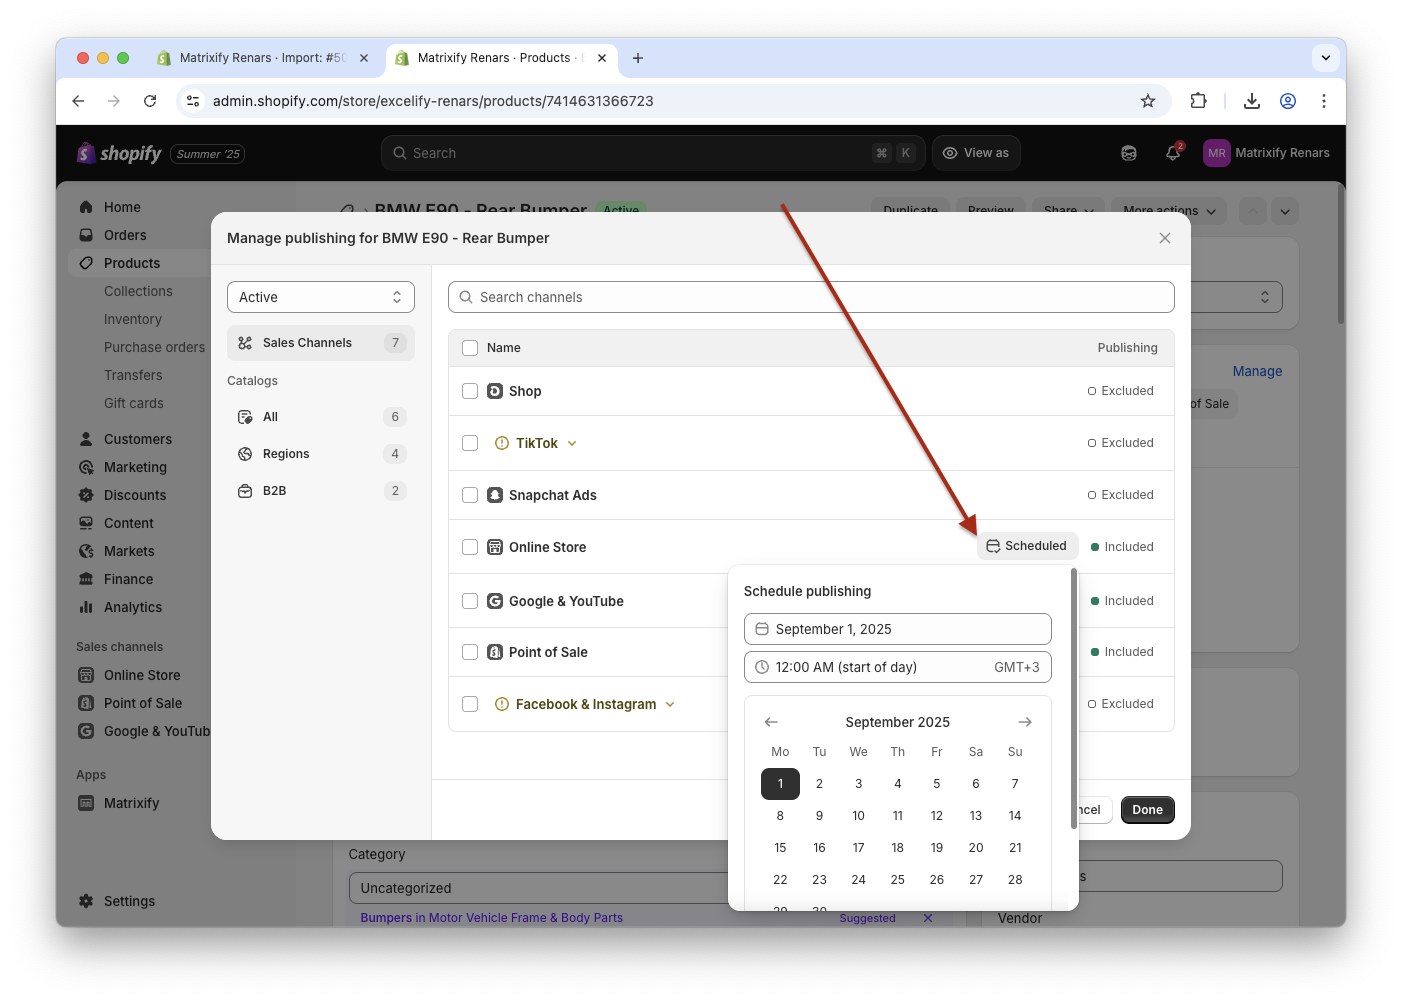
Bulk launch Products on your Shopify Online Store at a future date — perfectly timed with a sale, campaign, or new collection release! With the Matrixify app, you can now bulk set the scheduled publishing date for your Shopify Products in the Online Store sales channel.
Whether you’re planning a major product drop or updating seasonal inventory, Matrixify gives you full control to automate the process efficiently, saving time and eliminating manual work.
Steps in short
- Using the Matrixify app, export your unpublished Products by applying the “Published” export filter.
- Edit your exported file and set “Published” to “TRUE” and “Published At” to the future date when to schedule the Product to be published.
- Save and Import your file with the Matrixify app.
Let’s go through each step in detail:
1. Export unpublished Products
In the Matrixify app Home page, click on the New Export button in the Export section.
This will open a New Export page where you can set up and configure your export job.
Set up your export
Select items to export
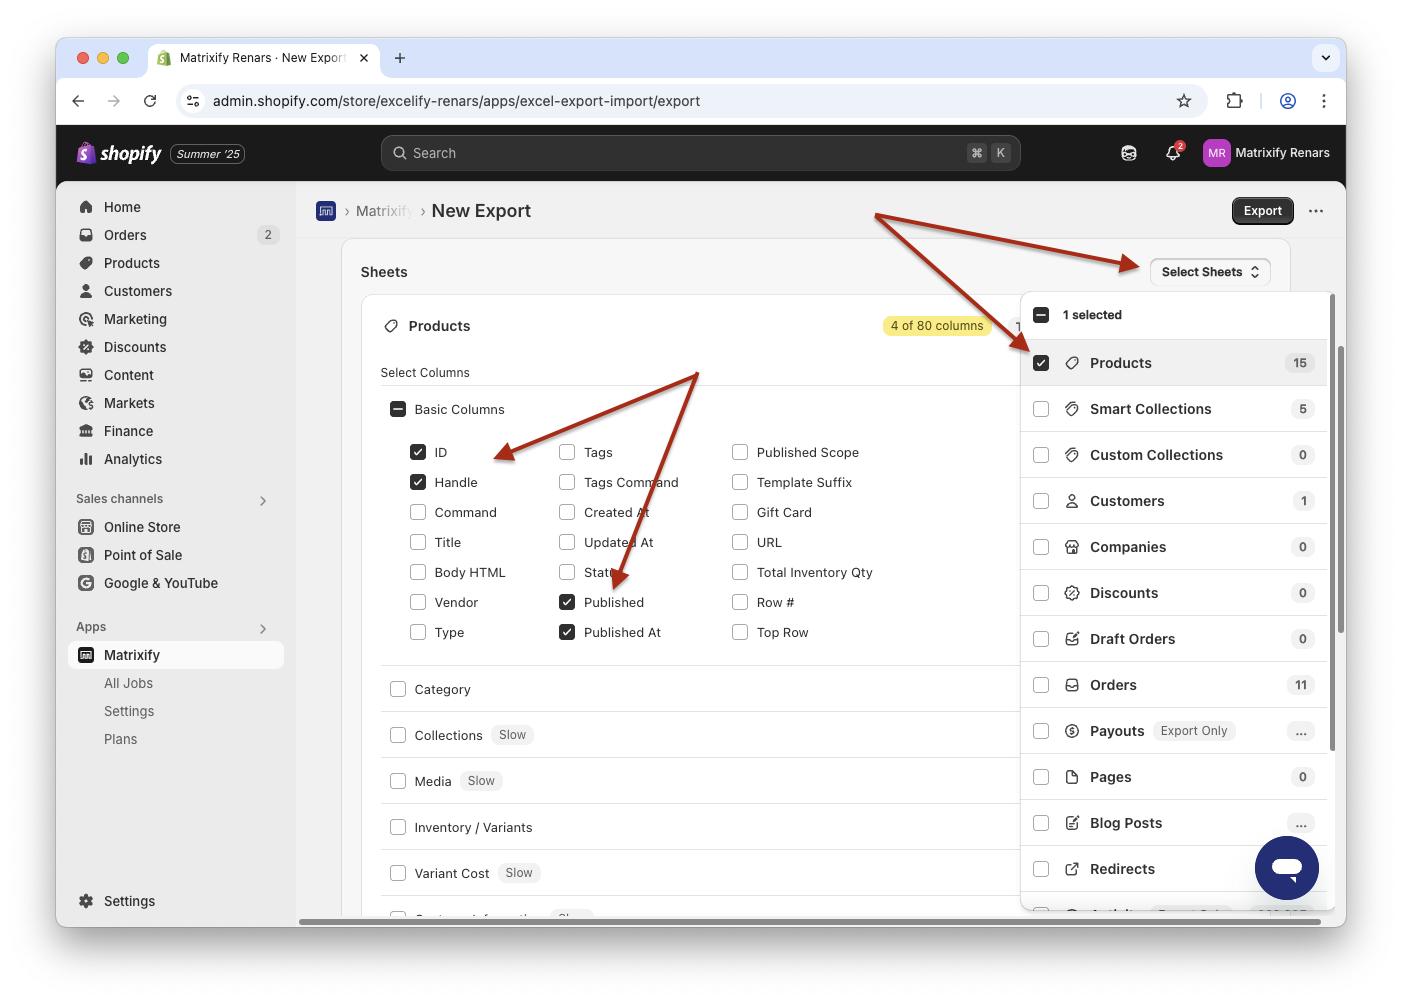
On this page, you will only need to select the Products checkbox in the Select Sheets drop-down.
For the Products sheet, open the Basic Columns dropdown and select only columns – ID, Handle, Published and Published At.
Those are the only columns you will need for the task in this tutorial. You can also select other columns.
Apply filters
Now you can apply the filter to your export to only include Products that are not published in the Online Store sales channel.
Click on the Filter button under Products and select the filter Published with condition No.
You can also apply other filters if you need to limit the data that you are exporting.

Export your file
Once the export job has been set up with Products sheet and needed filters, you can start the export by pressing the Export button.
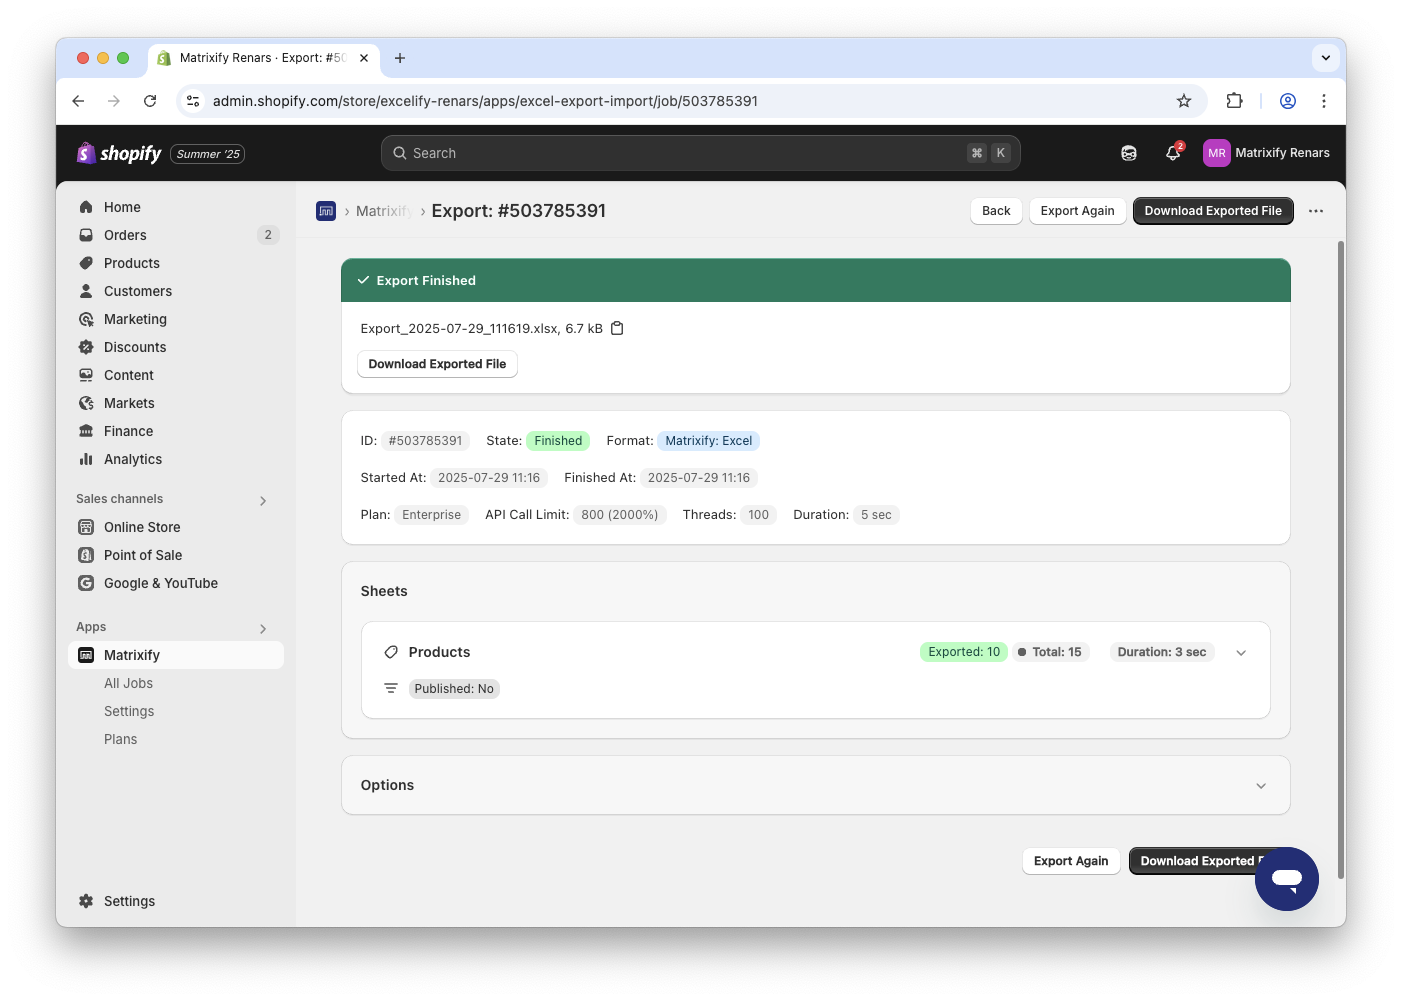
You will see the export starting and progress of it while it is running.
Once the export is finished, you can click on the Download Exported File button to download the file on your computer.
2. Edit your file
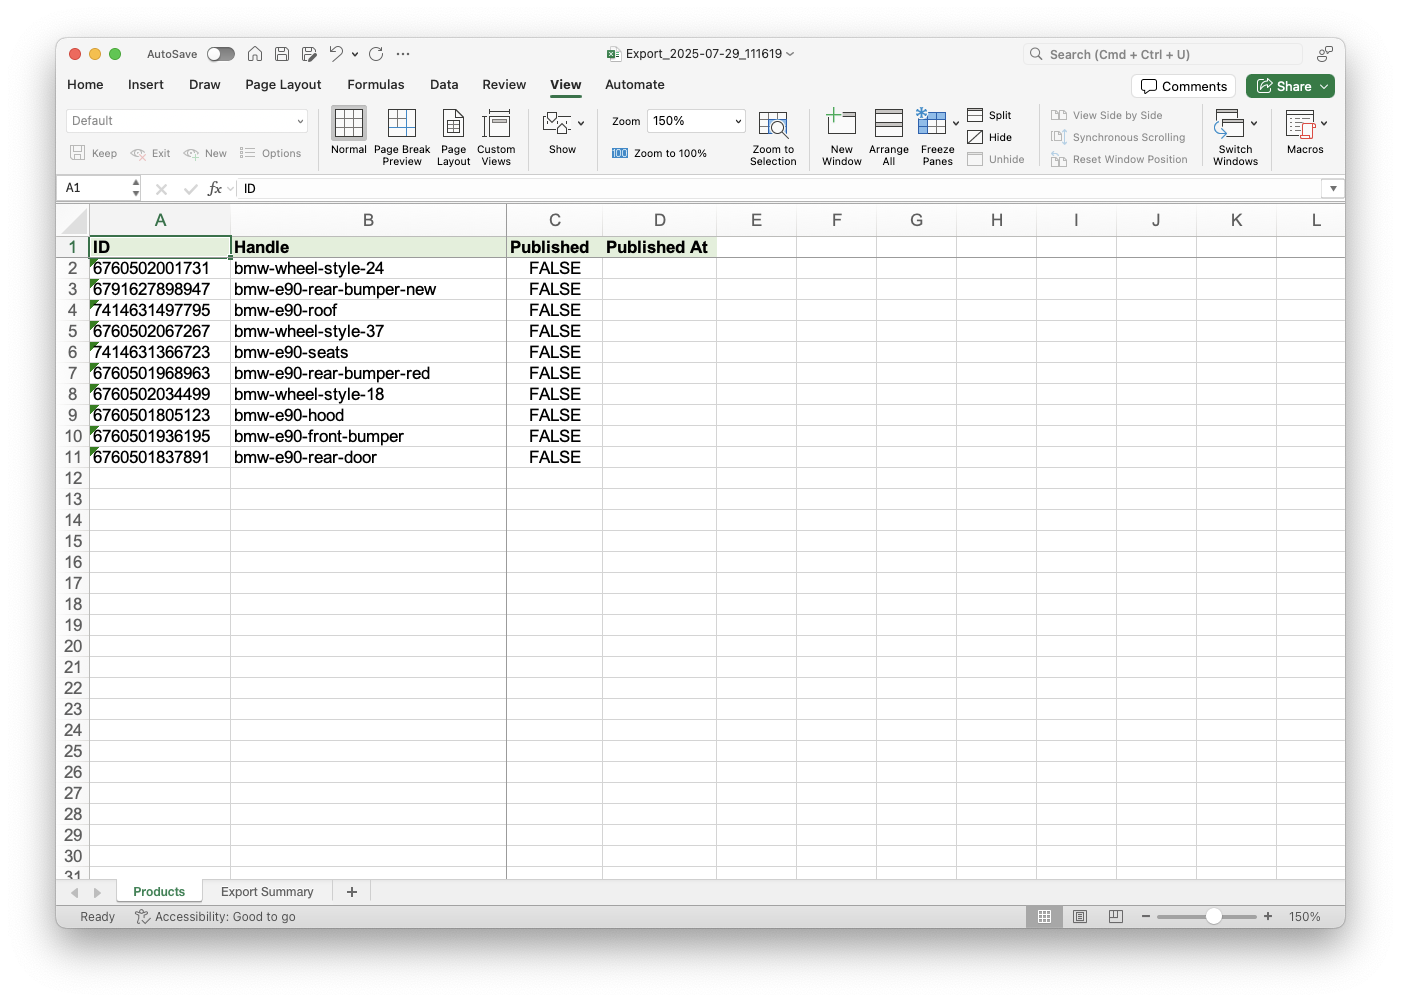
Now in the exported file, you should see that all the Products have Published set as FALSE and Published At date empty as they are not currently published to the Online Store sales channel and not scheduled to be published in the future.
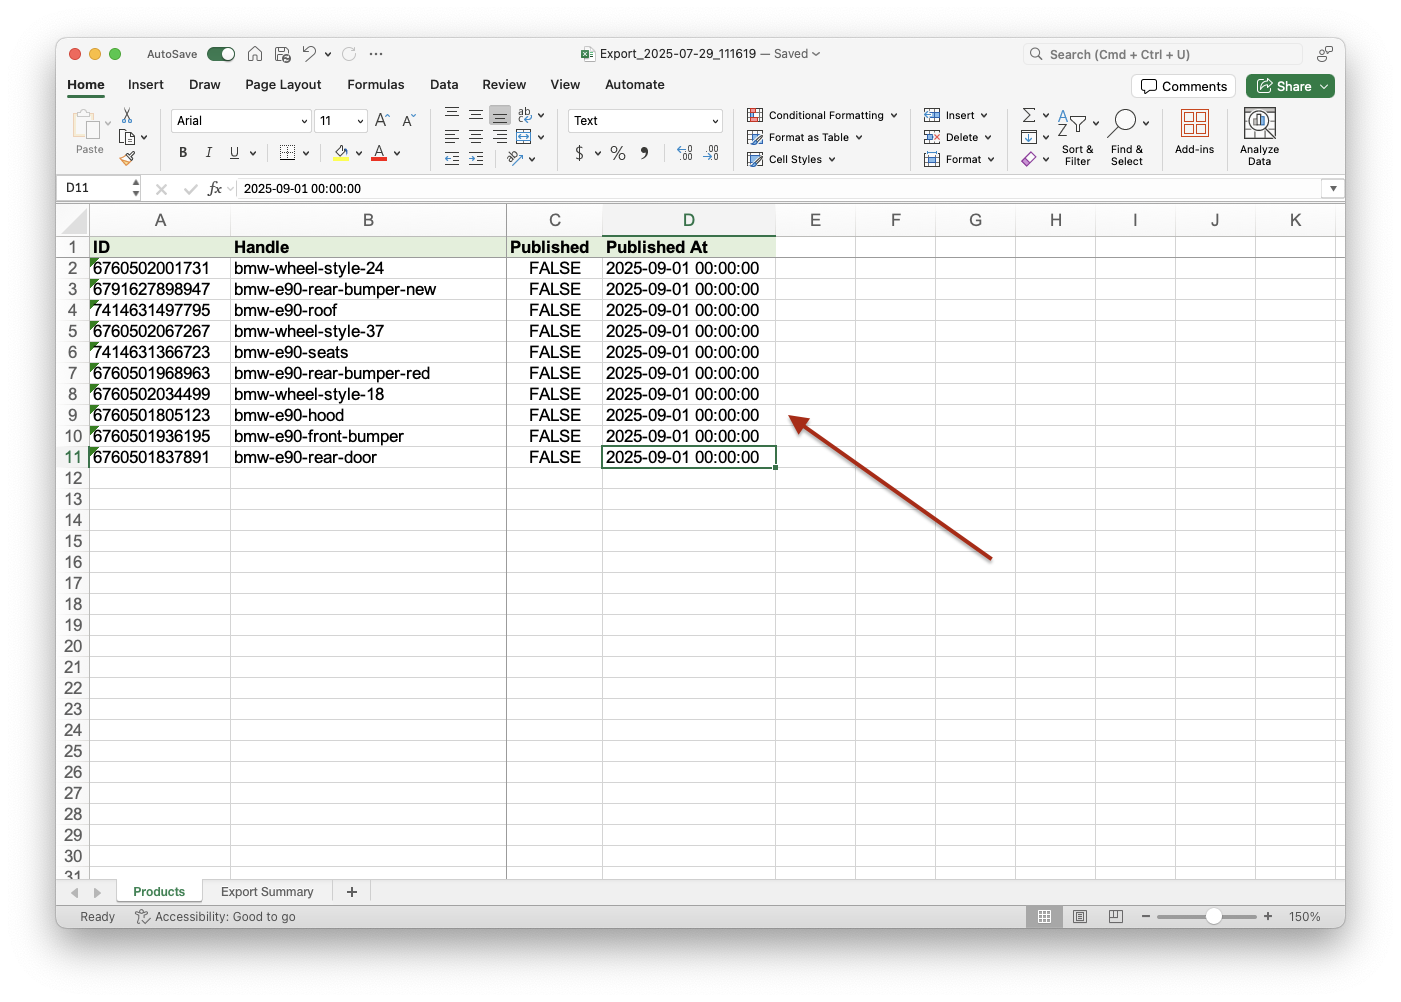
For all the Products you wish to publish in the future you need to set the Published column to value FALSE (if it’s not already) and the Published At column to a future date and time, which is to be set in Shopify as the scheduled publishing date for the Online Store.
The datetime value in Published At columns value should be in a date format YYYY-MM-DD HH:MM:SS, for example, 2025-07-23 21:36:00.
3. Upload the file to the Matrixify app
Now you can head back to the Matrixify app, and in the Import section, upload the file by clicking the Add File button or by dragging the file into the Import area.
After the file is uploaded, the app will analyze the file. Make sure that the sheet entity is detected as Products and that the item count looks correct.
If all is good, you can press the Import button to start the import job.
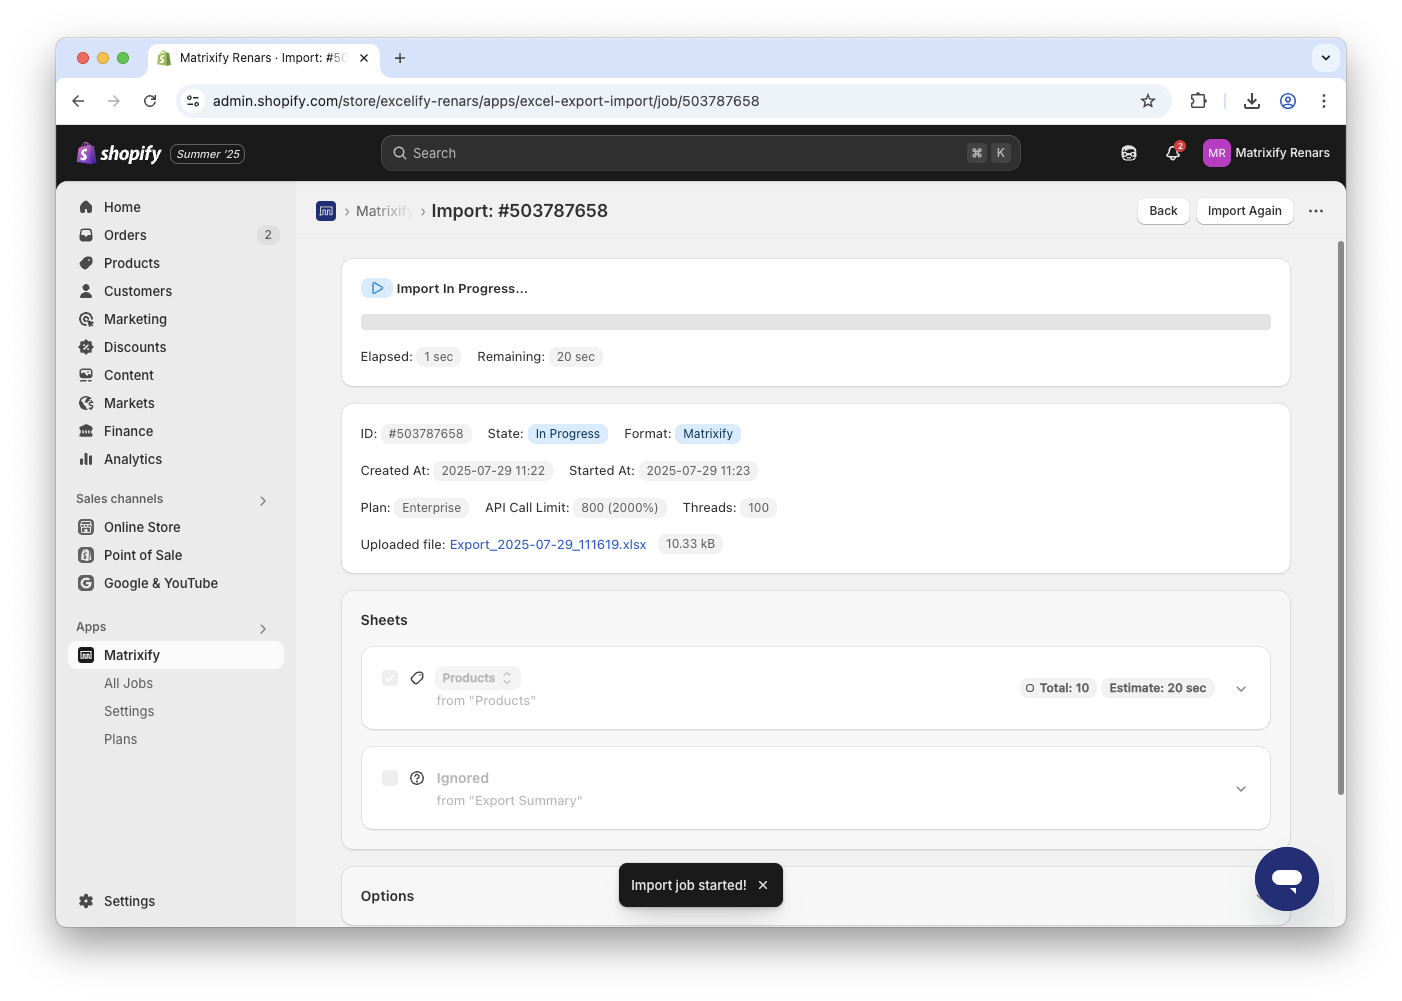
Once the import has finished, all the Products in the store should be updated to the values as per the uploaded file.
What to do next?
- Install the Matrixify app.
- Read the Matrixify app Tutorials for various other use-cases.
- Wish to know what each field in our export file means? Check out our Product documentation.
- Contact Matrixify support if you run into any issues or have additional questions.


