
With Matrixify you can instruct Shopify to send an invoice for your Draft Orders in bulk. Let’s take a look at how to do it.
In Short
- Export only your open Draft Orders by applying a filter.
- Delete unnecessary columns, we will only need the following ones:
- ID
- Name
- Command
- All Send Invoice: … columns
- Update “Send Invoice: …” columns and “Command” column.
- Save the file and import via Matrixify.
- Done! Check out your Draft Orders in your Shopify Admin.
1. Export only your open Draft Orders by applying a filter
Exporting with Matrixify is simple. Select the checkbox to export Draft Orders from the “Select Sheets” drop-down and select to Export “Basic Columns” for Draft Orders. Apply a filter to your Export, by clicking the “Filter” button and selecting the “Status” Do not forget to press the “Add” button to apply the filter.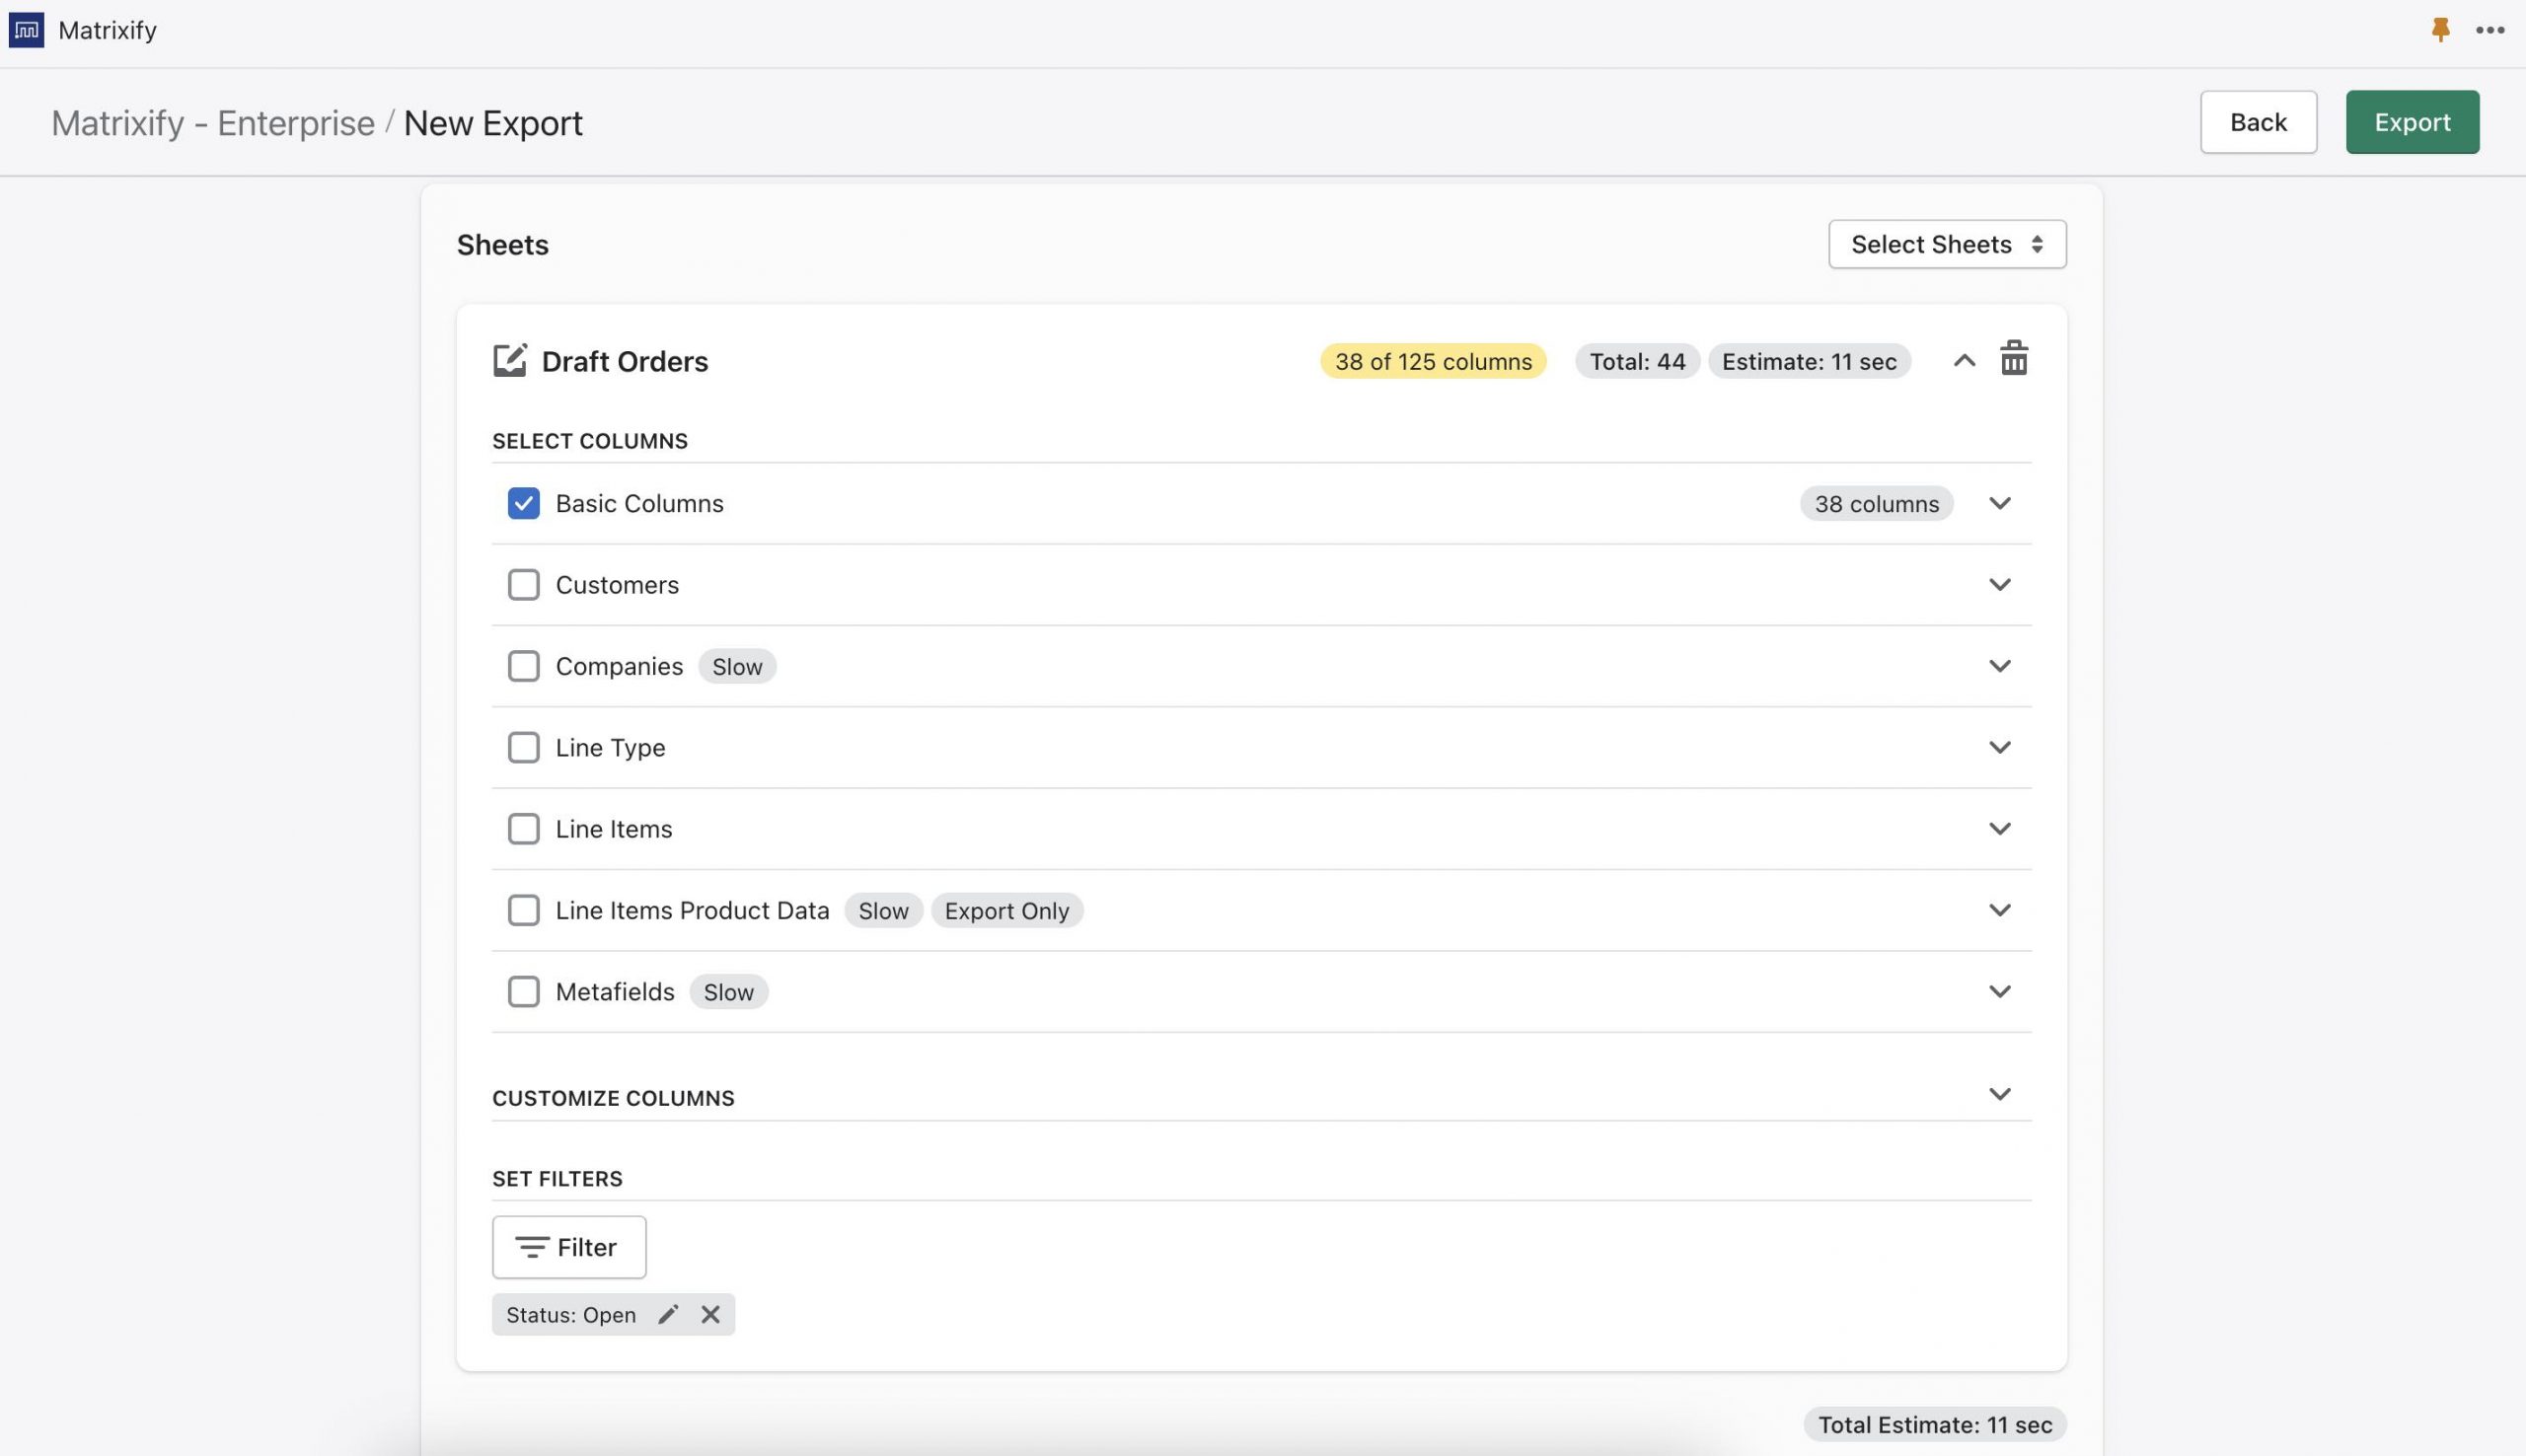
2. Delete unnecessary columns
To instruct Shopify to send your Draft Order invoice you do not need to include all columns in the file. We will only need the following columns:
- ID
- Name
- Command
- All Send Invoice: … columns
Before: 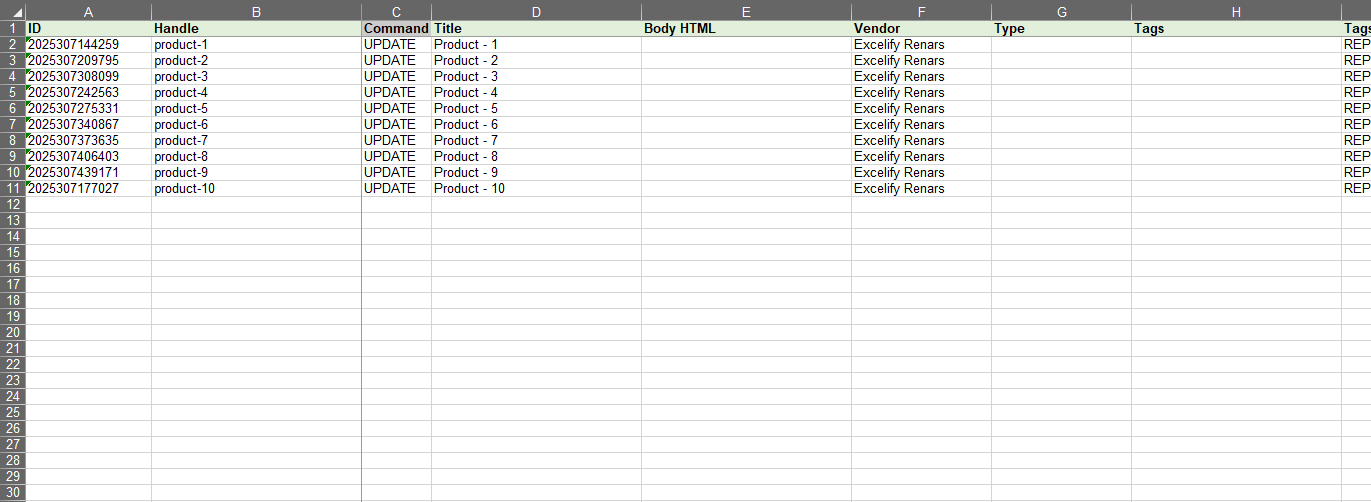
After: 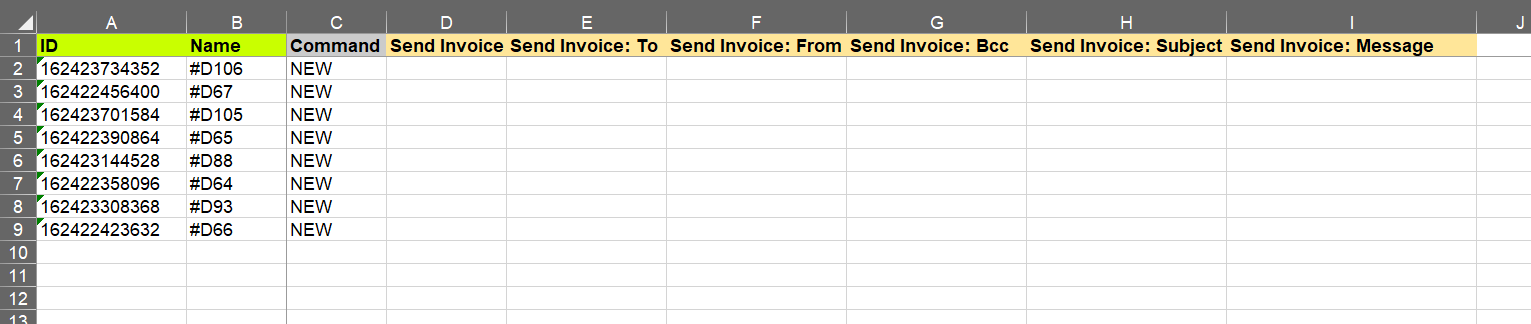
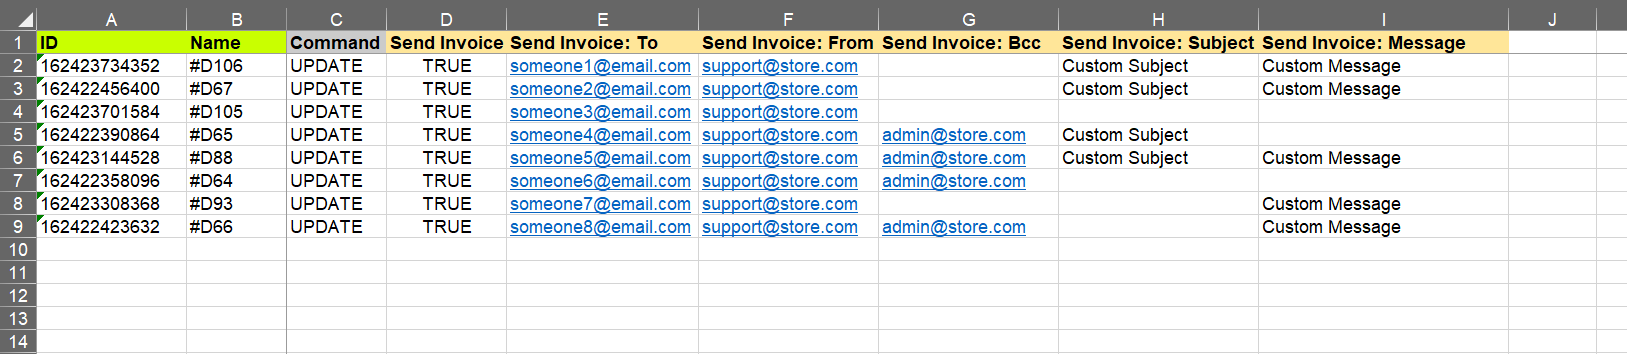
3. Update “Send Invoice” columns and “Command” column
First, you would need to update “Command” column to UPDATE. This indicates to the Matrixify app that you wish to UPDATE these Draft Orders
To send out invoices for your Draft Orders you must fill “Send Invoice” columns:
- Send Invoice – with value TRUE.
- Send Invoice: To – Email of the recipient. If a draft order also has the “Customer: Email” column filled then it may be left empty.
- Send Invoice: From – Sender e-mail address which will show for the customer who received the invoice.
- Send Invoice: Bcc – (Optional) Additional recipients of the invoice. Their e-mail addresses will not be visible by e-mail receivers.
- Send Invoice: Subject – (Optional) If left empty, the Shopify will put its own default e-mail subject.
- Send Invoice: Message – (Optional) If empty, then the default Shopify e-mail message will be used.
More details about each column you can see in the Matrixify Draft Orders documentation page.
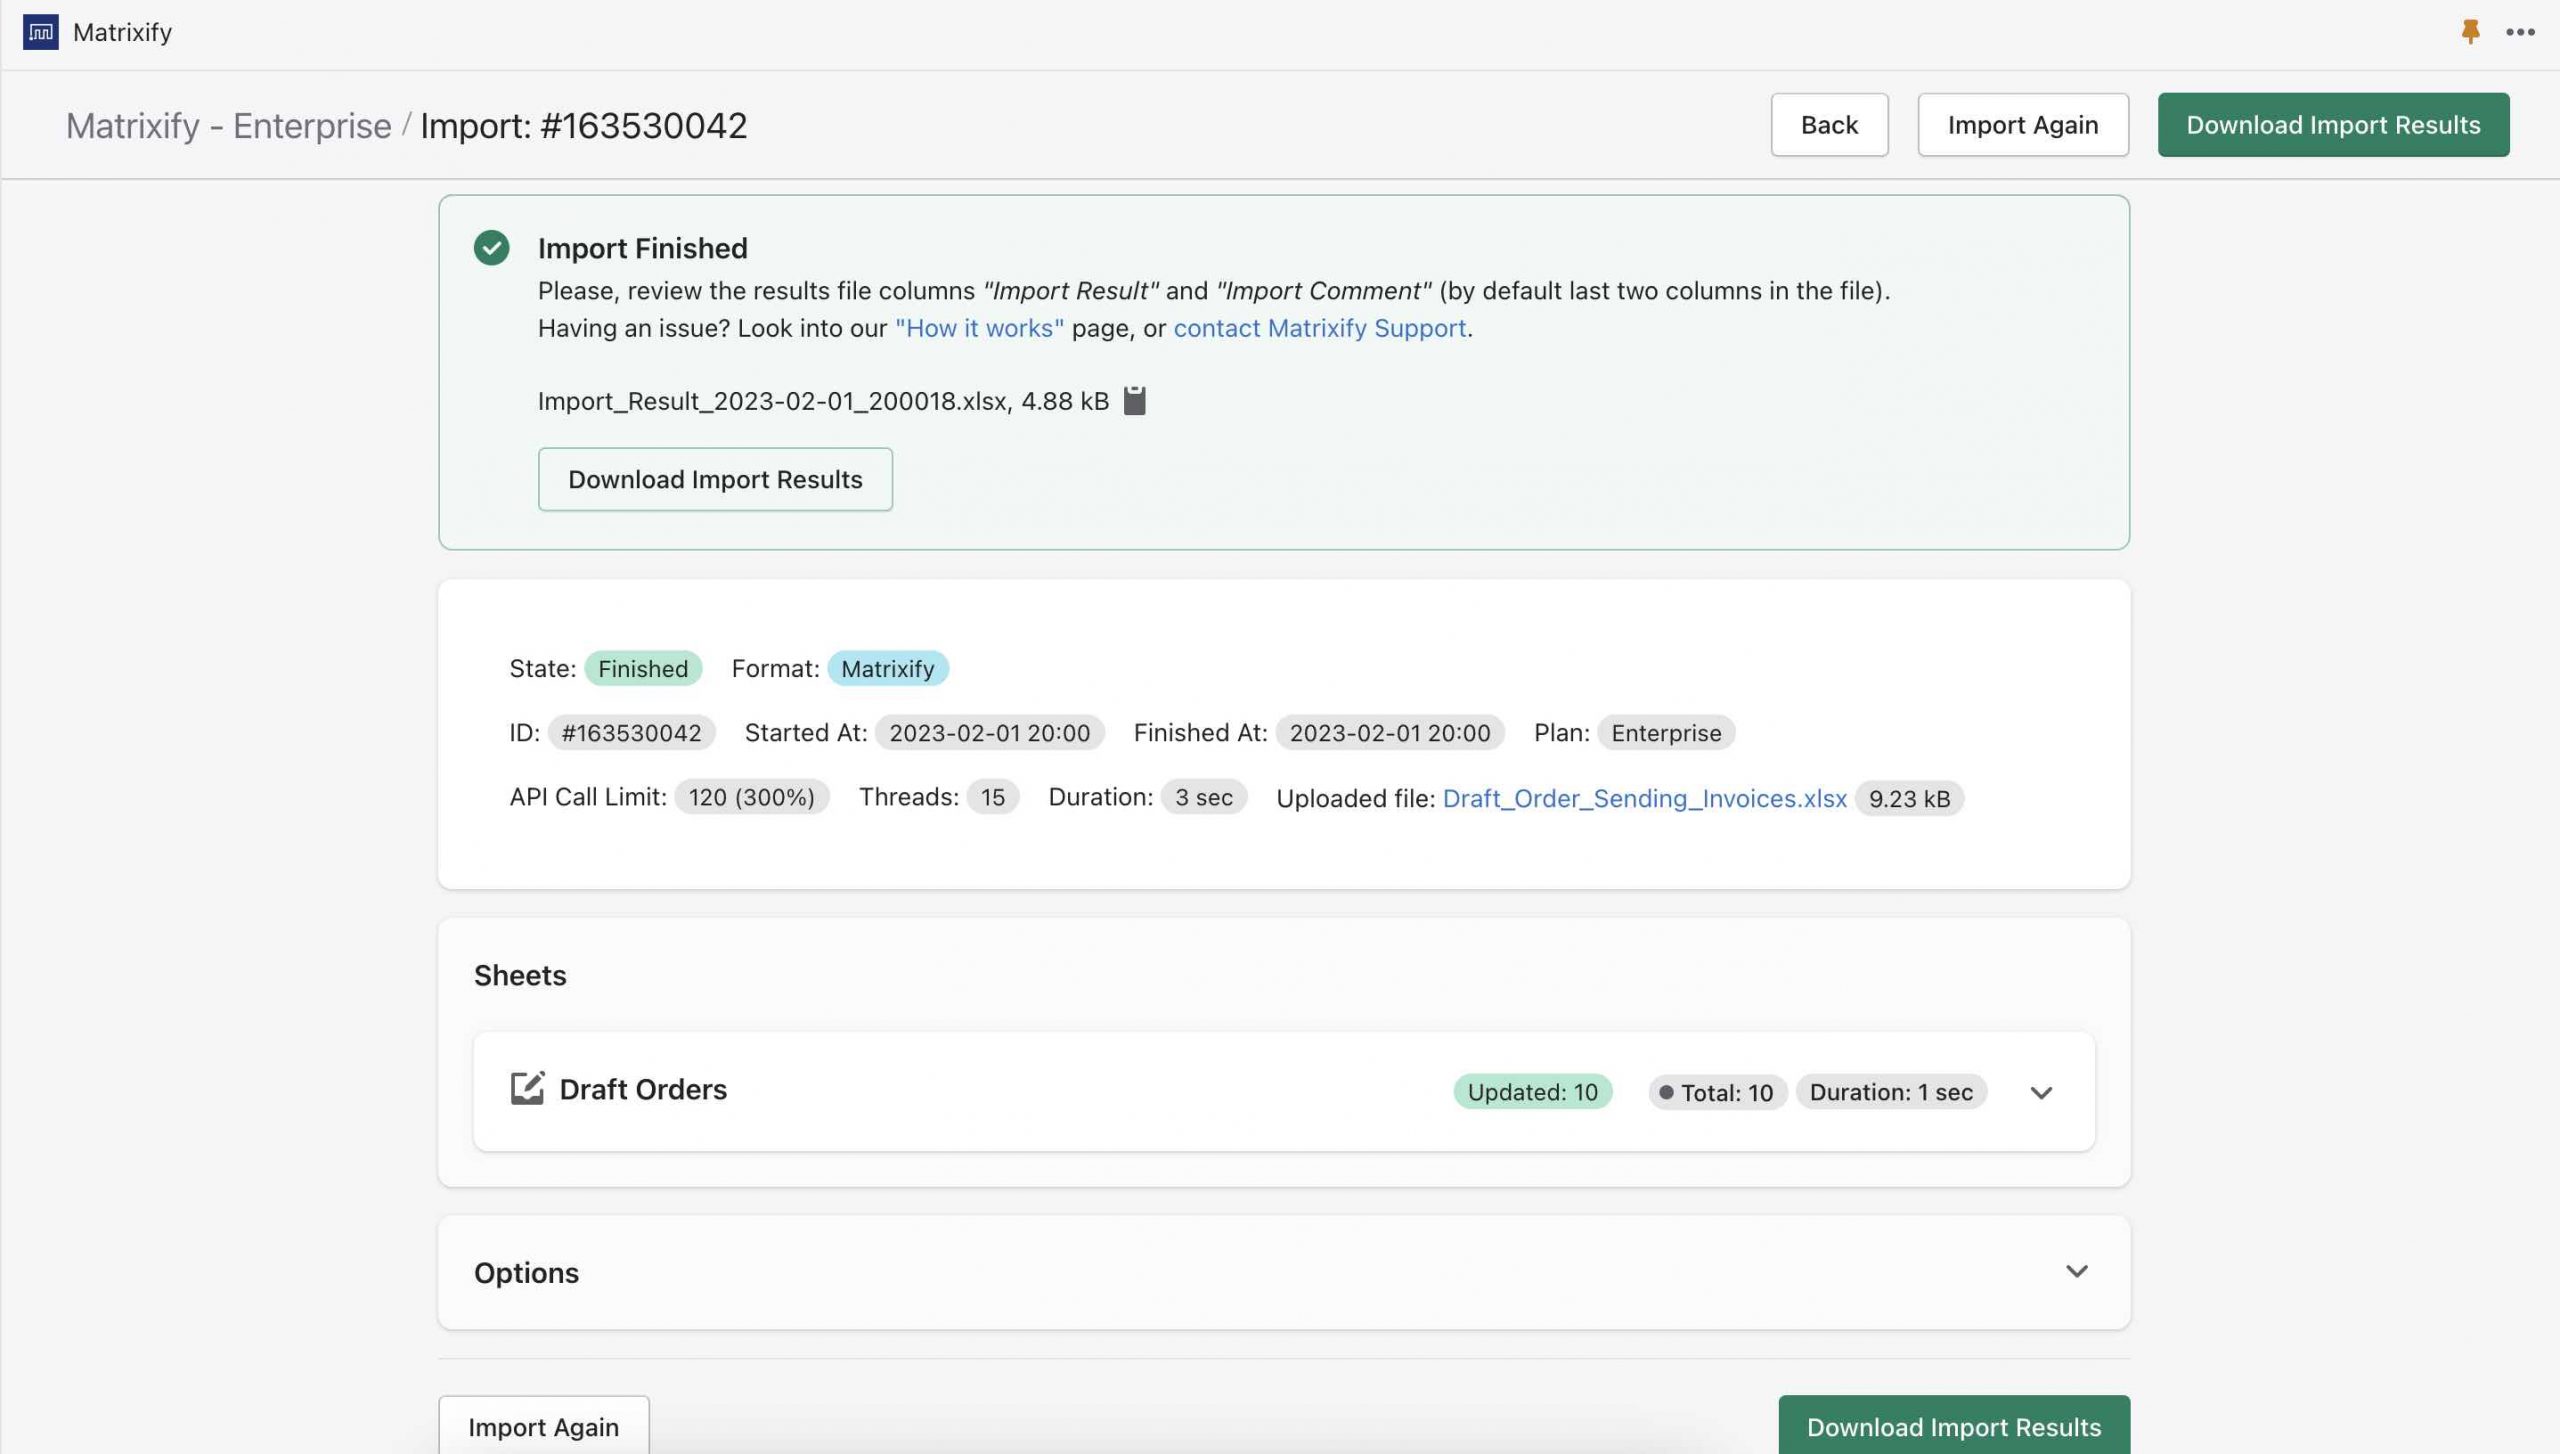
4. Save the file and import via Matrixify
Now we can save the file. Go back to the Matrixify app and import the file in the Import section. The app will analyze the file and count how many Draft Orders we are importing.
Press the Import button to start the import.
If you see any Failed items, then after the import has finished, you can download the Import Results file and look into the “Import Comment” column. It will tell why the particular Draft Order has failed. Then you can fix that issue and re-import just those failed and fixed rows again.
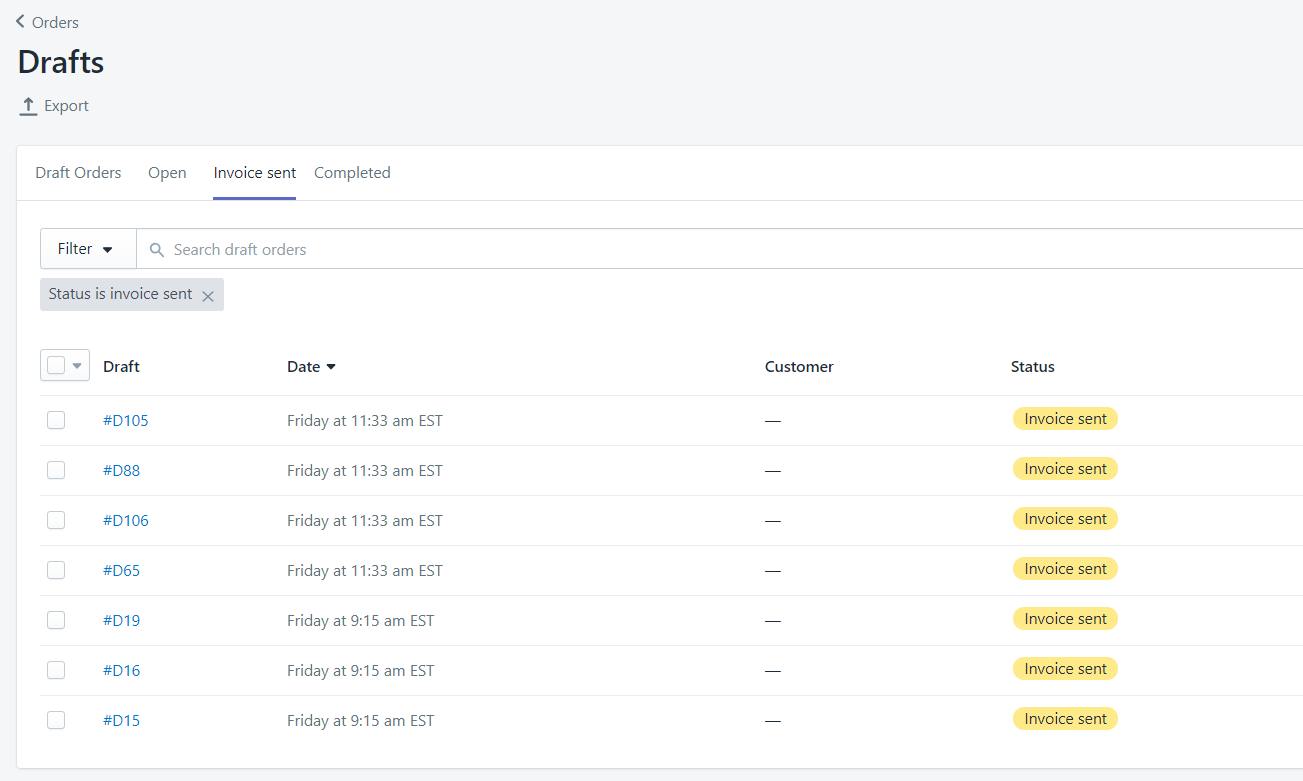
5. Enjoy your updated Draft Orders
What to do next?
- Install the Matrixify App
- Check out our Draft Orders documentation.
- Check tutorial on how to complete your Draft Orders in bulk.
- Read our tutorial on how to import Shopify Draft Orders.
- Contact Matrixify support if you run into any issues or have additional questions.


