


With the Shopify App Matrixify, you can Export your Orders to the UPS WorldShip® XML file, and here we will go through the process.
Make sure that you contact UPS WorldShip support in your country to set up your WorldShip application and shipping profile.
Steps in short:
- Contact Matrixify support to set up WorldShip details for your Export.
- Create new export and select UPS WorldShip XML format.
- Select to export Orders in the Matrixify.
- Apply filters if needed.
- Export the file.
- Import the file in the UPS WorldShip.
1. Set up WorldShip export details
Since there are some store-specific details in the Export, then for the Export to work correctly in the WorldShip, first we would need to set up your store parameters on our end.
This requires sending our Support configuration details for your UPS WorldShip Exports in the Matrixify app.
This is not a mandatory step as the Export will function without this configuration. The configuration allows to customize the UPS WorldShip Export behaviour for various data attributes, and without it, the Export might be missing some store-specific details.
2. Create New Export and select UPS WorldShip XML format
After the configuration has been set up by our Support in Matrixify app for your store, open the Matrixify app, create a New Export in the app.
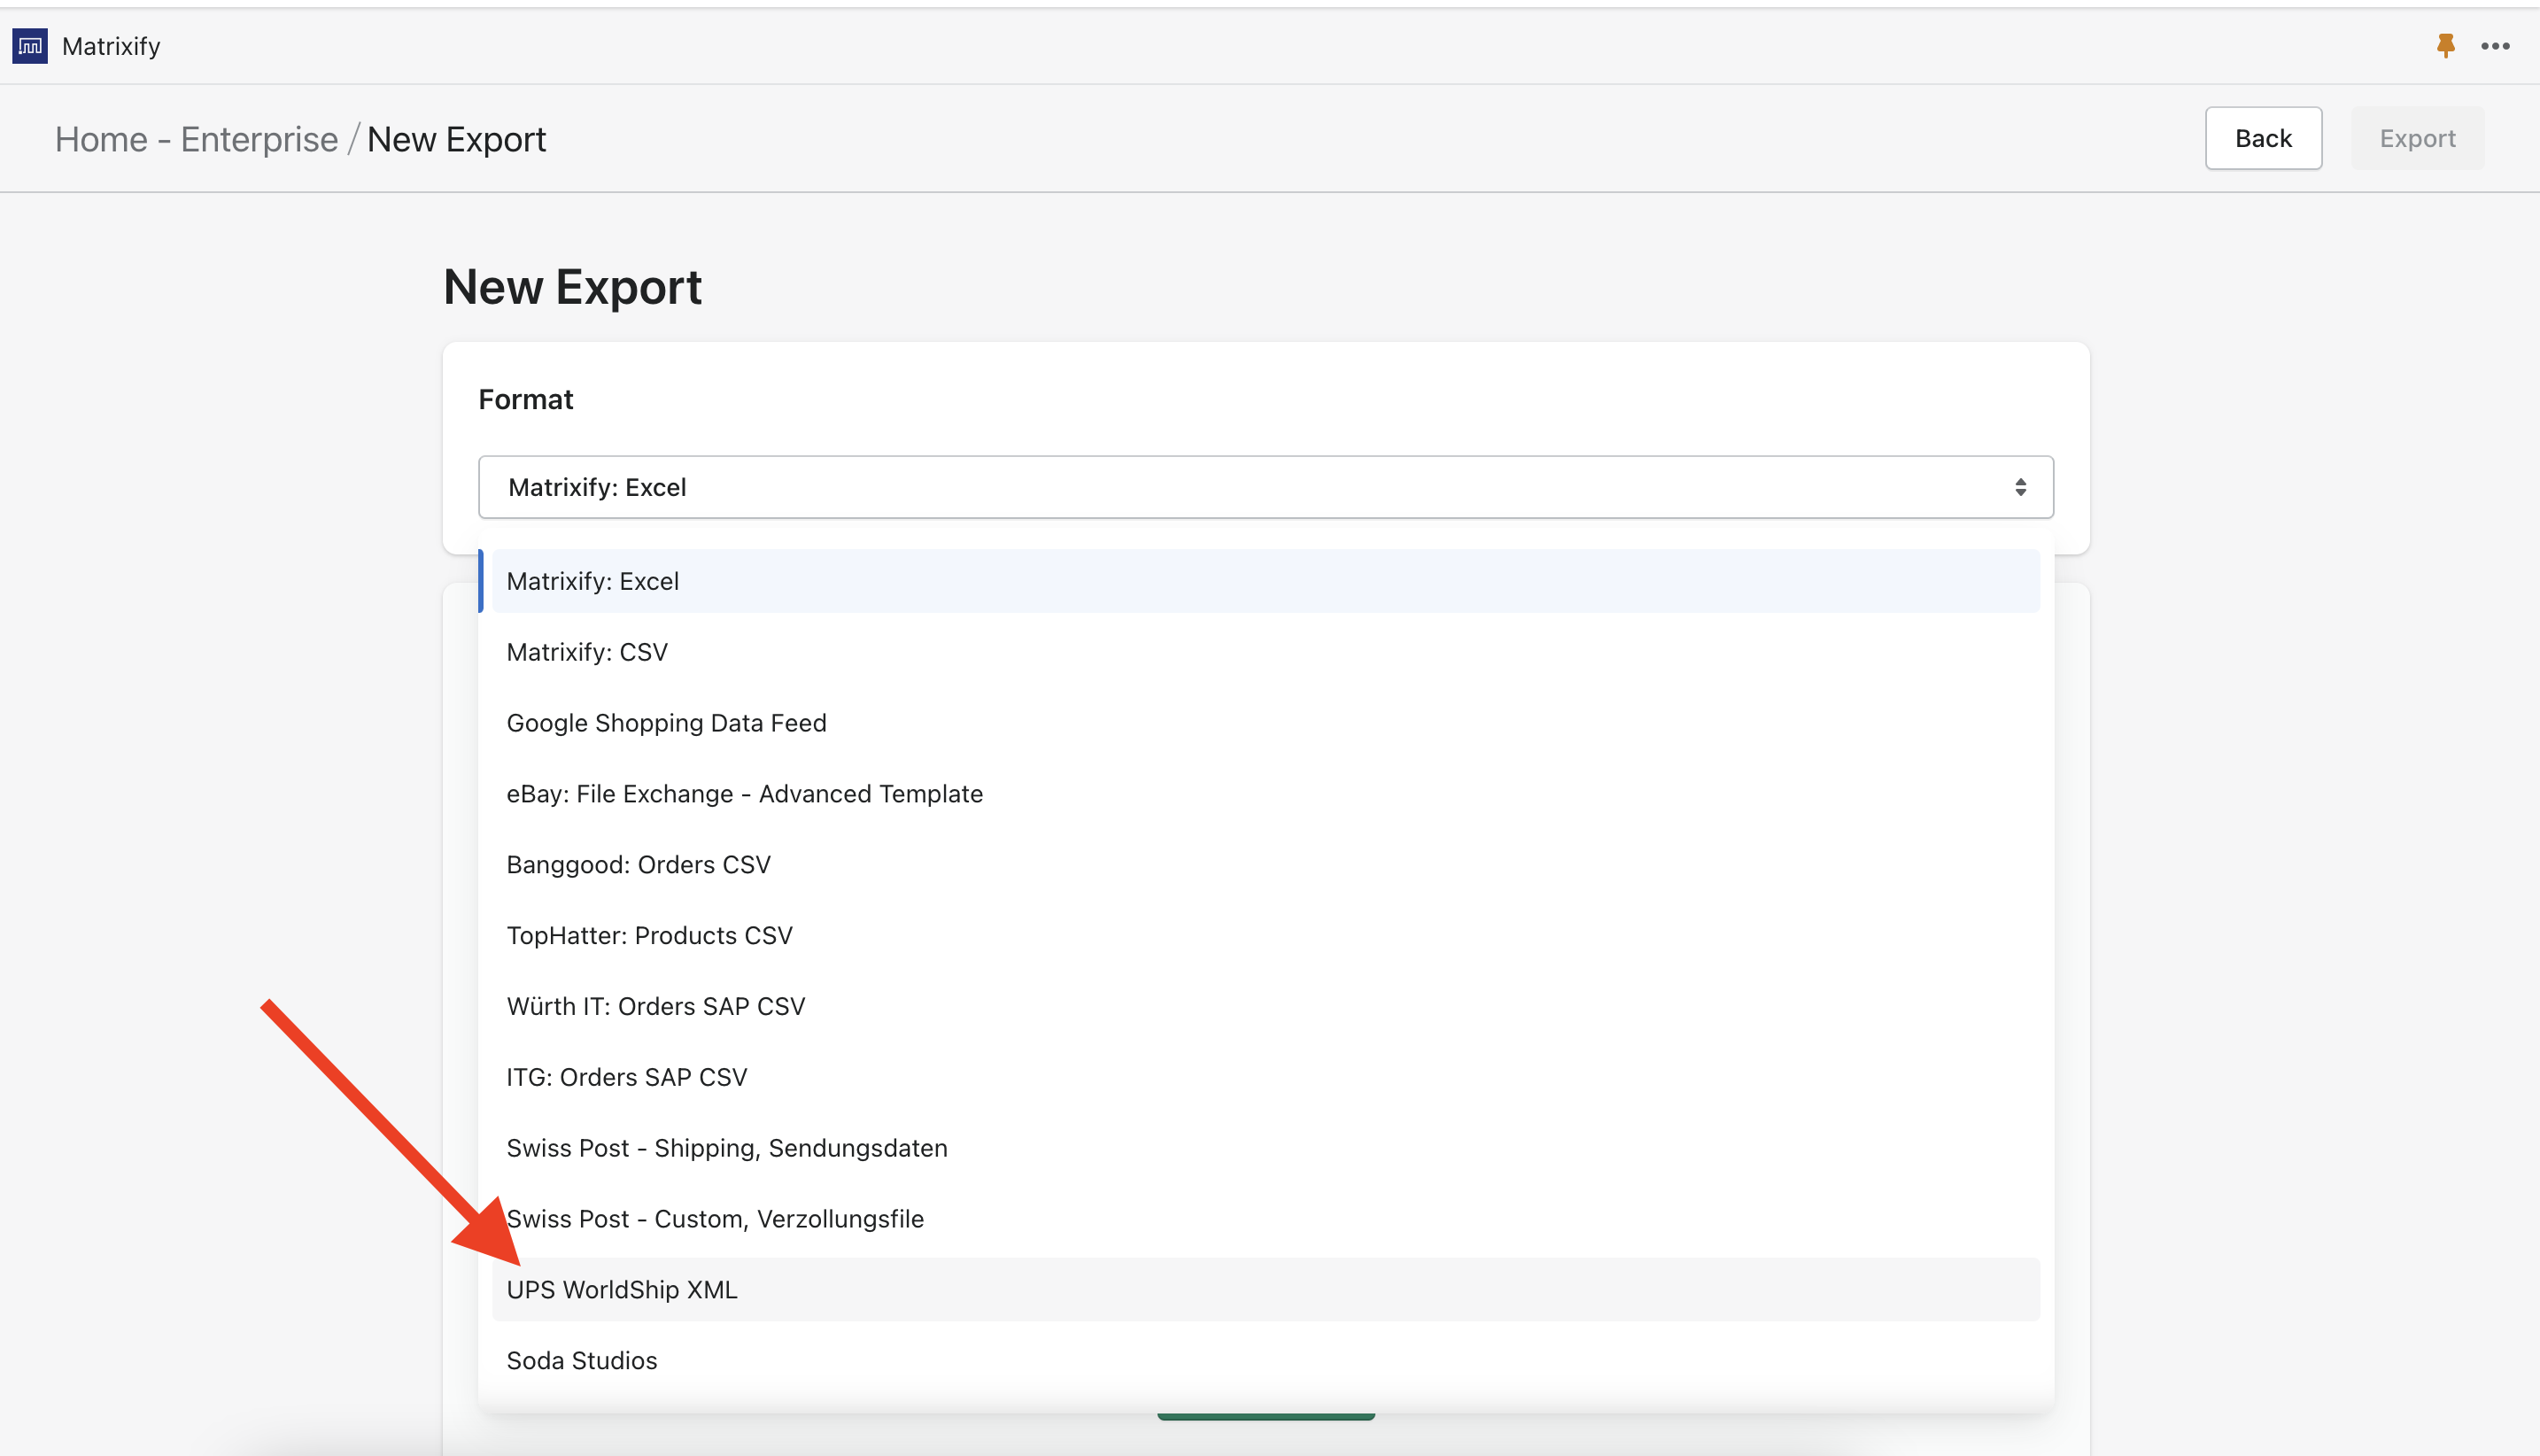
First, you will see the format drop-down list. In this list select “UPS WorldShip XML”.
2. Select Orders in the Matrixify export
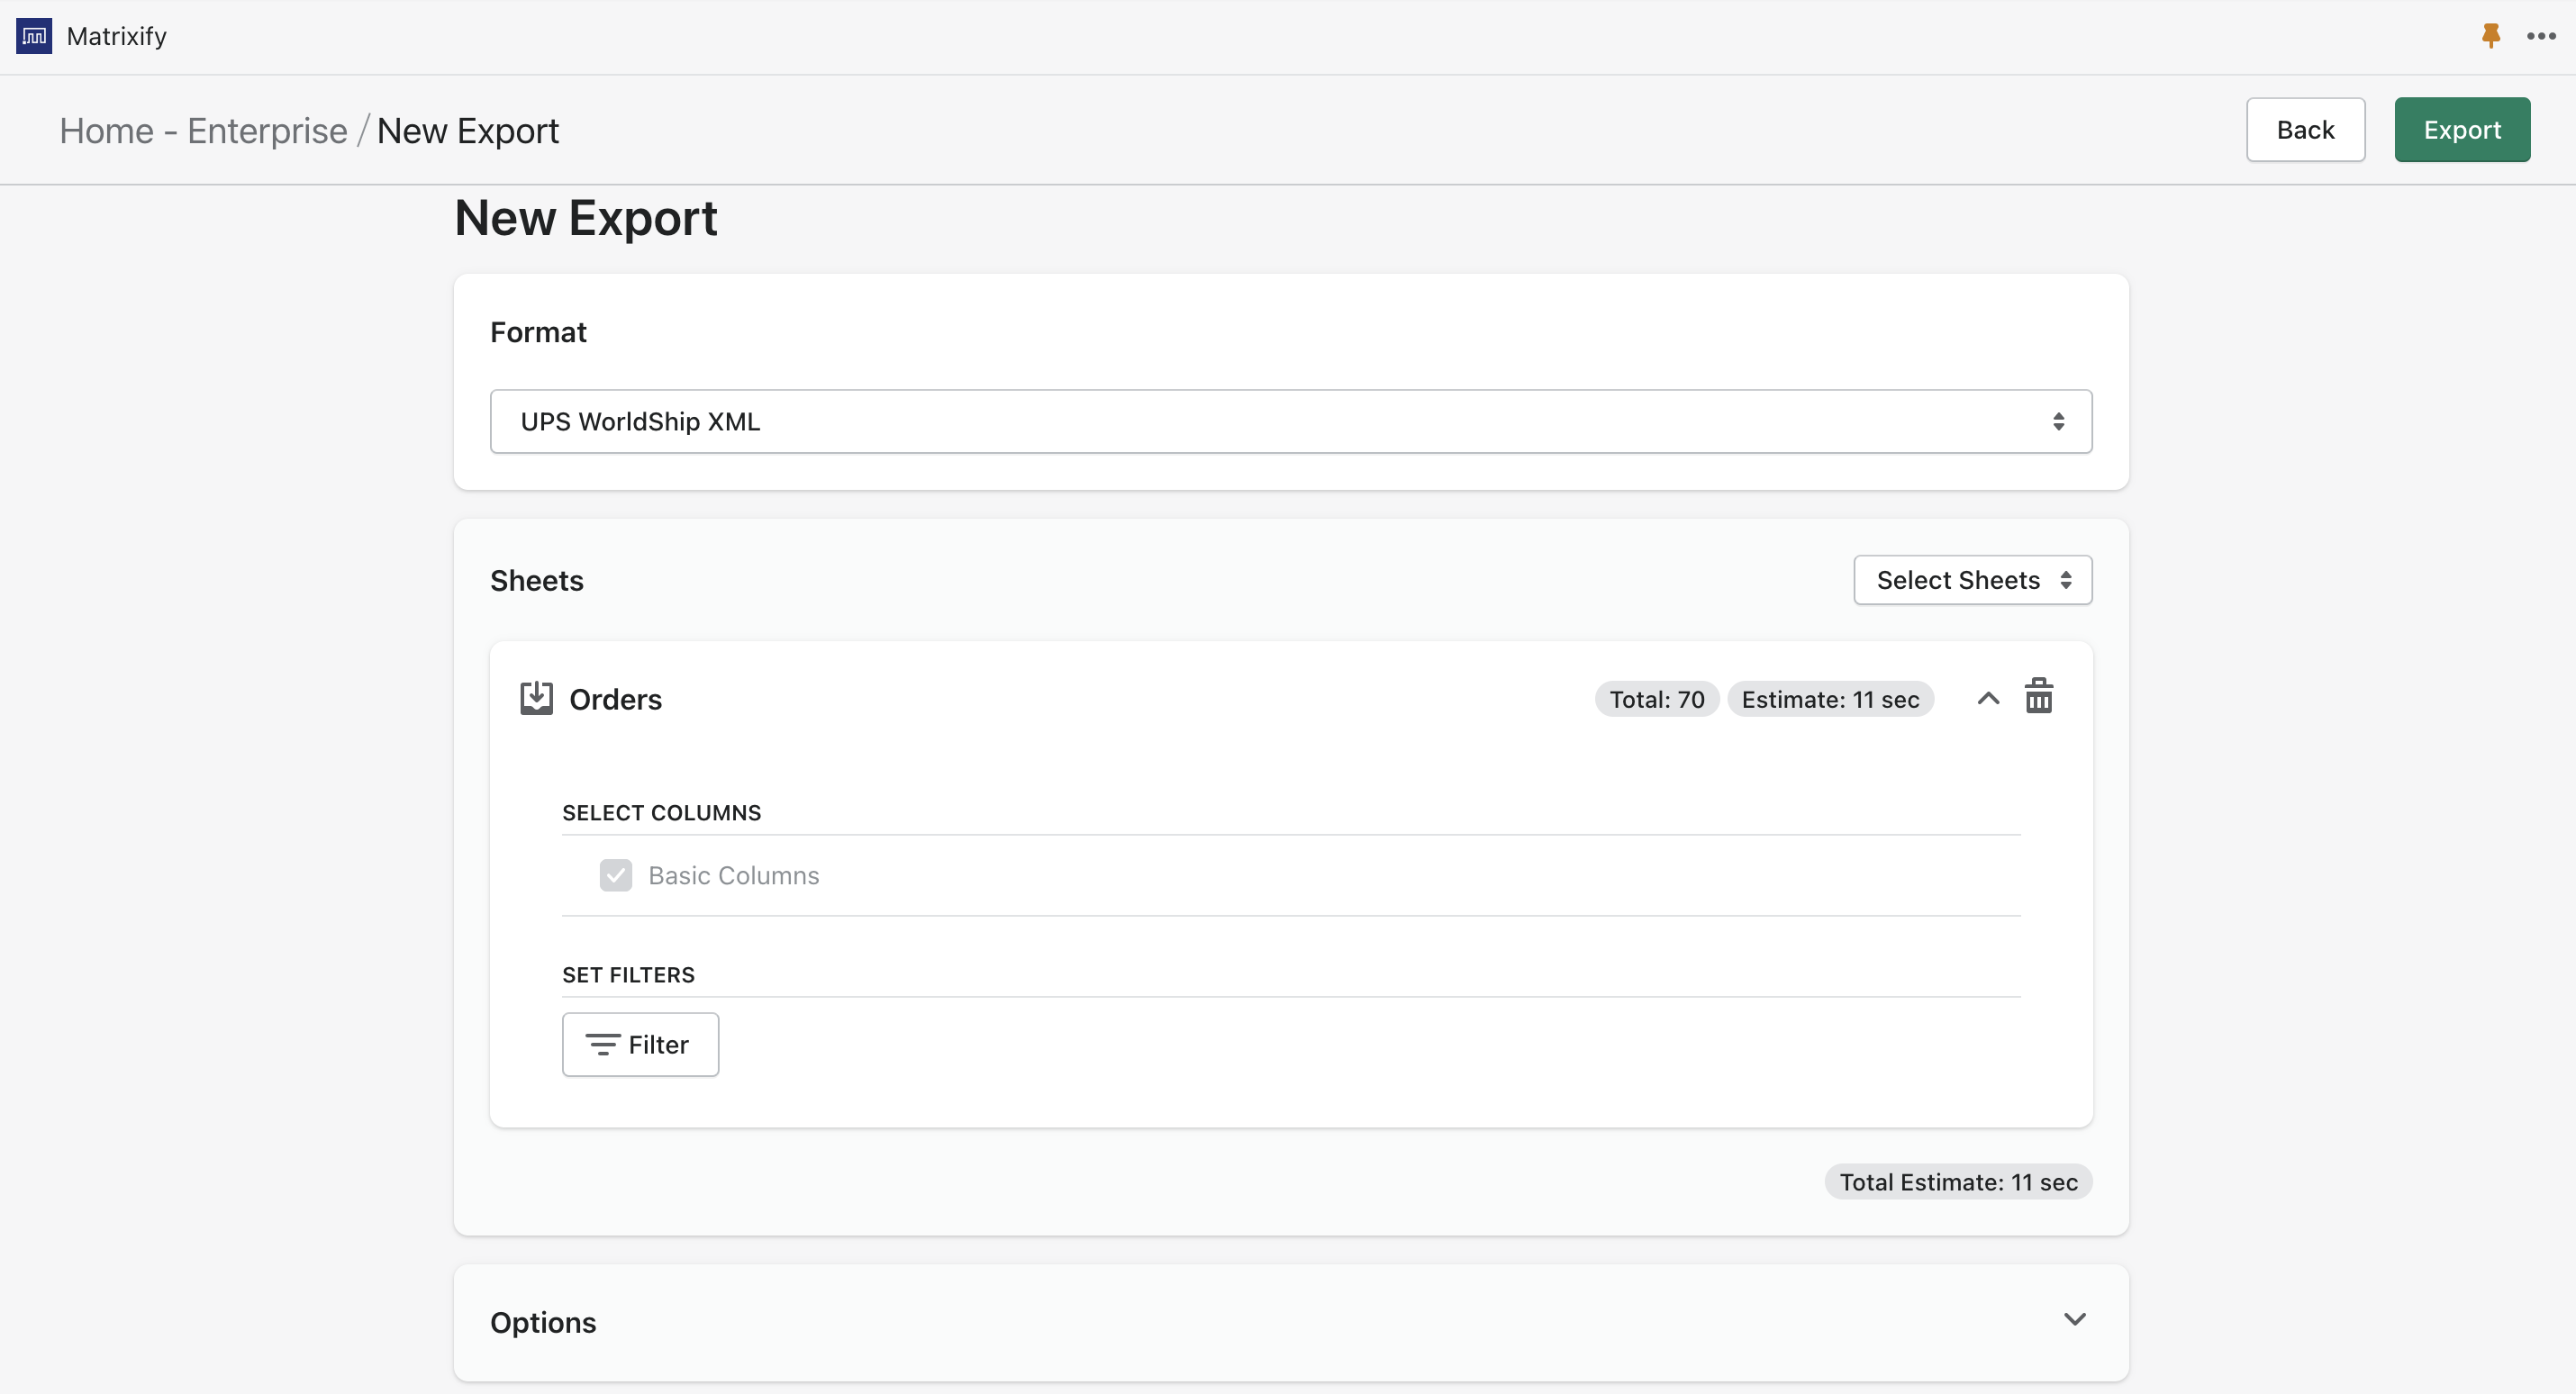
The app will automatically select Orders with Basic Columns to be Exported:
3. Apply filters if needed
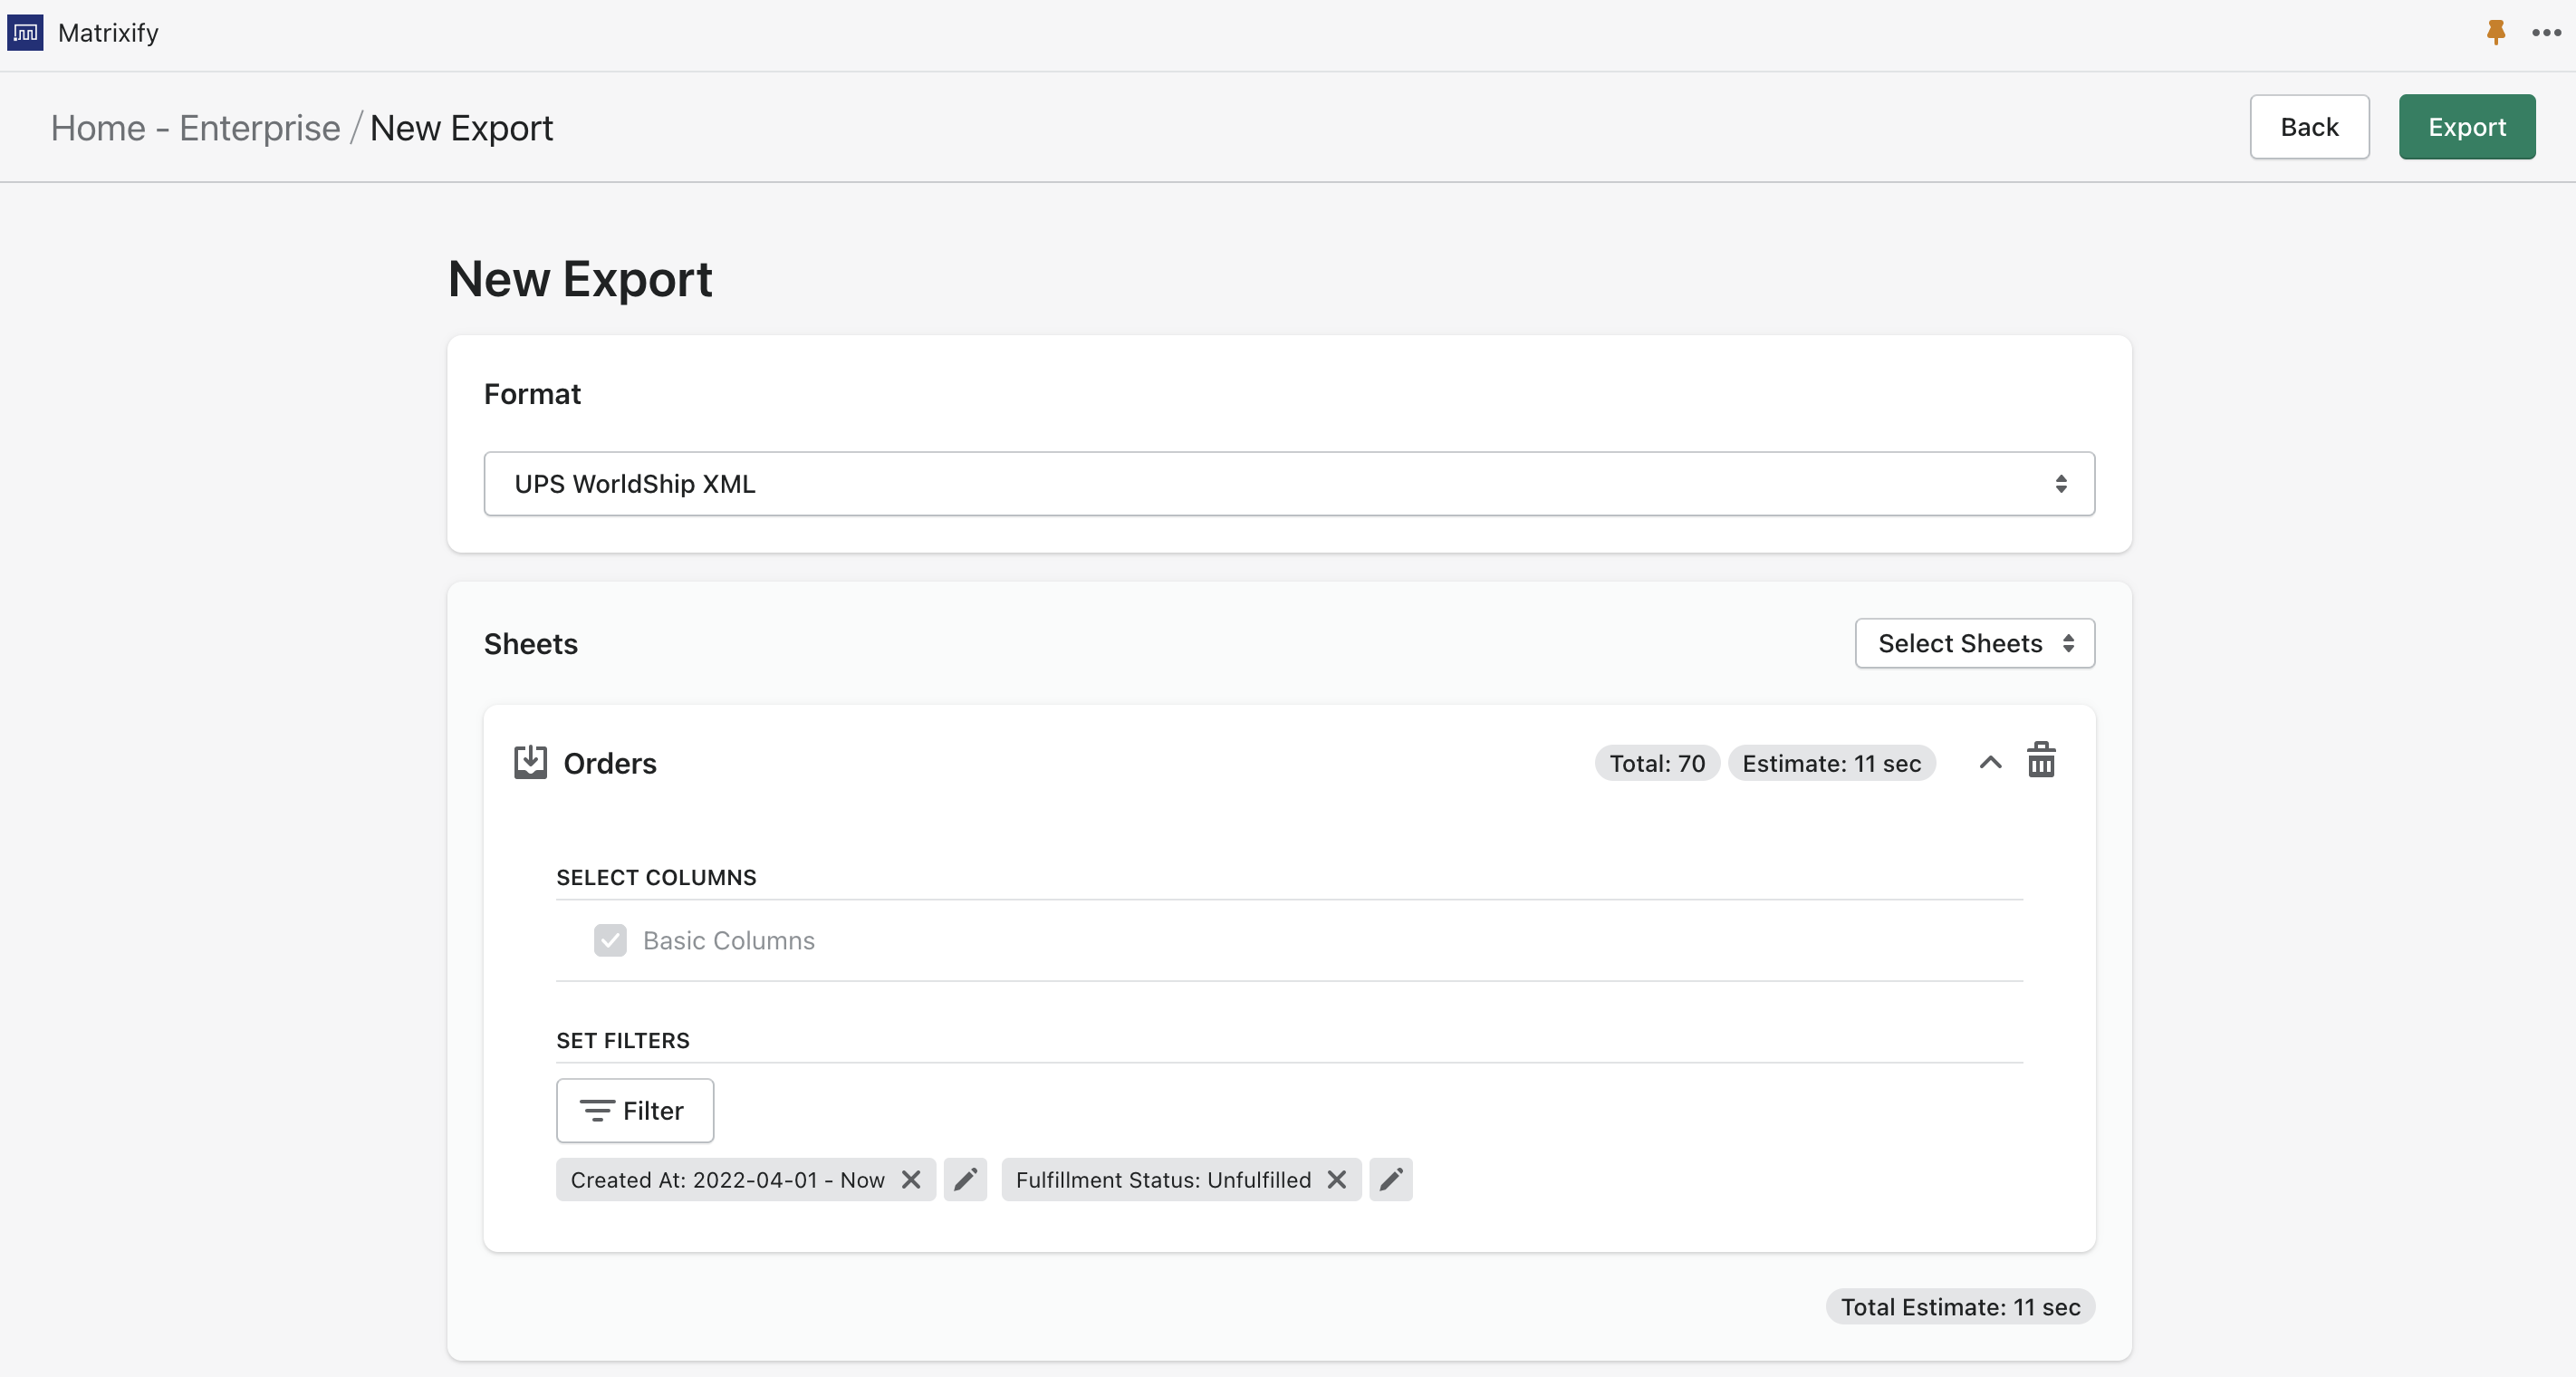
You can apply multiple filters to export only the Orders that you need. There are various filters for orders that you can apply, for example, by Created, Updated, or Processed At dates, Fulfillment Status, Payments Status, and others. List of all available filters and their descriptions you can find in our “Export Filter” documentation page.
In our Example we use two filters:
- Created At
- Fulfillment Status
5. Export the file
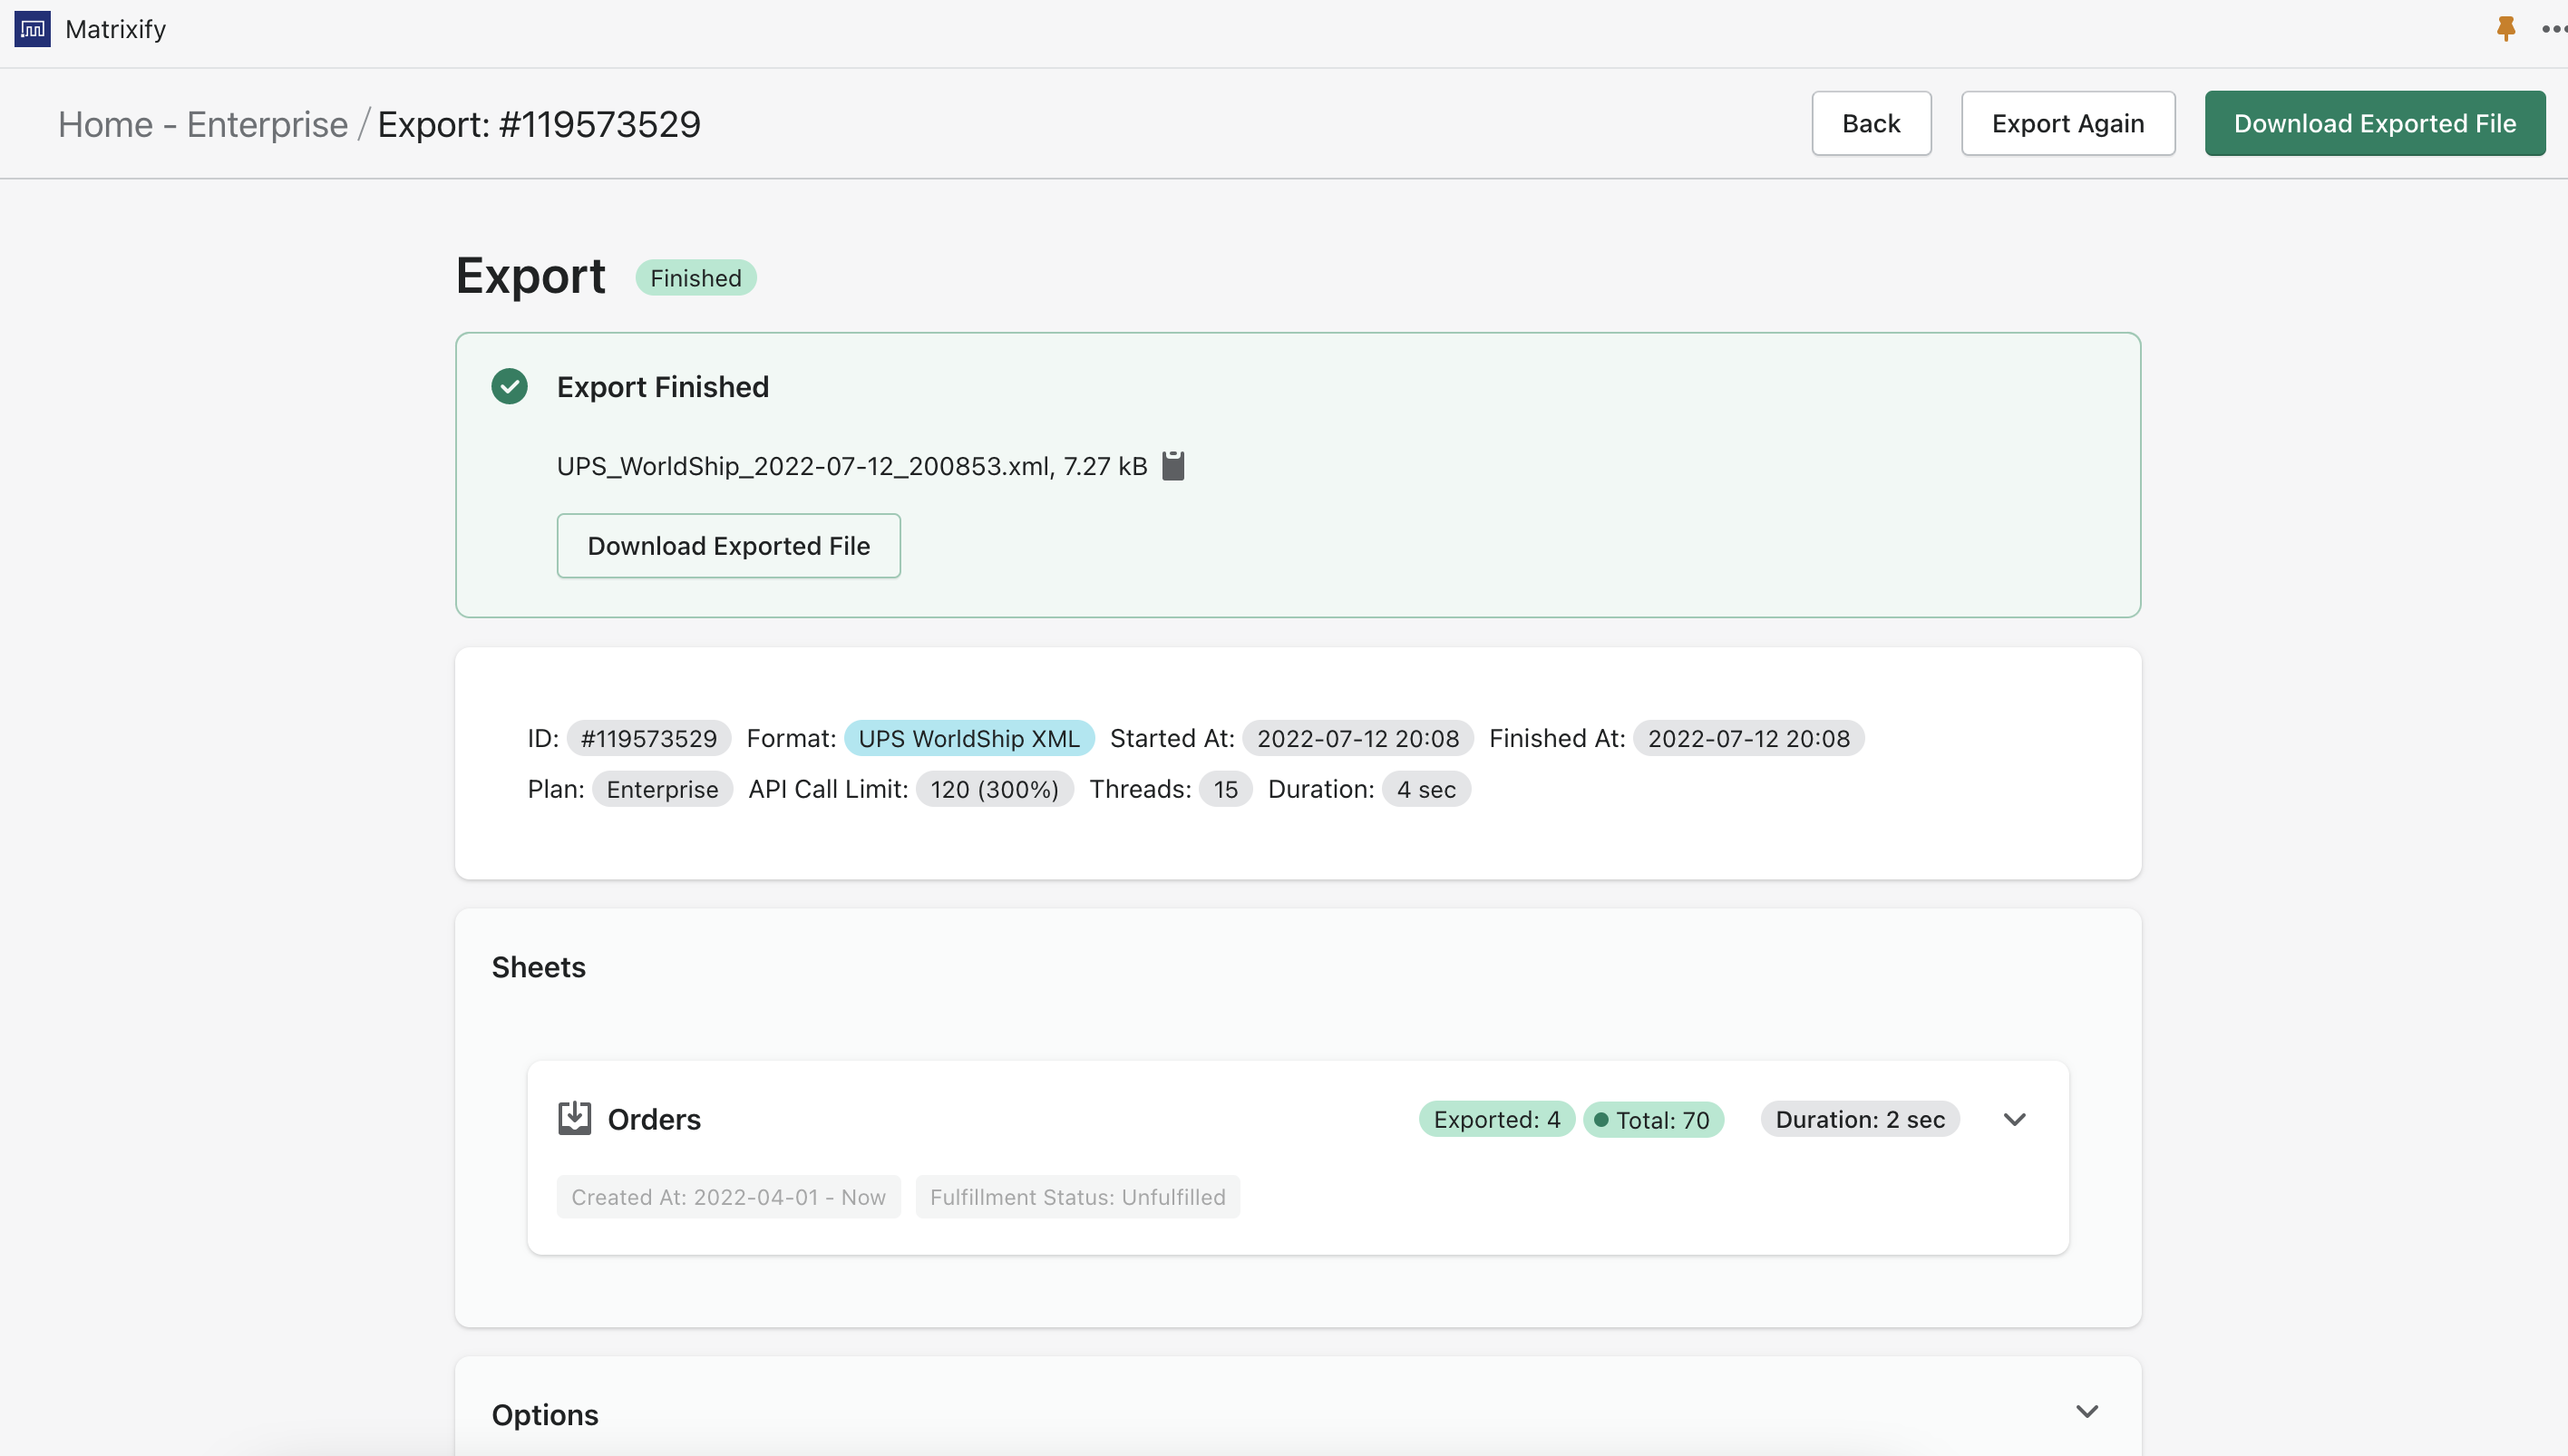
Now all the setup has been done and you can export the file. To export press the “Export” button.
Once the export is finished you can click on the “Download Exported File” button to download your file.
6. Import the file in the UPS WorldShip
Our recommendation is to set up the UPS WorldShip® to automatically take the XML file from your Downloads folder. That way the Shipping label is printed automatically as soon as the file is downloaded.
To set up the Automatic Import please consult with the UPS WorldShip® Support.
UPS WorldShip® Access Points
Matrixify can export also UPS WorldShip® AccessPoint data in the same XML file.
The Access Point address is taken from the Order “Billing Address”. The “Address 1” field of the Billing Address should have the “#APID:” string, followed by the Access Point ID.
For example, the Billing “Address 1” field can look like this:
Borner str. 76 #APID:U12154364
It contains the street address, and the Access Point ID, which is being extracted and inserted into the required WorldShip AccessPoint fields.
What to do next?
- Install the Matrixify App.
- Check other Shopify Orders related tutorials.
- Contact Matrixify support if you run into any issues or have additional questions.
- If you do require to change some of the fields in the exported format then please Contact Matrixify support.


