
You may already have Products in your Shopify store with Variants, and you just want to add Variants without touching the existing Variants of your Products. Matrixify allows you to add Variants to your existing Products easily in bulk. You can do so by following this step by step tutorial.
Steps in short to add Variants to an existing Product
- Export your Products from Shopify using the Matrixify app.
- Construct the Import file.
- Import the edited file into Shopify using the Matrixify app.
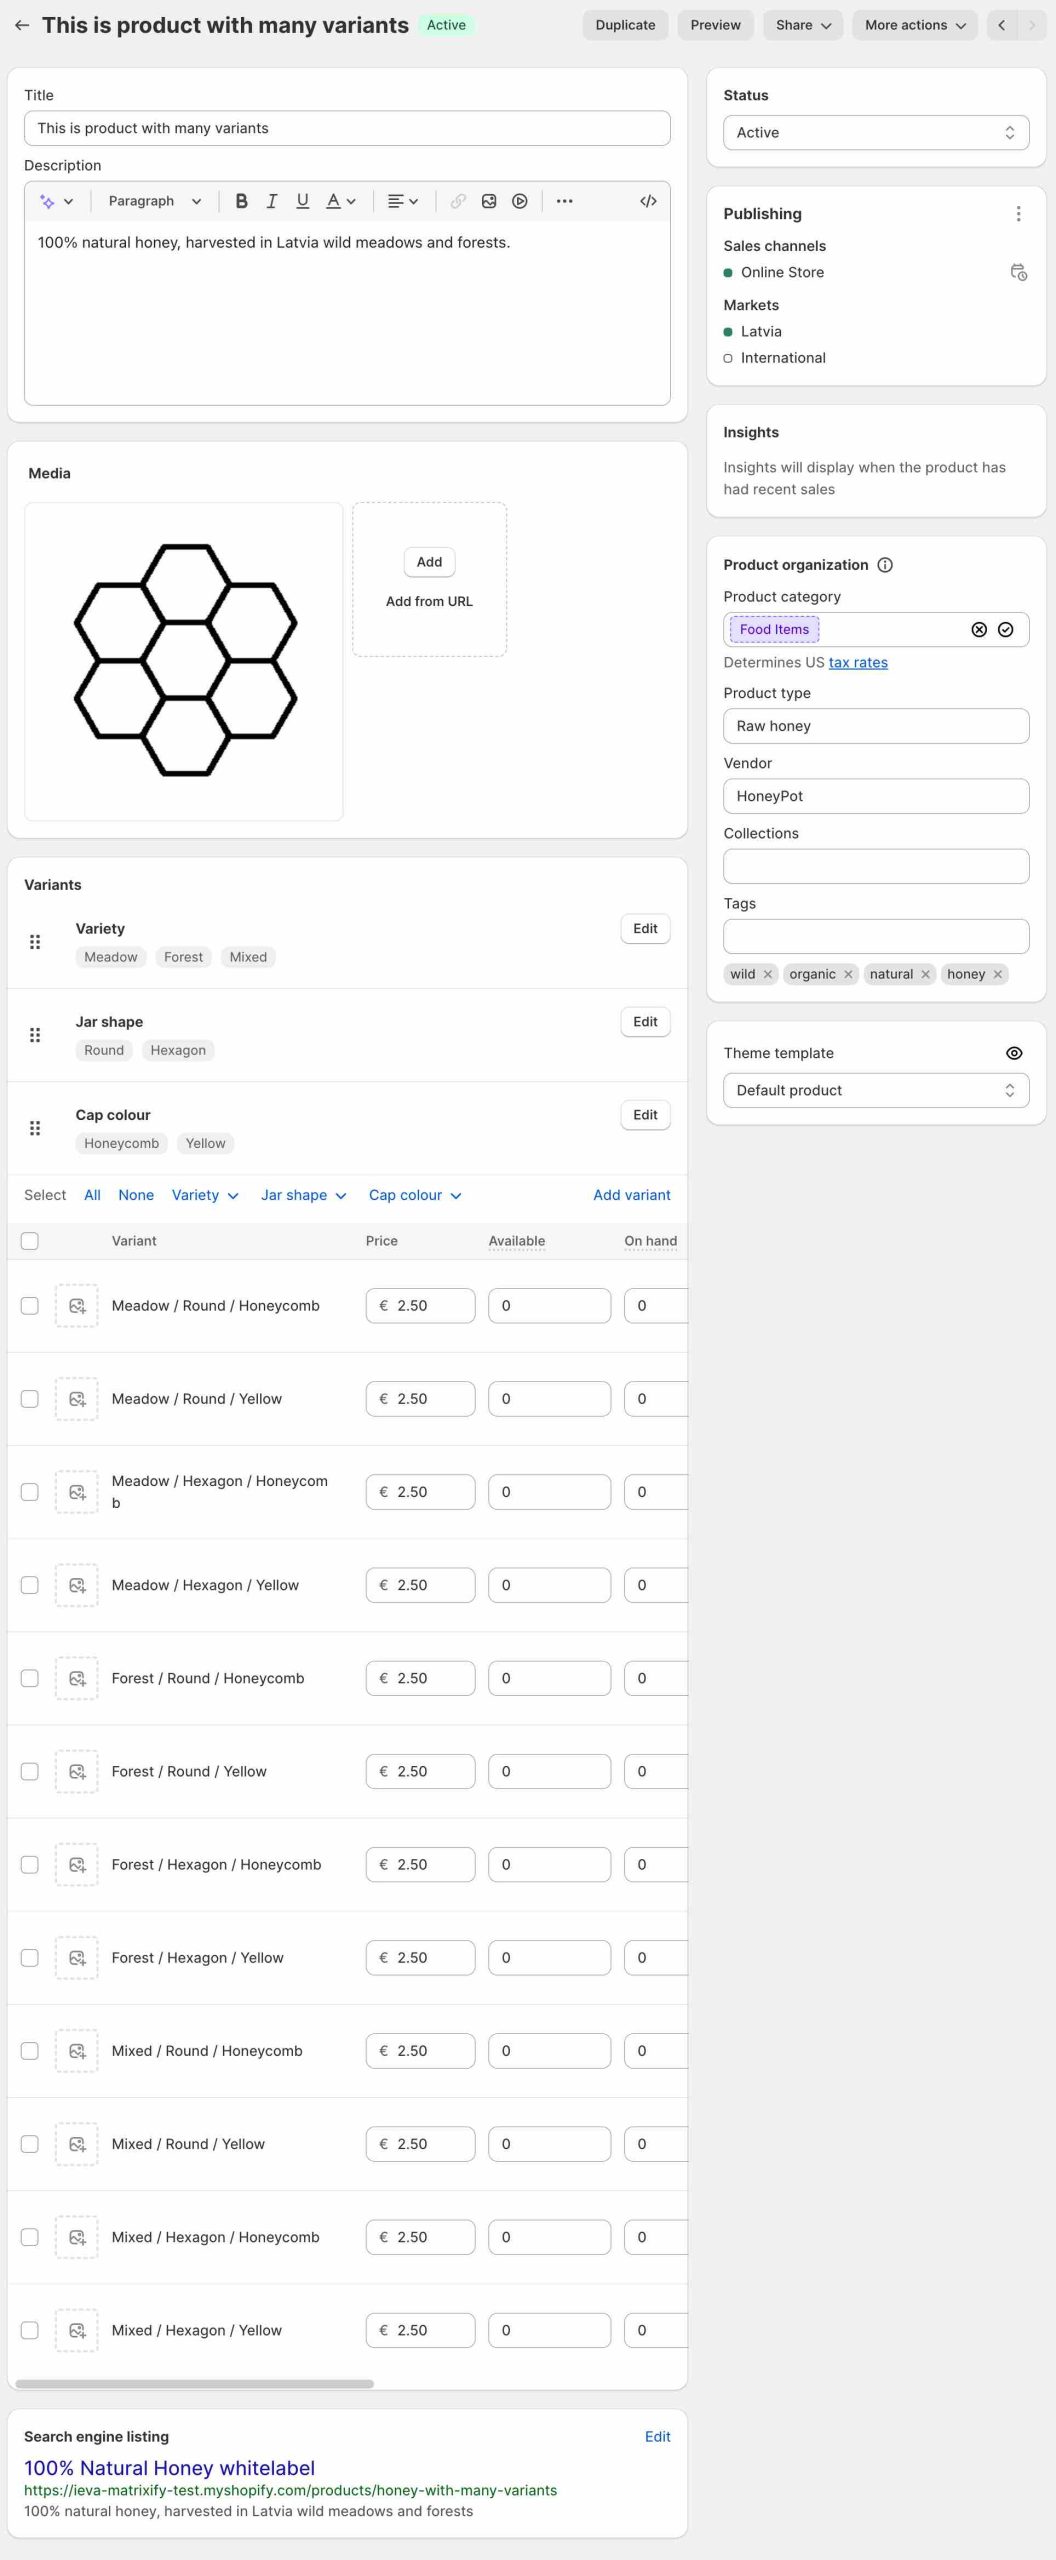
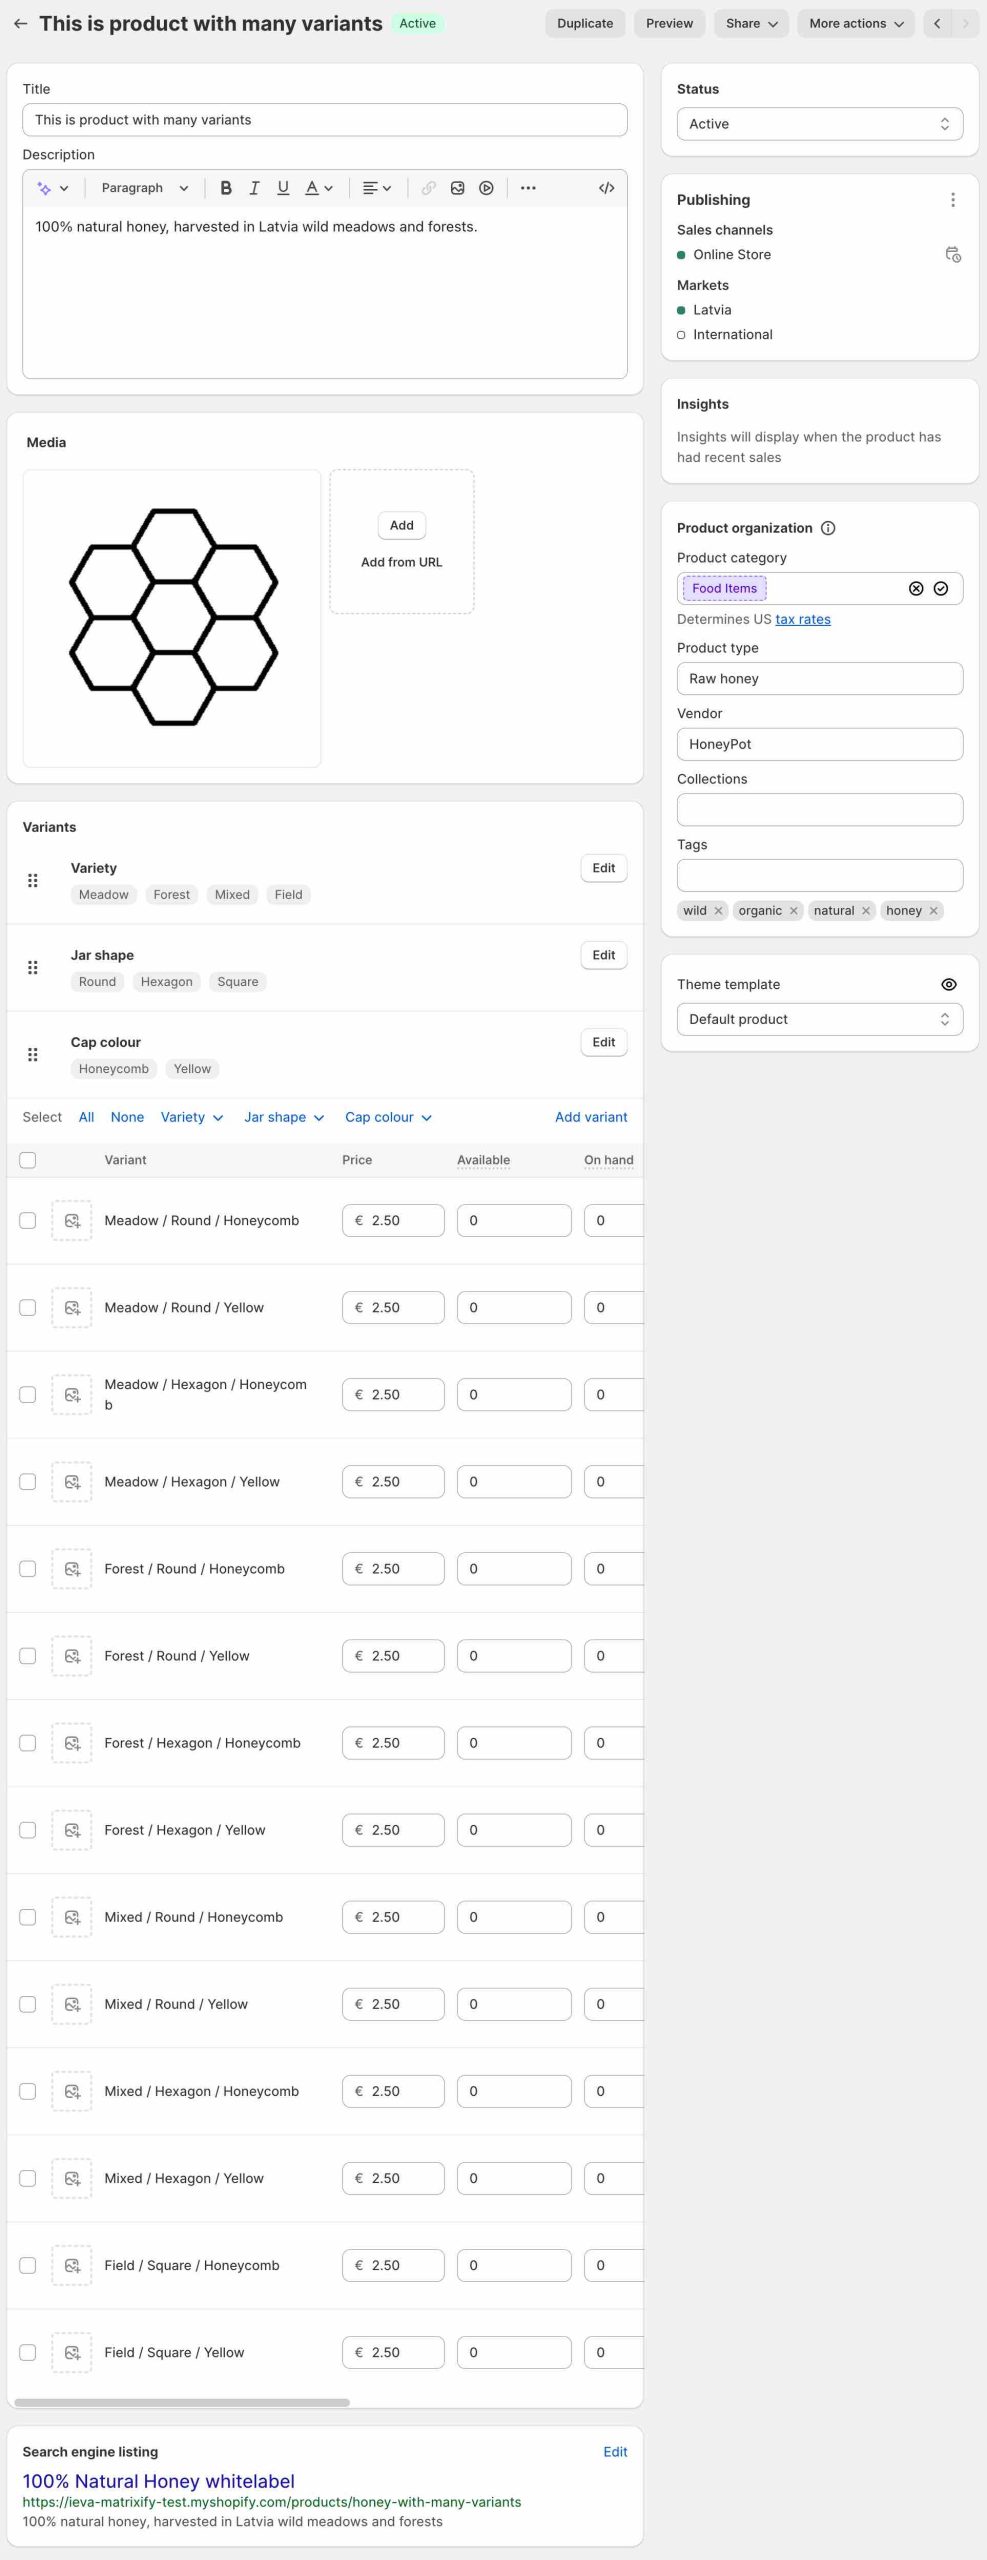
Example Product
Here we have a Product with 12 Variants in Shopify Admin. This tutorial will be adding 2 new Variants to this Product.
1. Export your Products from Shopify using the Matrixify app
We must start by Exporting our Products from Shopify using Matrixify. Head to the Matrixify app and select “New Export”. On the Export page, select the export format Matrixify: Excel and select to export Products from the “Select Sheets” drop-down. From here, you must select the column groups – Basic Columns and Inventory/Variants.
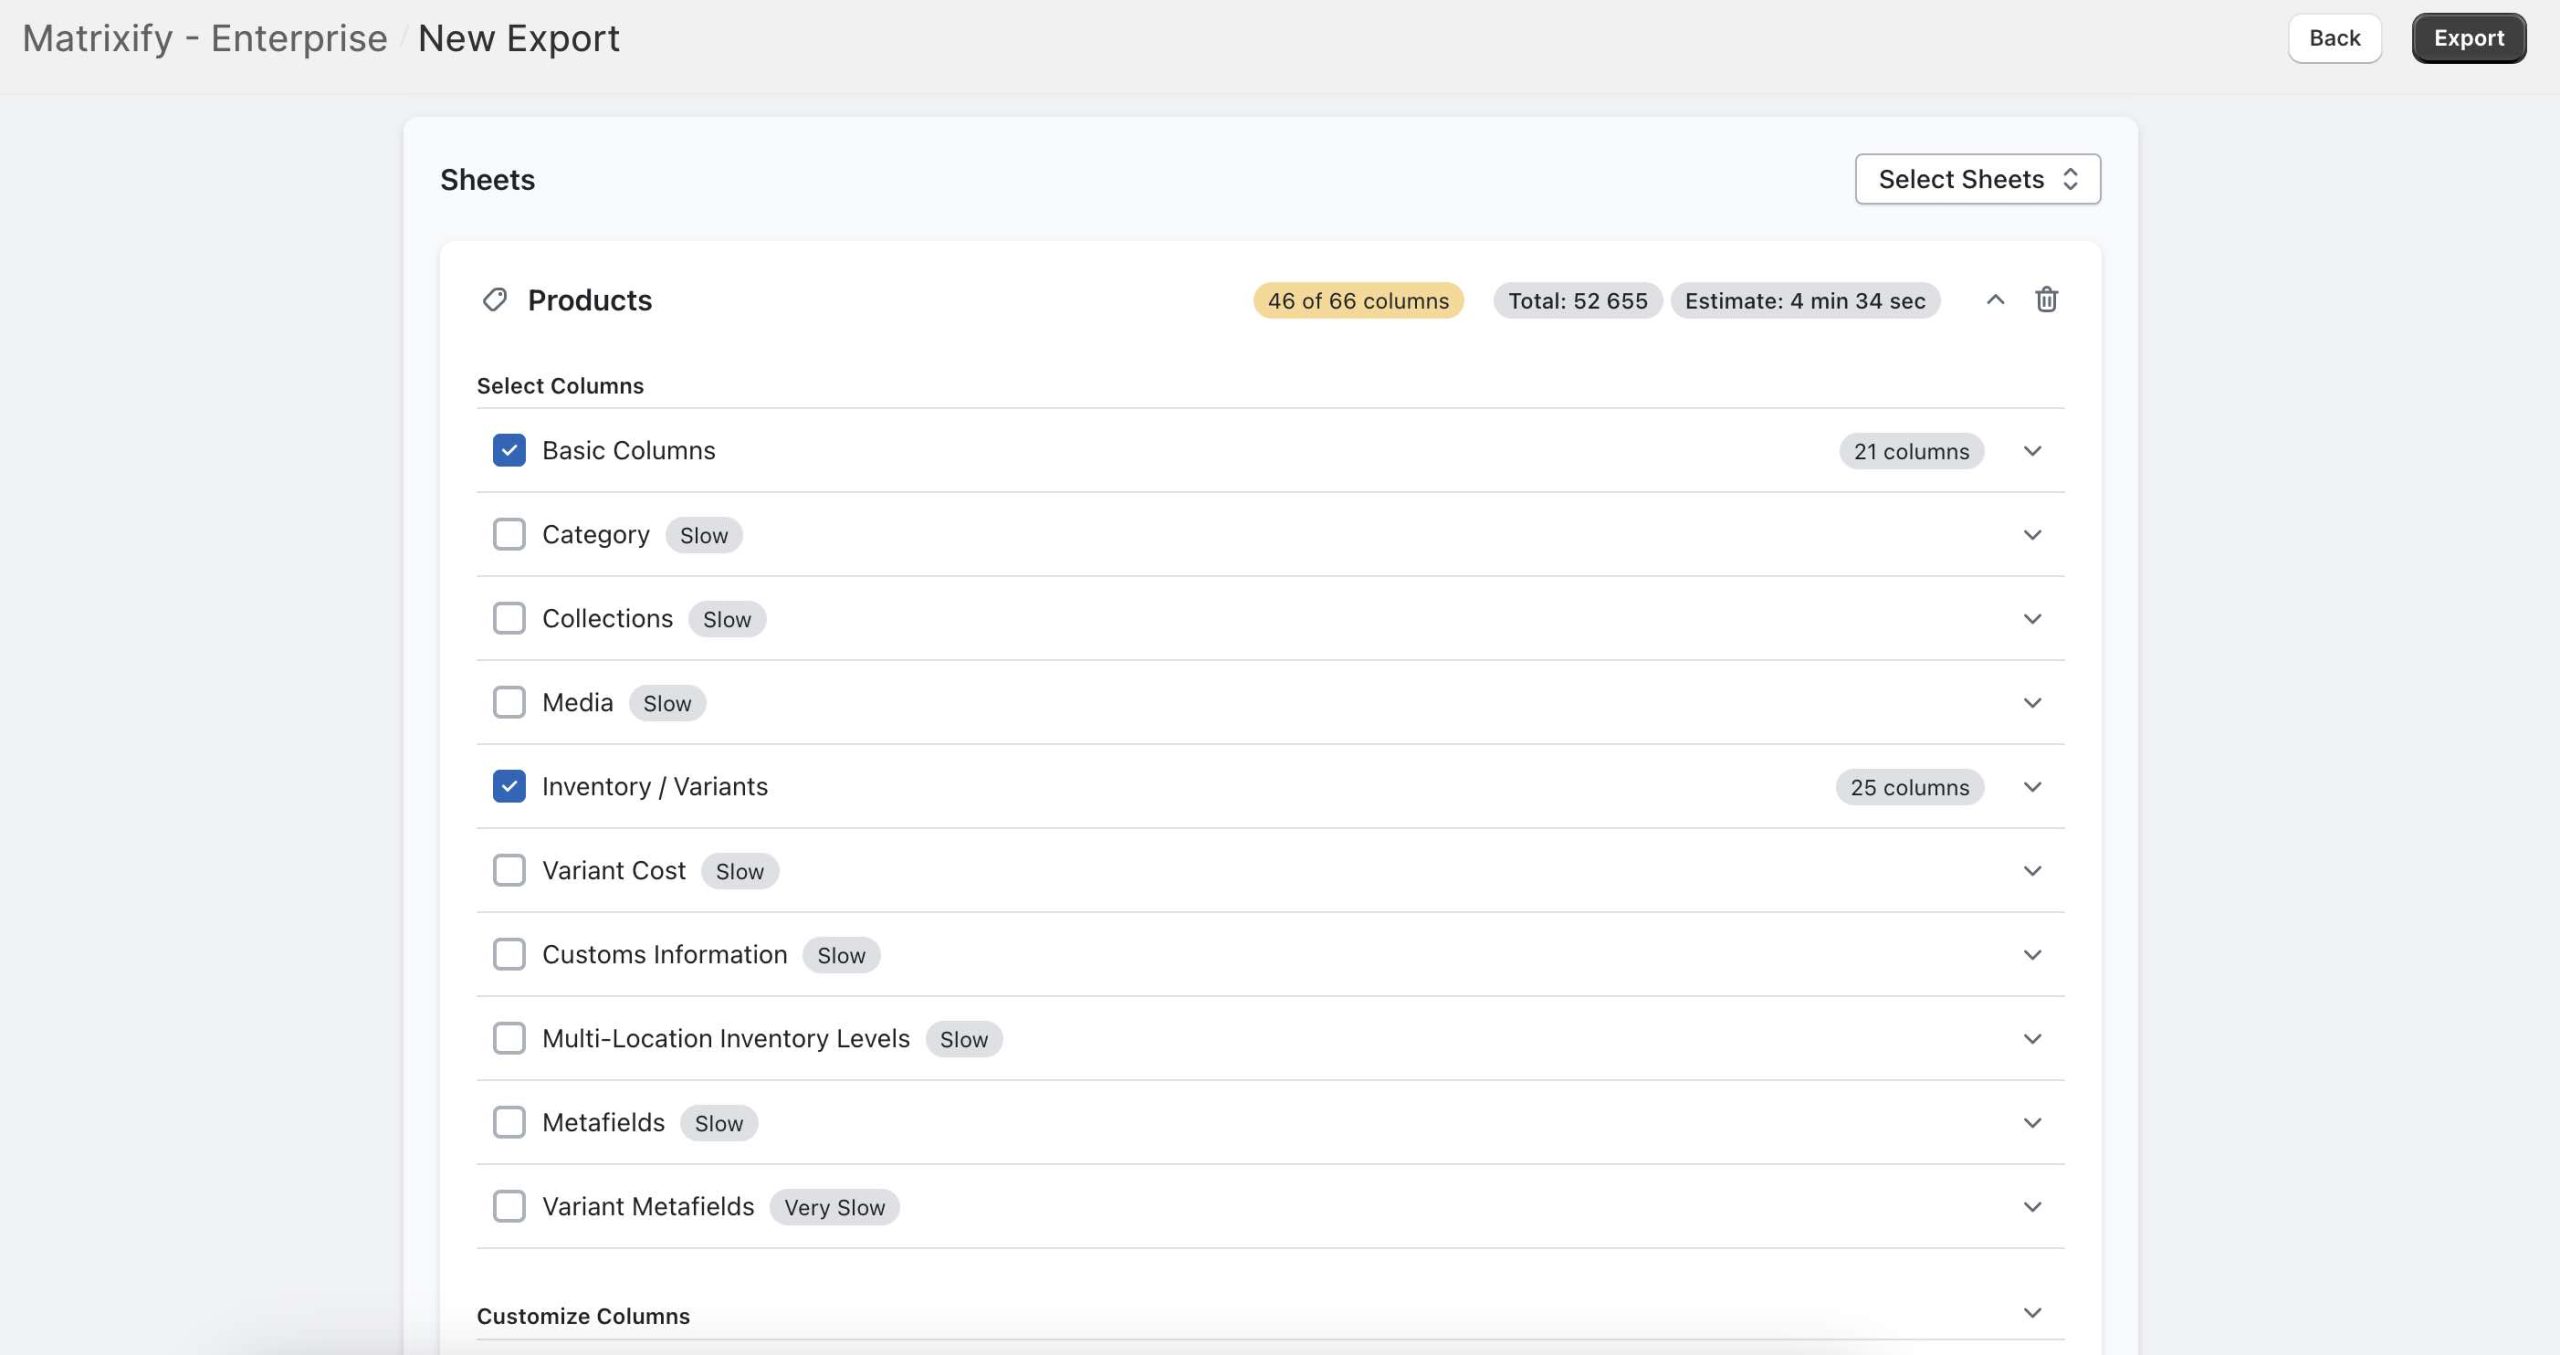
Moreover, you can select only specific columns to Export from the Basic Columns drop-down. All columns in the Basic Columns group are not required to add a Variant to an existing Product. In the drop-down you can select to Export only Handle and ID.

A word about images. If you want a new Variant you will be adding to use the existing images from your Product, then also Export the Media column group, and take the same link from the Image Src column, and put it in Variant Image column. However, if you will take the link from somewhere else, it will add that image to Variant and to the Product itself when adding the link to the Variant Image column.
You can also add Filters to your Export to Export only specific Products from your Shopify store.
Once you have set up your Export you can press the “Export” button.
2. Construct Import file
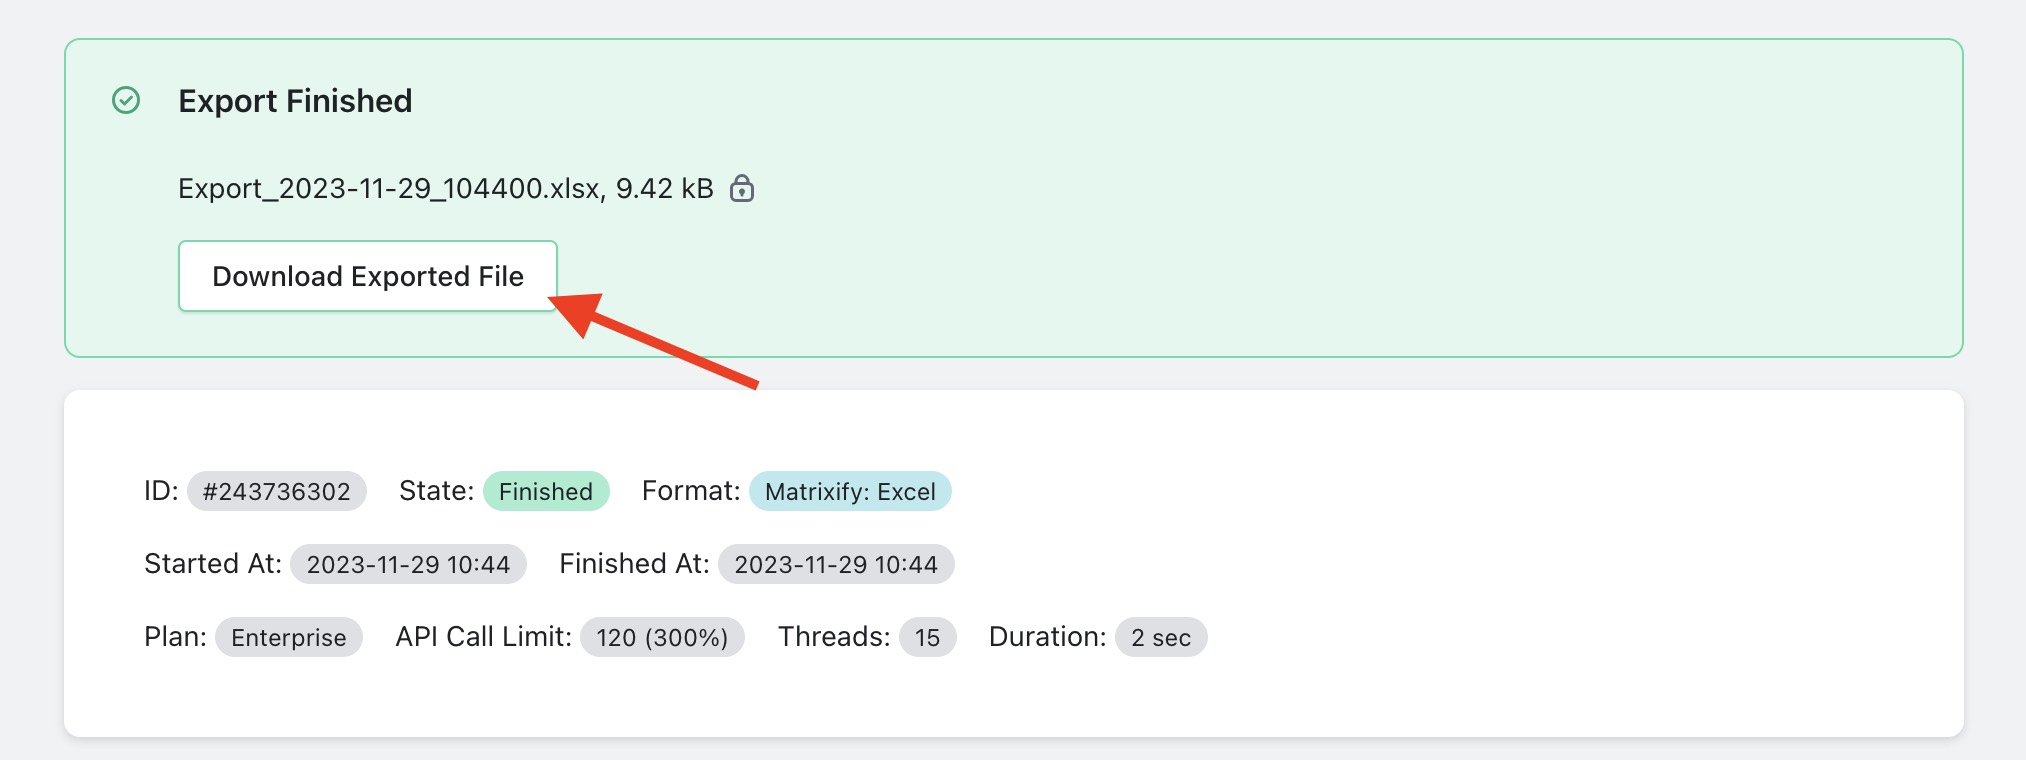
When the Export has finished, you can download the Exported file by pressing the “Download Exported file” button.
In your Exported file you will see many columns. You do not need all of them. The only columns you need to keep are – ID, Handle , Option ... and all columns that start with Variant. Your file should now look something like this:

Now we can add the new Variants. In our case, the Product already has 12 Variants and we will be adding 2 new Variants. To do so, we will repeat the ID and Handle column value for two additional rows.

The next step is to leave the Variant Inventory Item ID and Variant ID column value blank as we will be adding new Variants. Then fill the Variant Command column with the value MERGE for the new Variant rows and also fill the following Option... columns with the new Variant you would like to add to the Product. It is important to note, that all Variant Option combinations must be unique.

Next you can fill the Variant ... columns. You need to make sure that the following columns have unique values (if you import them):
Variant SKUVariant BarcodeOption values
That’s because – if they will not be unique for the Product, then the app will consider them as an update to an existing Variant which will be found by any of those.
Once you have finished editing your file you can save it.
3. Import the edited file into Shopify using the Matrixify app
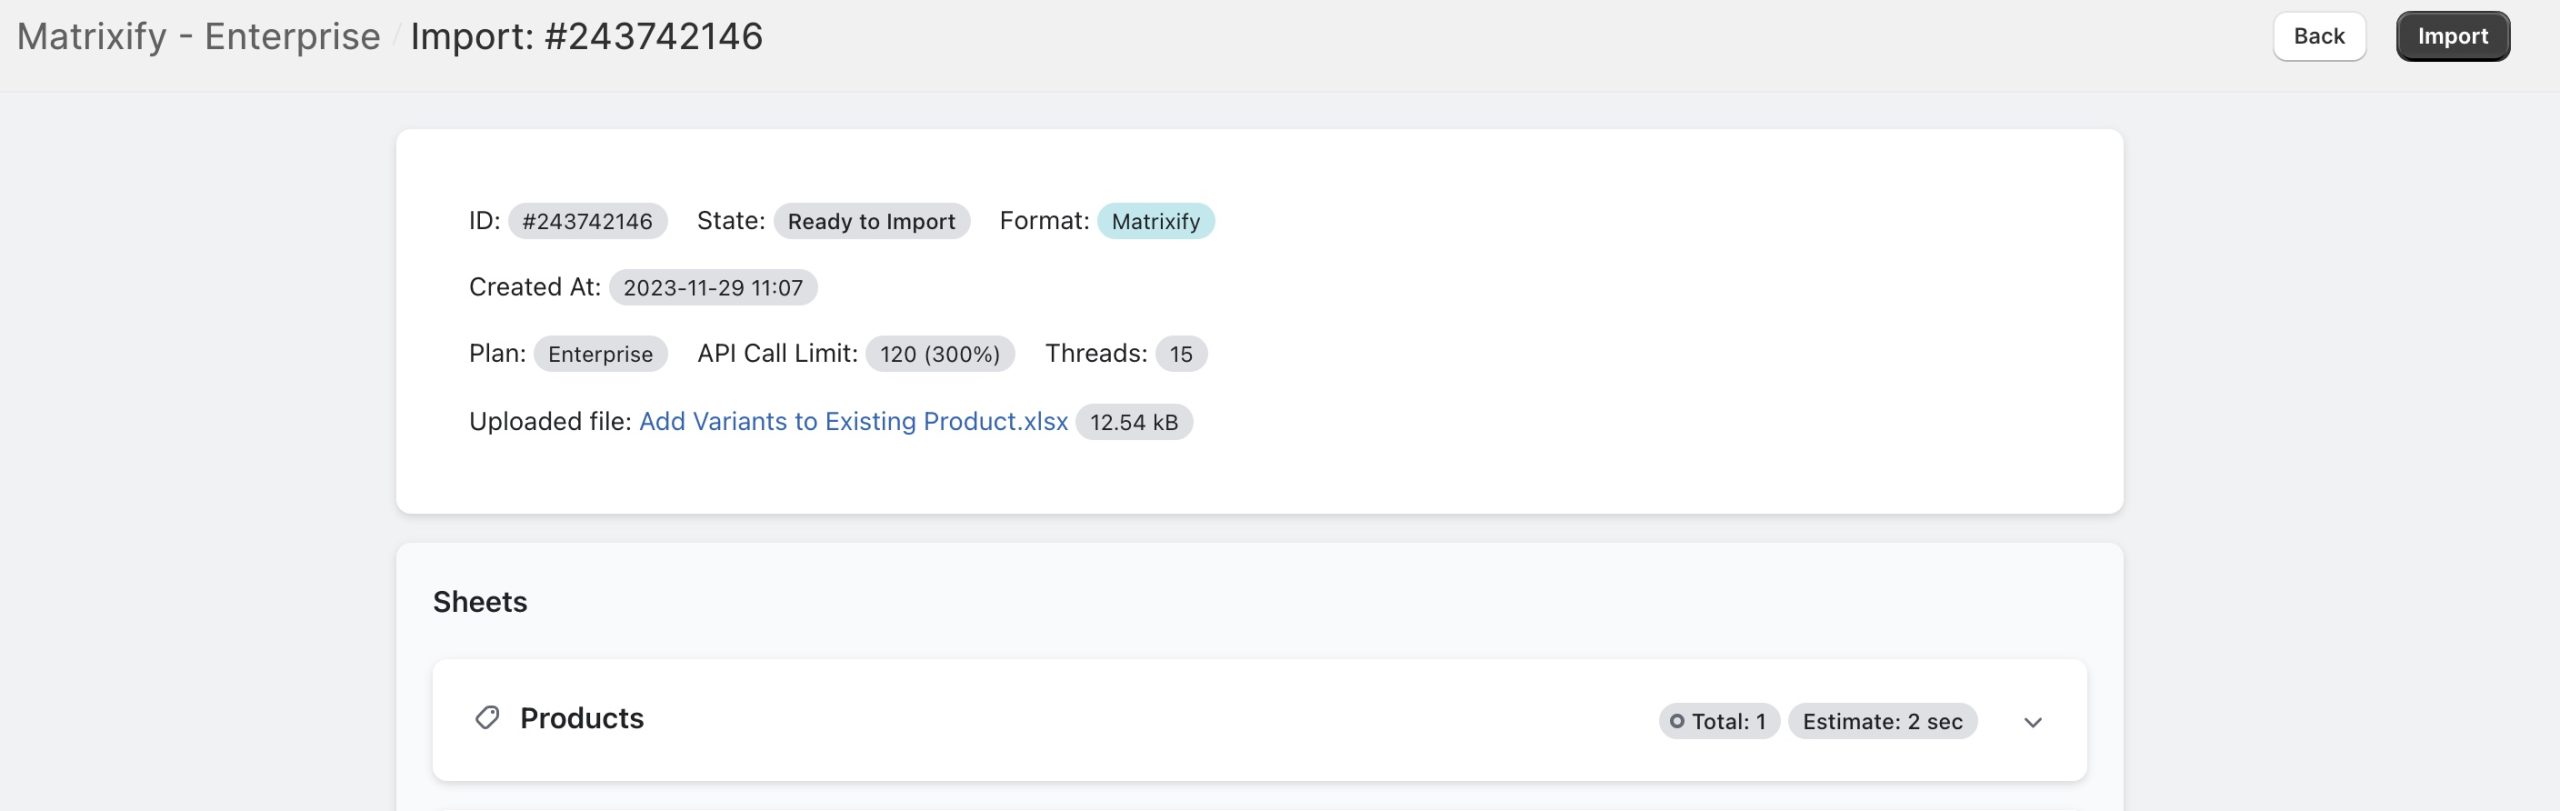
Take your saved file and drop it into the Import section of the Matrixify app. The app will analyze your Import file. Make sure that the app has correctly identified your Import file as Products and the correct amount of Products are displayed. If all looks correct, you can go ahead and press “Import”.
Once the Import has finished the Variants will be added to your Products. If there are any errors, you can download the “Import Results file” one the Import has finished and the errors will be displayed in the Import Comment and Import Results columns.
Now you will be able to see that your Product has the newly add Variants. In the case of this tutorial, two new Variants have been added to the Product.
Good to know
- You can remove from Excel file all columns which you don’t want to update.
- To add additional variants, you don’t need to list all the existing variants in your Import file. As long as your added variant Option values,
Variant SKUandVariant Barcodevalues are unique – you can import just the new added rows, and Matrixify app will add those (because it will not be able to match to any of the existing Variants of that Product). - Get the Template Excel file, or to the Export to generate it from your own store.
- Read the Products Field Descriptions.
- Read other Product Tutorials.
- If you are not sure how to prepare the import file, ask our Support, we will teach you and answer any questions you may have!


