
The Matrixify app streamlines the management of your Shopify Orders, providing an efficient way to handle refunds in bulk. When you process a refund with restocking, the app grants you the flexibility to choose whether to restock and refund the portion of the line item that has already been fulfilled or the part that is yet to be fulfilled.
You can do so by using the column Refund: Restock Type.
Only used if:
- Refund: Restock is set to
TRUE - Restocking Line Item that is partially fulfilled
- Restocking only part of the line item, not the whole quantity.
Allowed values:
- If restocking fulfilled part of the Line Item set value
return. - If restocking unfulfilled part of the Line Item set value
cancel.
If you are Refunding with a restock all quantity that is still refundable for this line item then you do not need to fill this cell even if the line item is partially fulfilled. To create a Refund in this case, please follow the tutorial on how to Refund existing Shopify Orders in bulk.
If the all quantity of the line item is fulfilled or unfulfilled then you also do not need to use this cell as the app will assign the correct value automatically for you. To create a Refund in this case, please follow the tutorial on how to Refund existing Shopify Orders in bulk.
The only case when you need to fill the “Refund: Restock Type” cell, is when you are refunding and restocking part of the refundable quantity of the partially fulfilled line item.
Let’s take a look at an example of how this is done.
Steps in short to Specify return type for Order Refund restocks
1. Export the order you wish to refund with restock
First let’s Export an Order that you wish to refund with a restock.
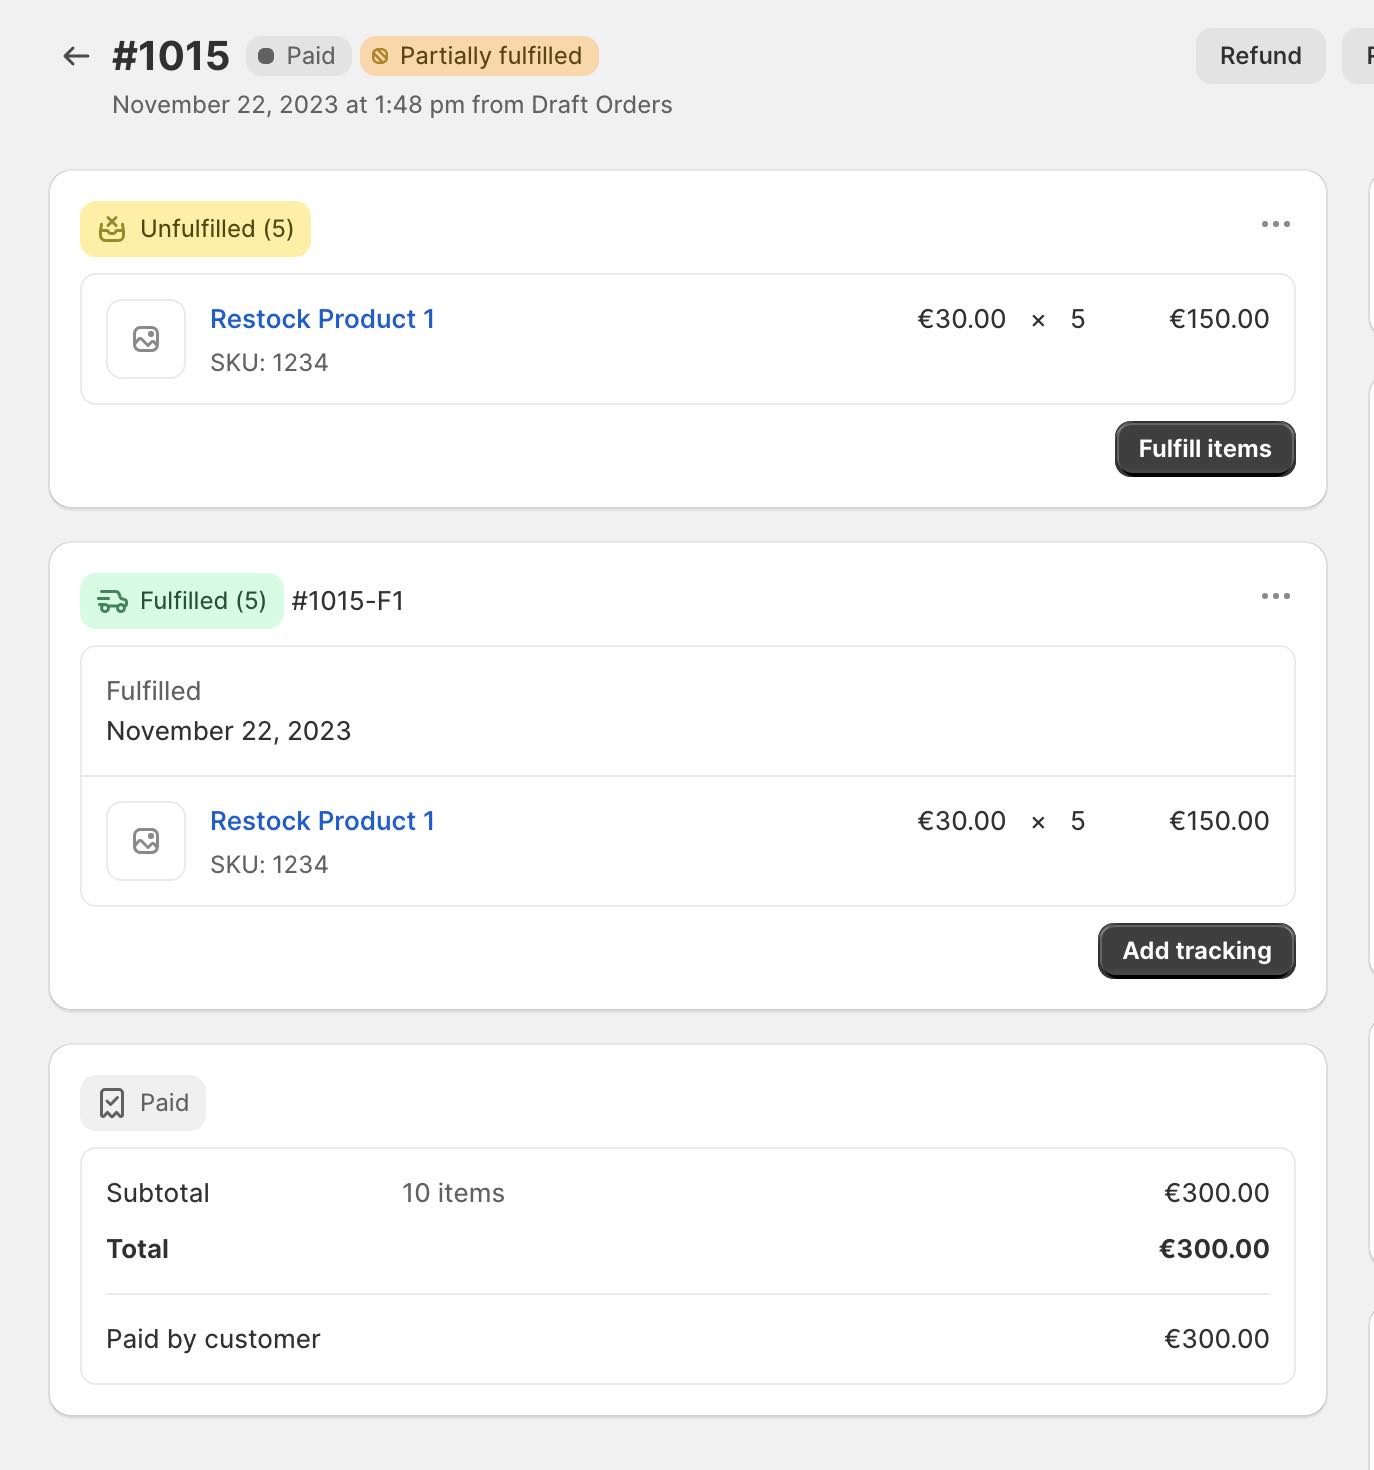
As stated above, you do not need to use this column when Refunding whole line item quantity so for an example we will export Order that has a line item partially fulfilled.
First we must Export the Order with the Matrixify app. To do so, head to the Matrixify app and select “New Export”.
Select the export format “Matrixify: Excel” or “Matrixify: CSV”. We strongly suggest using the “Matrixify: Excel” file format if exported data is not over 100 000 items or will not exceed any of the known Excel limits.
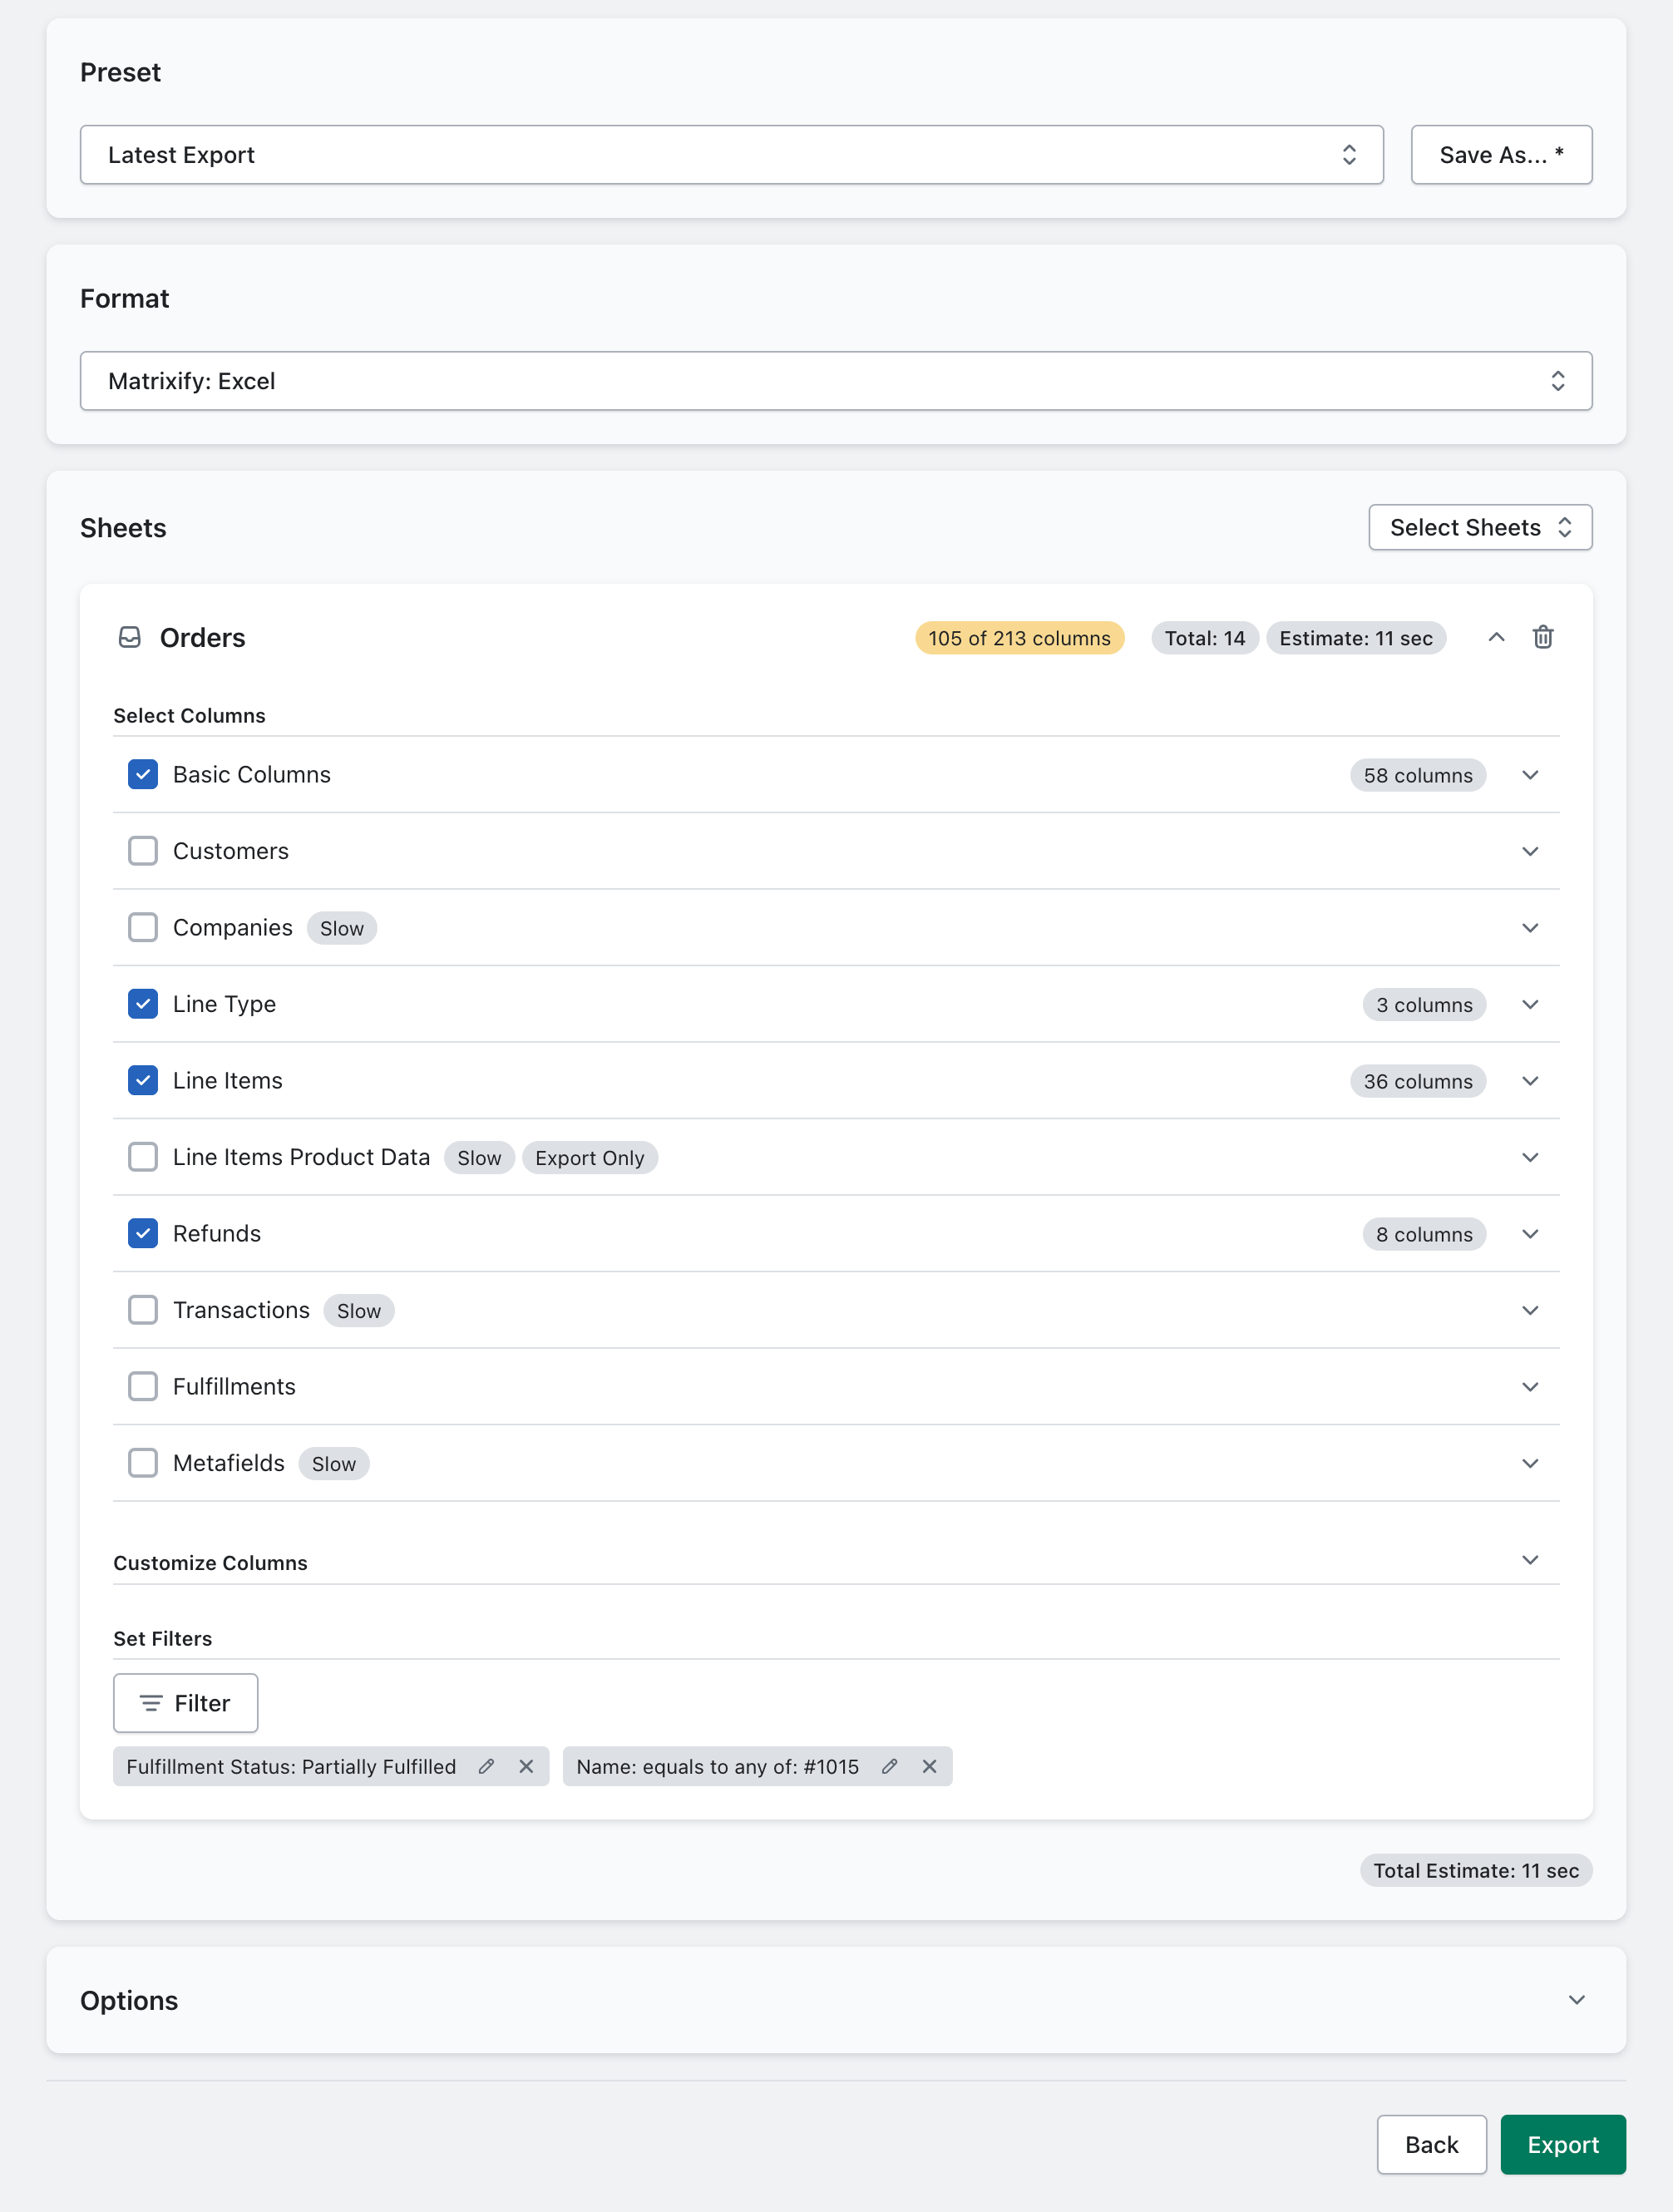
In the Matrixify app Export section select “Orders” from the “Select Sheets” drop-down. For Orders, the only column groups you need to select are:
Basic ColumnsLine TypeLine ItemsRefunds
If needed you can click on the “Filter” button and apply filters to only export Orders that you wish to work on. In this case, to only Export one Order, the “Name” and “Fulfillment Status” Filters have been added.
You’re Export set up should look something like this:
Once the export is finished click on the “Download Exported File” button to download the file.
2.Edit Exported file
In the exported file we will need to make a few edits to create a refund.

Remove columns that are not needed
By default, there are a lot of columns exported, so we will delete the ones that we do not require here. We will need the following columns:
IDNameCommandLine: ..(all columns that start with Line: )Refund: ..(all columns that start with Refund: )

Update column values
By default, the Orders are exported with the NEW value in the Command column. Since we wish to add Refund to existing Orders we would need to use the UPDATE command.

The simplest way to show the app what item/s we wish to refund is to find the Line: Type column and update all Line Item values to Refund Line.
This will ensure that the app reads these rows as refunds and also creates them.

Now for each row that we updated to the Refund Line, we can set how many of this item we wish to refund. This is done in the Line: Quantity column.
Here we enter a negative amount, so if your Line Item quantity was 10 and you wish to refund 5 then you enter value -5.
Before:

After:

Fill Refund: … columns
Refund: ID– set any kind of number there, for example,1for all the rows – just so that you identify that this is one and the same refund. You can create several refunds by changing theRefund: IDnumber, and group several line items into several refunds if you like.Refund: Created At– Date when the Refund was created in Shopify. Export only – leave empty when creating a refund.Refund: Note– write any notes you want to add about this refund.Refund: Restock– put theTRUEvalue there if you want to restock the refunded products, orFALSEif you don’t want to restock.Refund: Restock Type– Only used whenRefund: RestockisTRUE, and you are restocking only a part of a line item and it is partially fulfilled. To restock the unfulfilled part of the line item put the valuecancel, to restock fulfilled part of the line item putreturn.Refund: Restock Location– If you have theRefund: Restockset asTRUE, then you can set here the name of the location to which the restocked items should be sent. If you leave this empty then the items will be sent back to the default location.Refund: Send Receipt– put theTRUEvalue if you want the customer to receive an e-mail notification about that refund.FALSE– if you don’t. By default, it isFALSE.
In our example, we have Line Item with ordered quantity 10.
5 items are fulfilled and 5 are unfulfilled.
As we wish to Refund with Restock 5 items then, the same way as refunding in the Shopify Admin manually, we need to tell that those 5 are from the fulfilled or unfulfilled part of the line item.
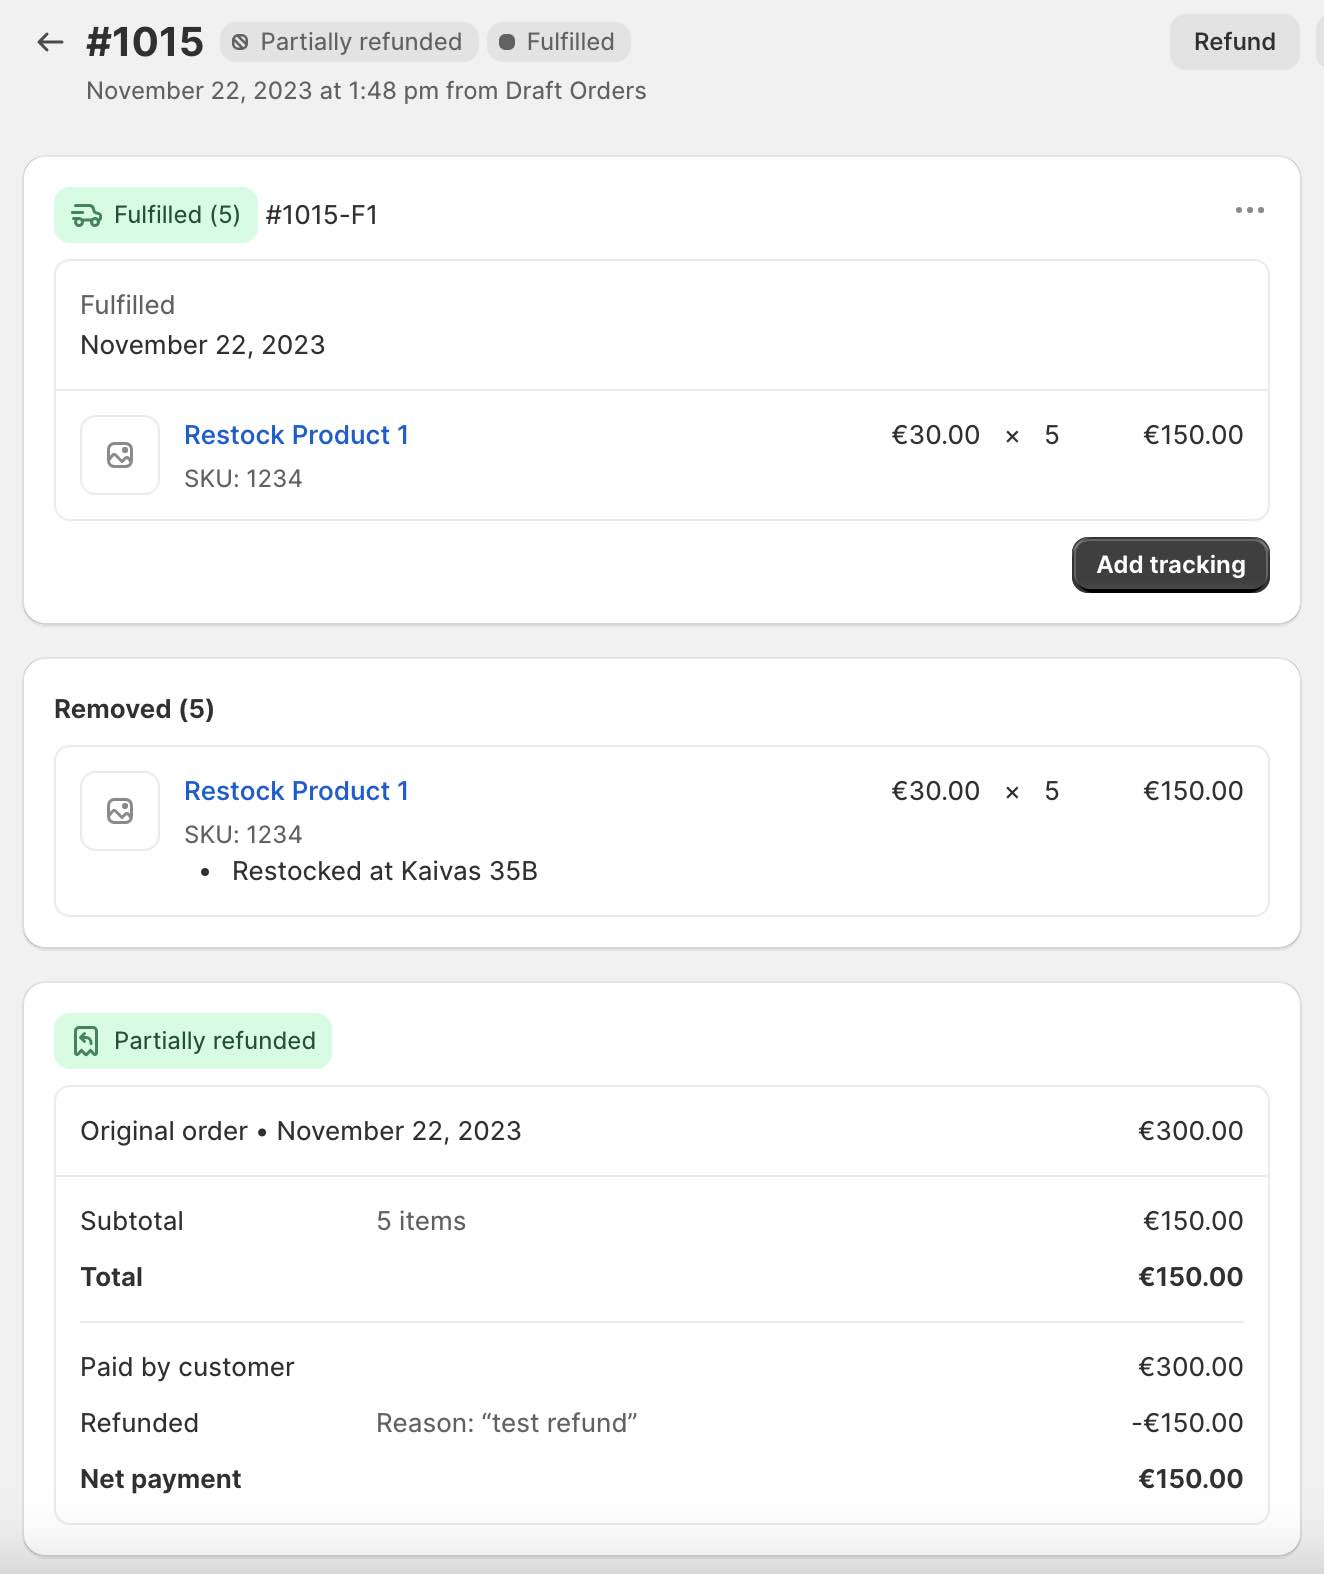
We will Restock and Refund the unfulfilled part of the Line Item so we will set value cancel in the Refund: Restock Type column.

3. Save, import and enjoy!
Once you have finished editing the file, double check it, save and import it back into the app.
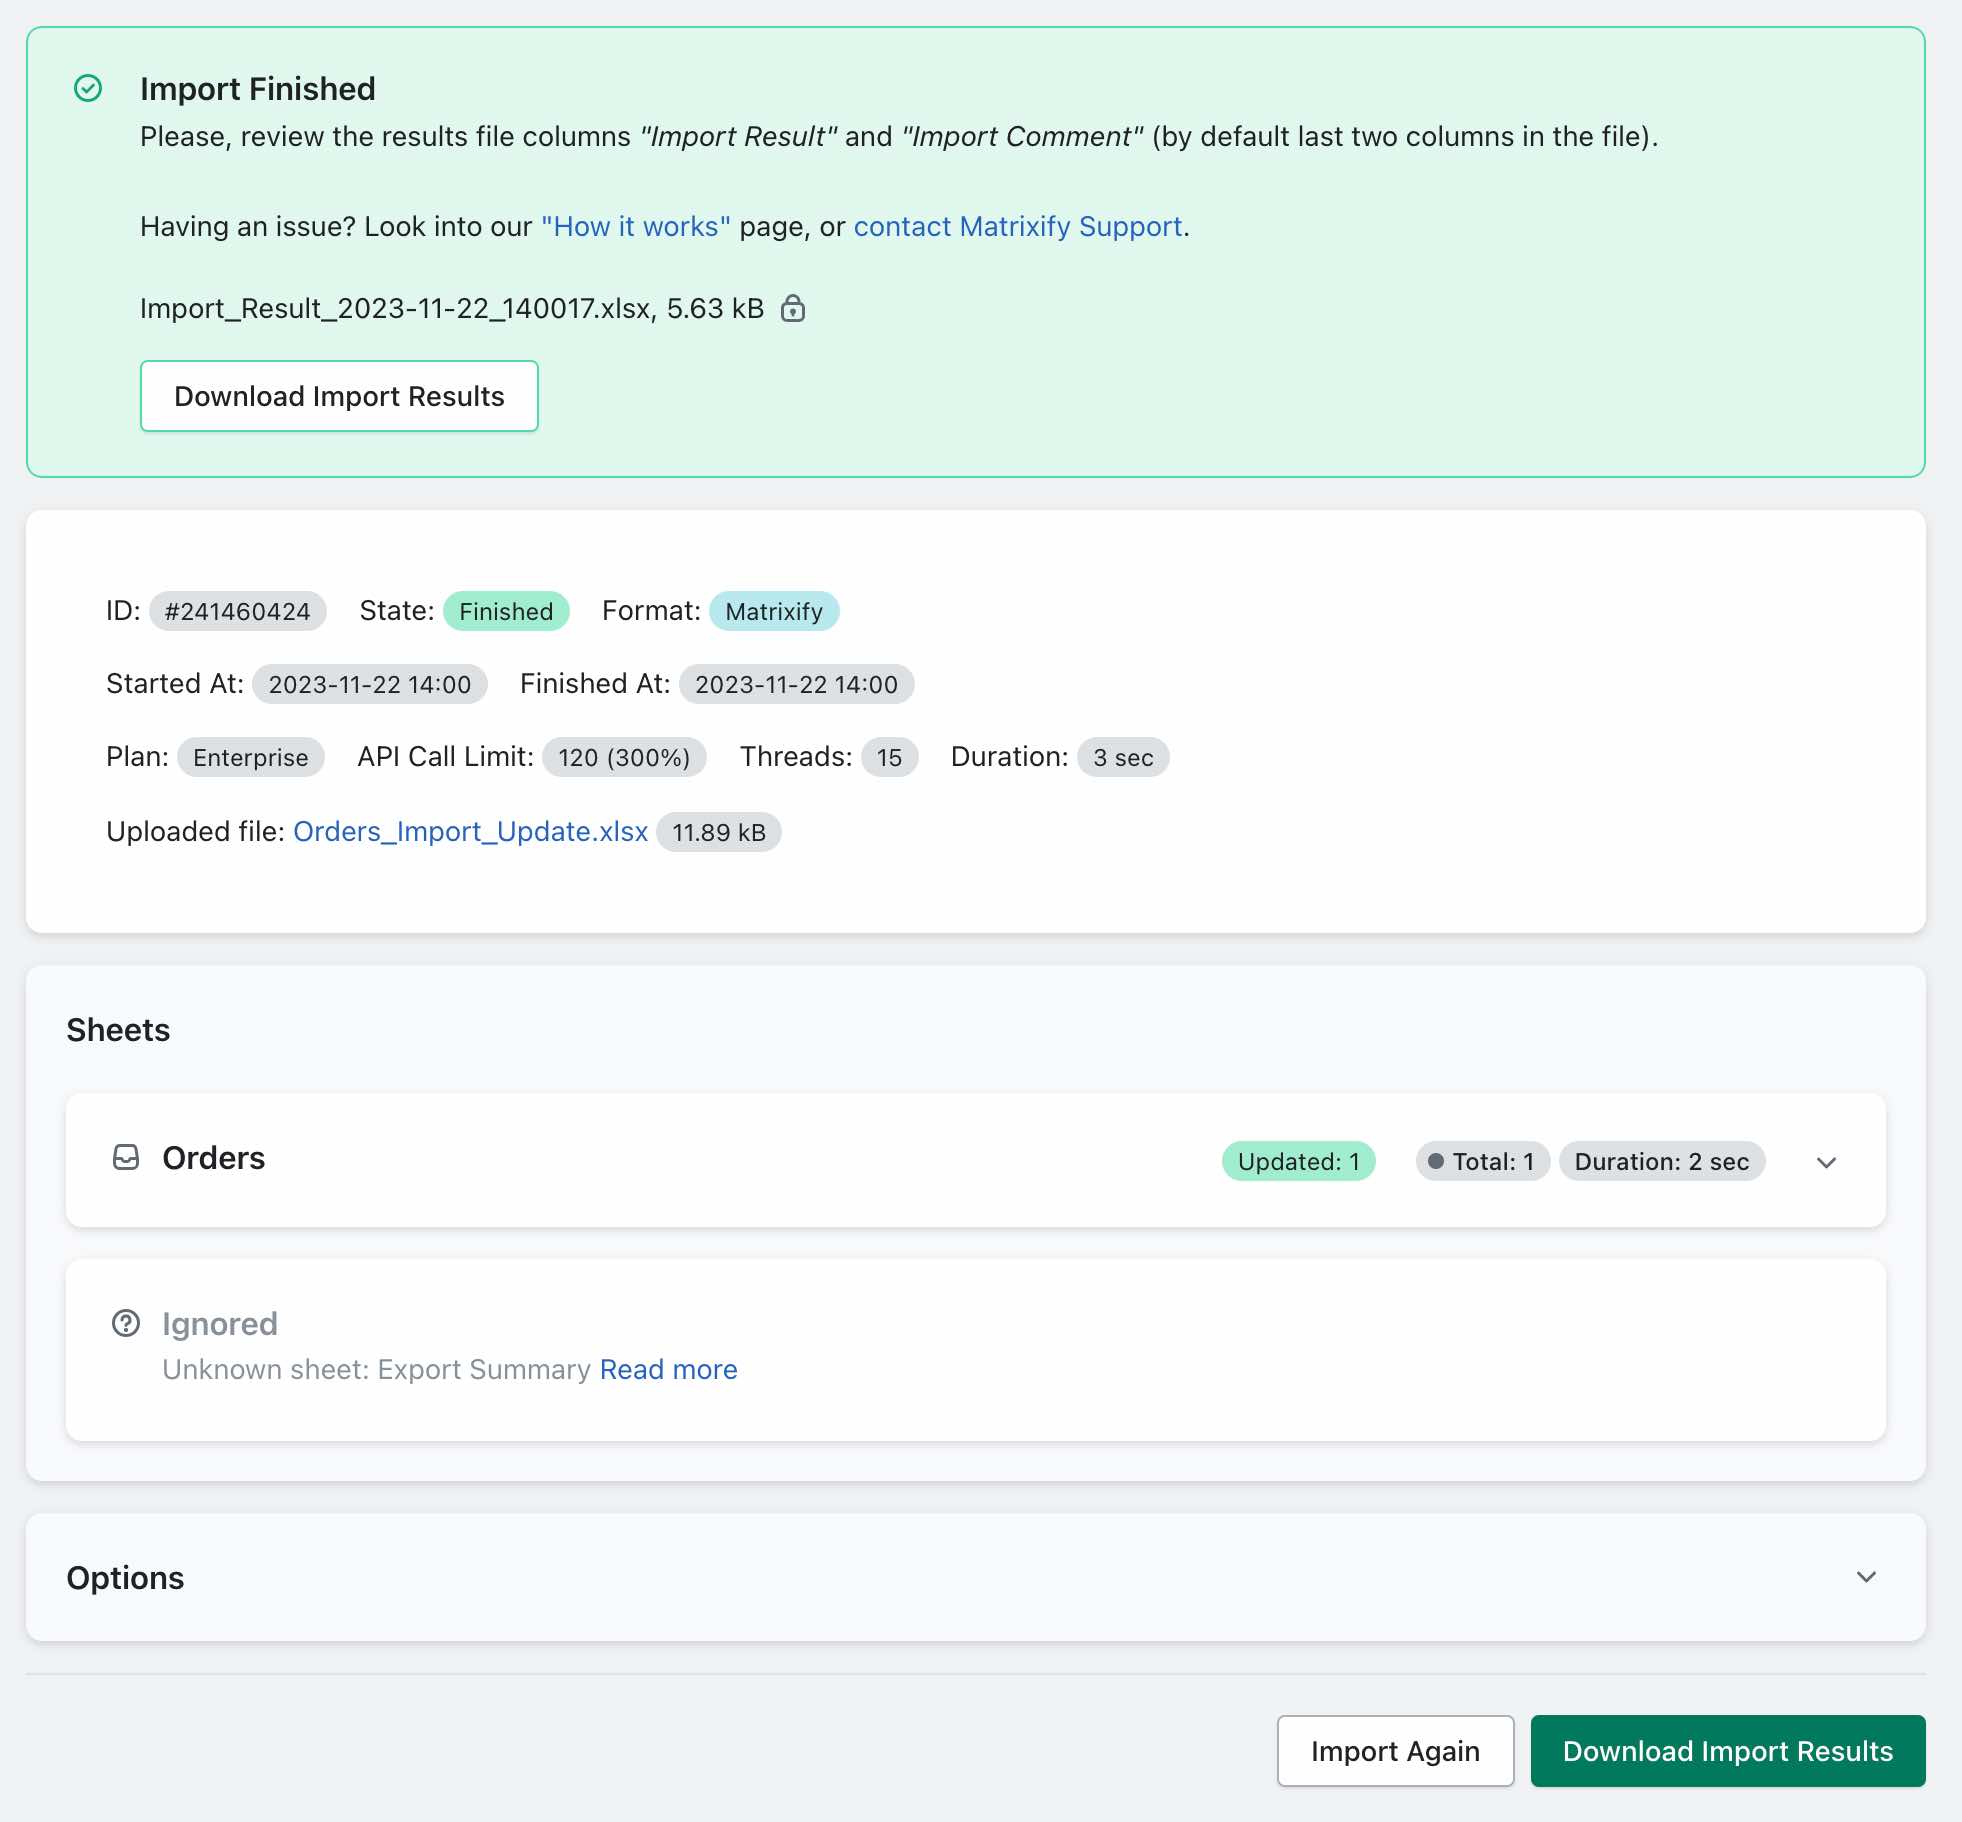
Go back to the Matrixify app and upload the file in the Import section. The app will analyze the file and count how many Orders you are importing.
Press the Import button to start the import.
If you see any Failed items, then after the import has finished, you can download the Import Results file and look into the “Import Comment” column. It will tell why particular Orders have failed. Then you can fix that issue and re-import just those failed and fixed rows again.
Warning!
Always test with just one Order to make sure you have it all set up correctly. It is important to test so that you can be sure of the Import process and make sure everything works as you expect it to!
And only when you have tested, import all the bulk changes.
Good to know!
- To restock some quantity from fulfilled and some from unfulfilled you need to use two rows with all the same information except quantity you wish to restock and restock type.
- To refund all quantity of the line item or the line item not partially fulfilled you can follow regular refund tutorial.
- If you need to Cancel the Order, read the tutorial on how to cancel Orders, also with refunding them all together.
- Read the documentation of all the fields of Orders.
- See other Tutorials about Orders.
- Contact our support to get help.
- Install Matrixify app.


