
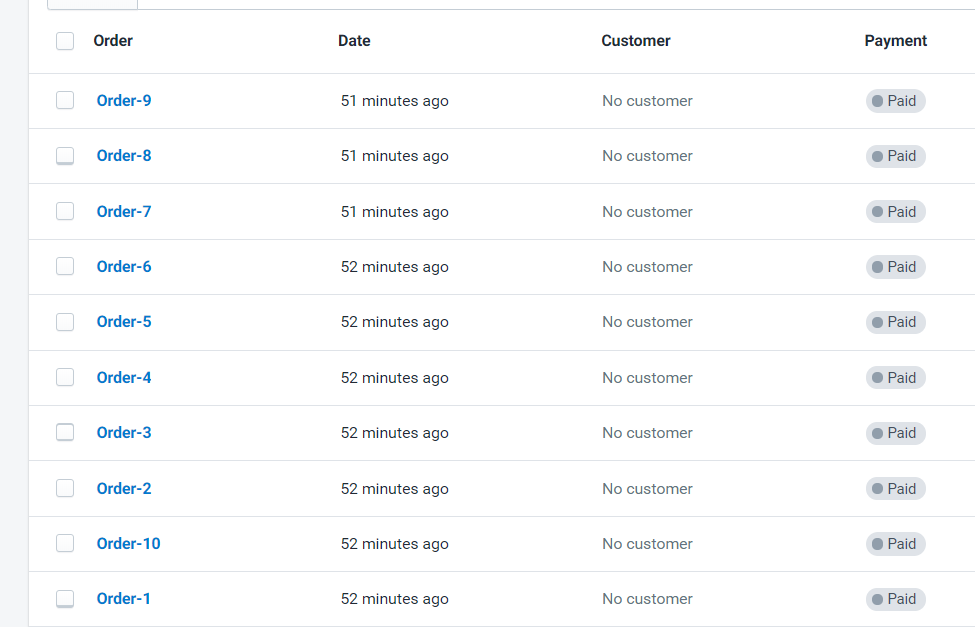
With Matrixify you can change financial status for your existing Shopify Orders to “paid”.
- Export orders you wish to mark as paid.
- Delete unnecessary columns from the exported file. We only need columns:
- ID
- Name
- Command
- Price: Total
- Add the necessary columns:
- Line: Type
- Transaction: Kind
- Transaction: Amount
- Update Command and Fill new columns.
- Save & Import
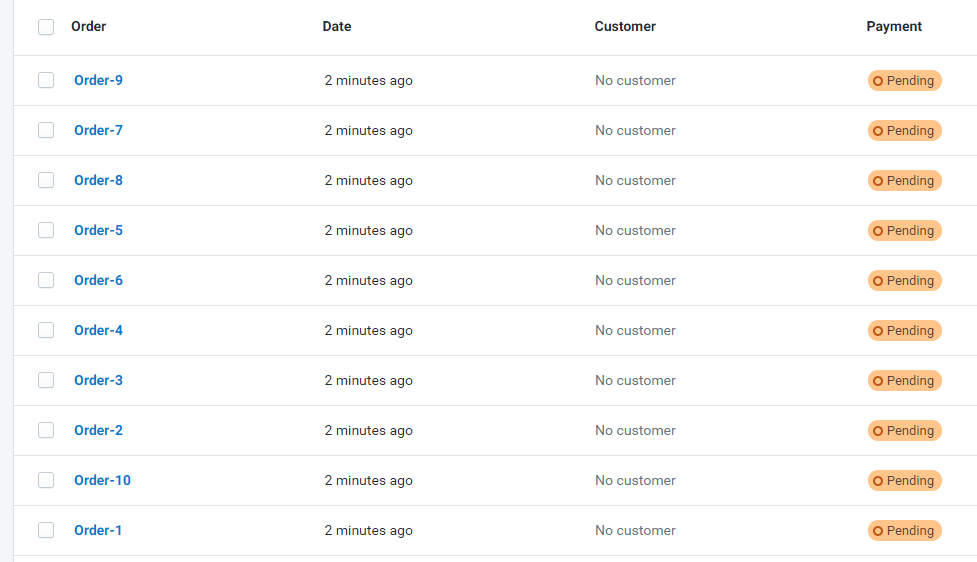
1. Export your orders
To export only the orders you need to mark as paid you can apply multiple filters in the Matrixify app.
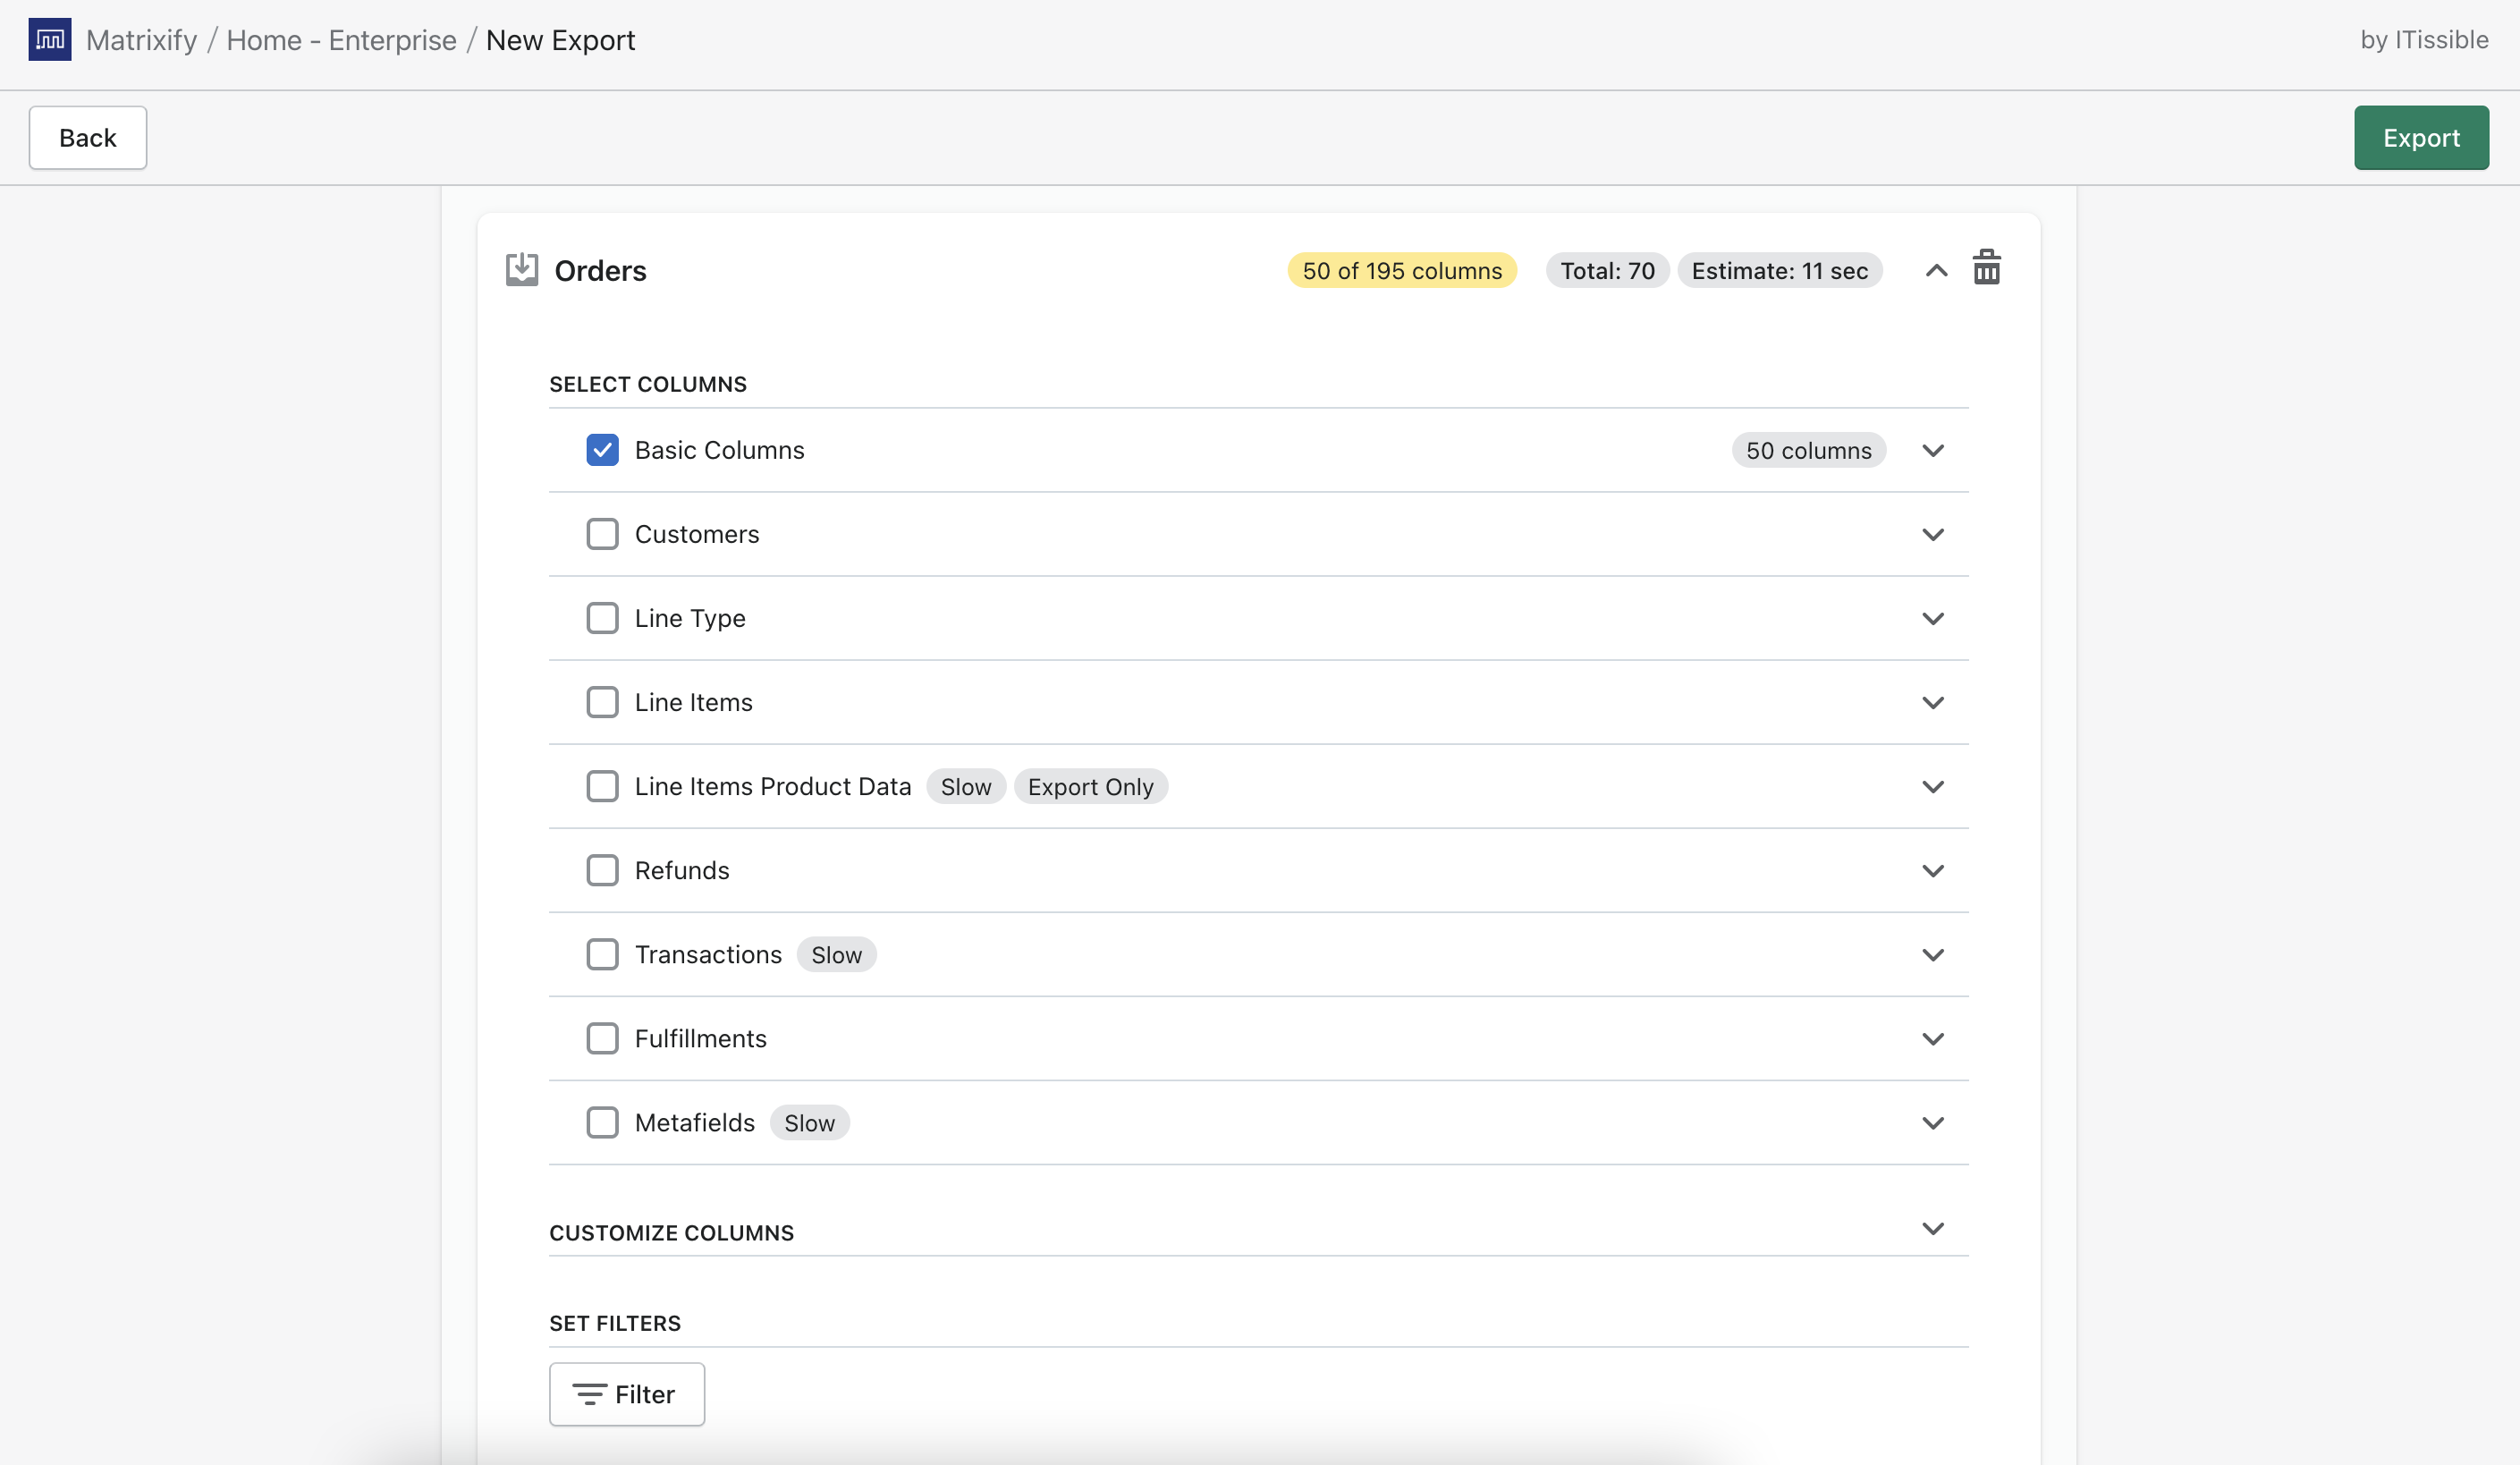
Select format “Matrixify: Excel” to export to XSLX file, or “Matrixify: CSV” to export to CSV file. Then in the “Select Sheets” drop-down, select to Export Orders. Once you have selected Orders, you only require the “Basic Columns” checkbox under Orders to be selected.
Don’t select any additional checkboxes because you just need the Orders base columns for this – and that will give you convenient one row per Order.
Press “Export” to start the export and once its finished press “Download Exported File”
2. Delete unnecessary columns
Since you only need to import one transaction to mark the order as paid, then most of the exported columns have no use for you. So now we can delete all columns except:
- ID
- Name
- Command
- Price: Total
Before: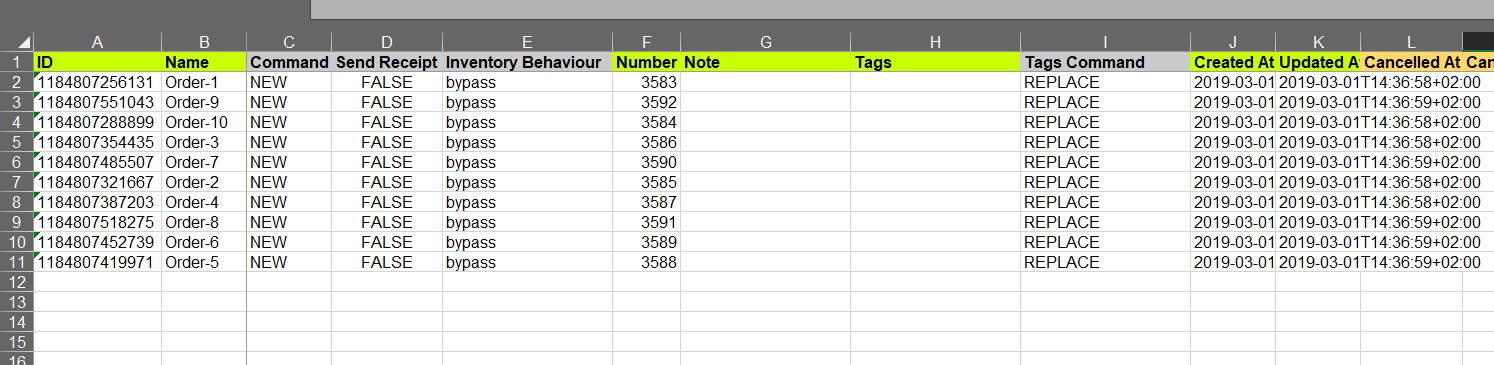
After: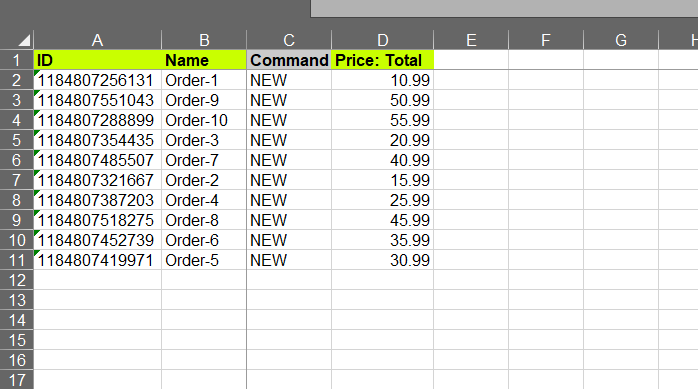
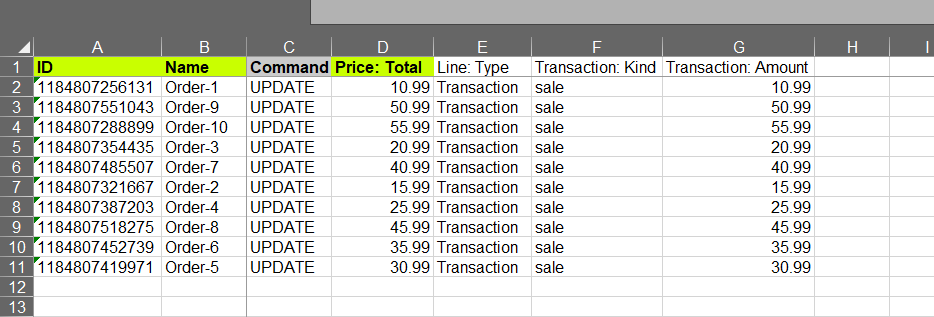
3. Add the necessary columns
You will need to add 3 columns to the file to import Transaction.
- Line: Type
- Transaction: Kind
- Transaction: Amount

4. Update Command and fill new columns
Now you can start to edit information.
- Change “Command” from NEW to UPDATE. This is so the app knows that we wish to update the order not to create new.
- Fill “Line: Type” with “Transaction“.
- Fill “Transaction: Kind” with “sale“.
- “Transaction: Amount” needs to be filled with the amount that is left to pay for this order. This is why we can use “Price: Total” to copy the amount.
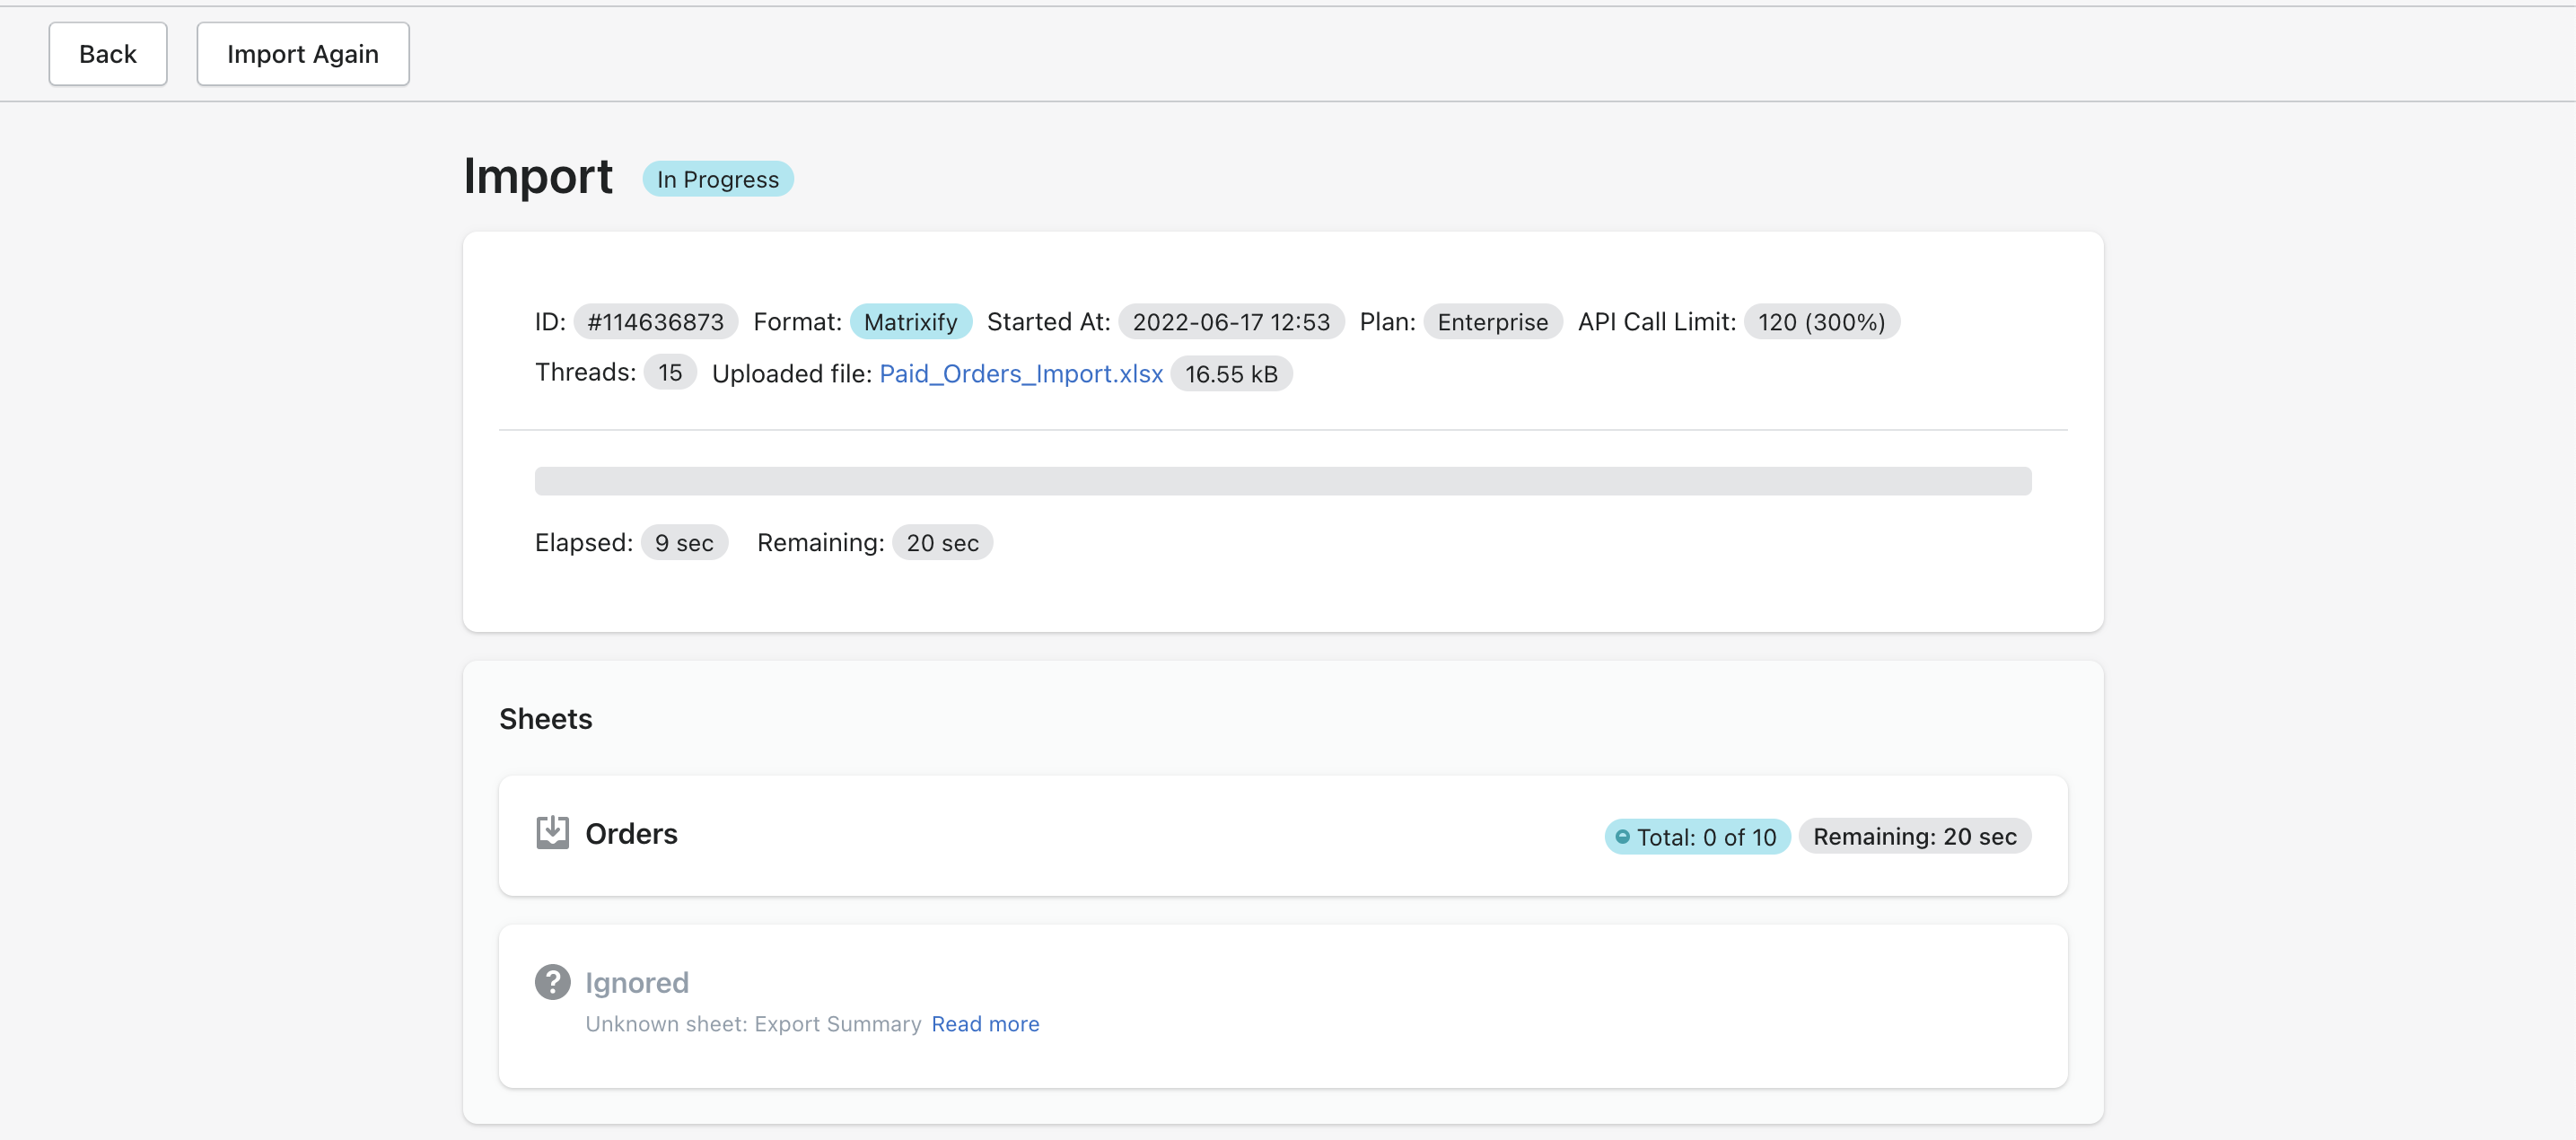
5. Save, Import and Enjoy!
Now you can save the file. Go back to the Matrixify app and import the file in the Import section. The app will analyze the file and count how many Orders you are importing.
Press the Import button to start the import.
If you see any Failed items, then after the import has finished, you can download the Import Results file and look into the “Import Comment” column. It will tell why the particular Order has failed. Then you can fix that issue and re-import just those failed and fixed rows again.
What to do next?
- Install the Matrixify App.
- Check out the documentation for our Orders exported format.
- Check related tutorials:
- how to fulfill existing Shopify Orders in bulk.
- how to unfulfill Shopify Orders in bulk.
- how to archive and unarchive Shopify Orders in bulk.
- how to refund Shopify Orders in bulk.
- how to cancel Shopify Orders in bulk.
- and others…
- Contact Matrixify support if you run into any issues or have additional questions.


