
If you’ve been looking for a way to export Shopify Metaobject Entries from your Shopify Admin, you’ve probably noticed that Shopify doesn’t natively offer this functionality. But don’t worry, we’ve got you covered!
With the Matrixify app, you can easily export your Metaobject entries for analysis, backup, or sharing outside of Shopify.
Whether you’re a Shopify veteran or a newcomer, this tutorial will provide you with a simple, straightforward process to export your Metaobject entries to an Excel or CSV file. Let’s dive in!
Steps in short
- Create a new export in the Matrixify app.
- Configure the export to export Metaobjects to Excel or CSV file.
- Start the export and download the exported file.
- Understand the exported Shopify Metaobject Entries file.
1. Create a new Matrixify export
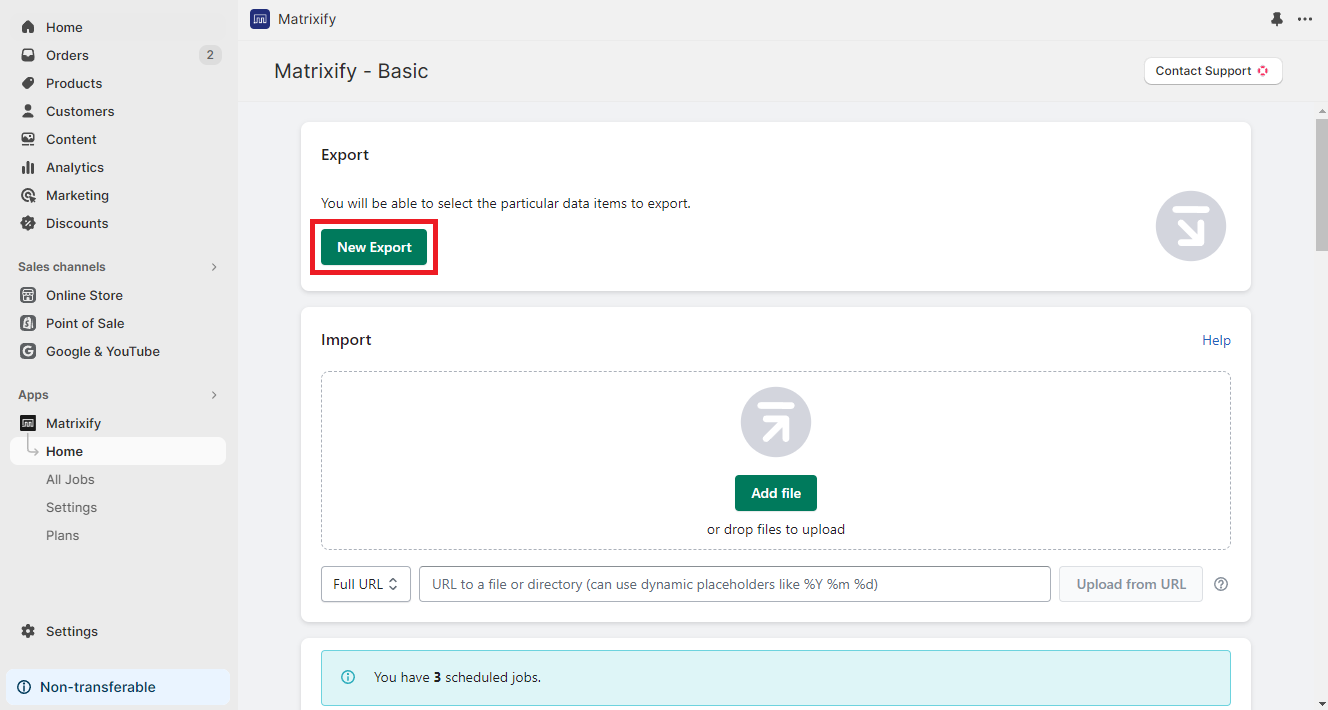
Start by opening the Matrixify app on your Shopify store.
Once you’re in the app, look for the “New Export” button and click on it.
This will open a new page where you can set up your export.
2. Configure your new export
Now you can start to configure the new export.
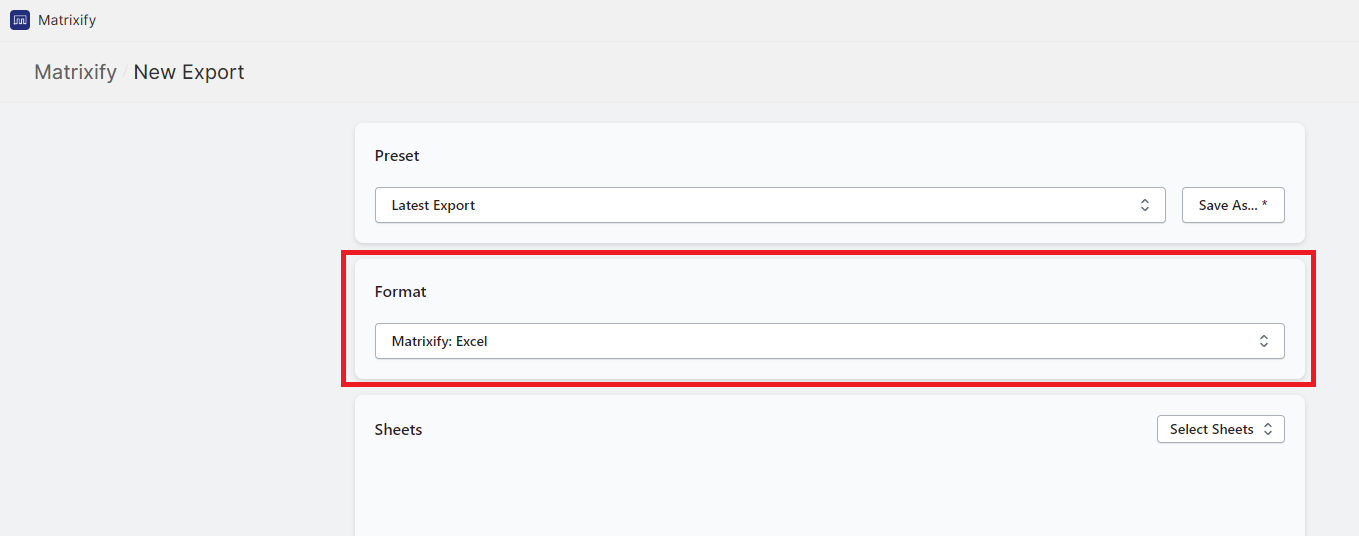
Choose an export format – Excel or CSV
Begin by choosing the format for your exported file. Click on the “Format” section to open a drop-down list of all available formats.
It is suggested to select and use the “Matrixify: Excel” format as it is a lot more user-friendly and easier to work with the data.
If you’re exporting a large amount of data or have other reasons why you specifically need CSV, you can select the “Matrixify: CSV” format.
Select to export Metaobject Entries
After selecting the format, proceed to choose the data you want to export. Click on the “Select Sheets” button and select the “Metaobjects” sheet.

Next, click on the entity sheet to open it. Here, you’ll see groups of fields that you can select to export.
Open the group to select individual columns/fields you wish to export.
The “Basic Columns” column group for Metaobjects sheet will include basic details about each Metaobject Entry, such as the entry ID, Handle, Created dates, what Metaobject definition the entry is linked to, and others.
You can think of this column group as the main Metaobject Entries page in Shopify with general details about each entry:
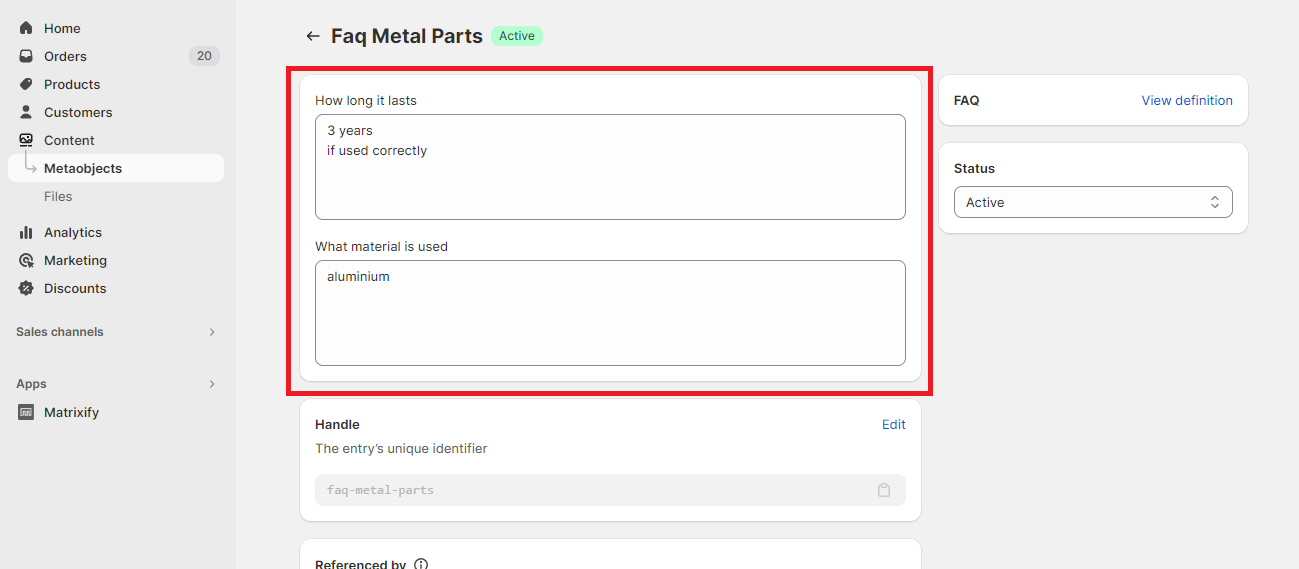
The “Field Values” column group for Metaobjects sheet will include actual fields and their values for the entry.
The exported data from this column group would be the data you see in Shopify Admin for fields when you open specific Metaobject Entry:
Selecting only columns from the “Basic Columns” column group will ensure that one row per Metaobject Entry is exported.
But if you also have selected to export any column from the “Field Values” column group, then the exported file will have for each Metaobject Entry as many rows as you have fields in the definition linked to the Entry.
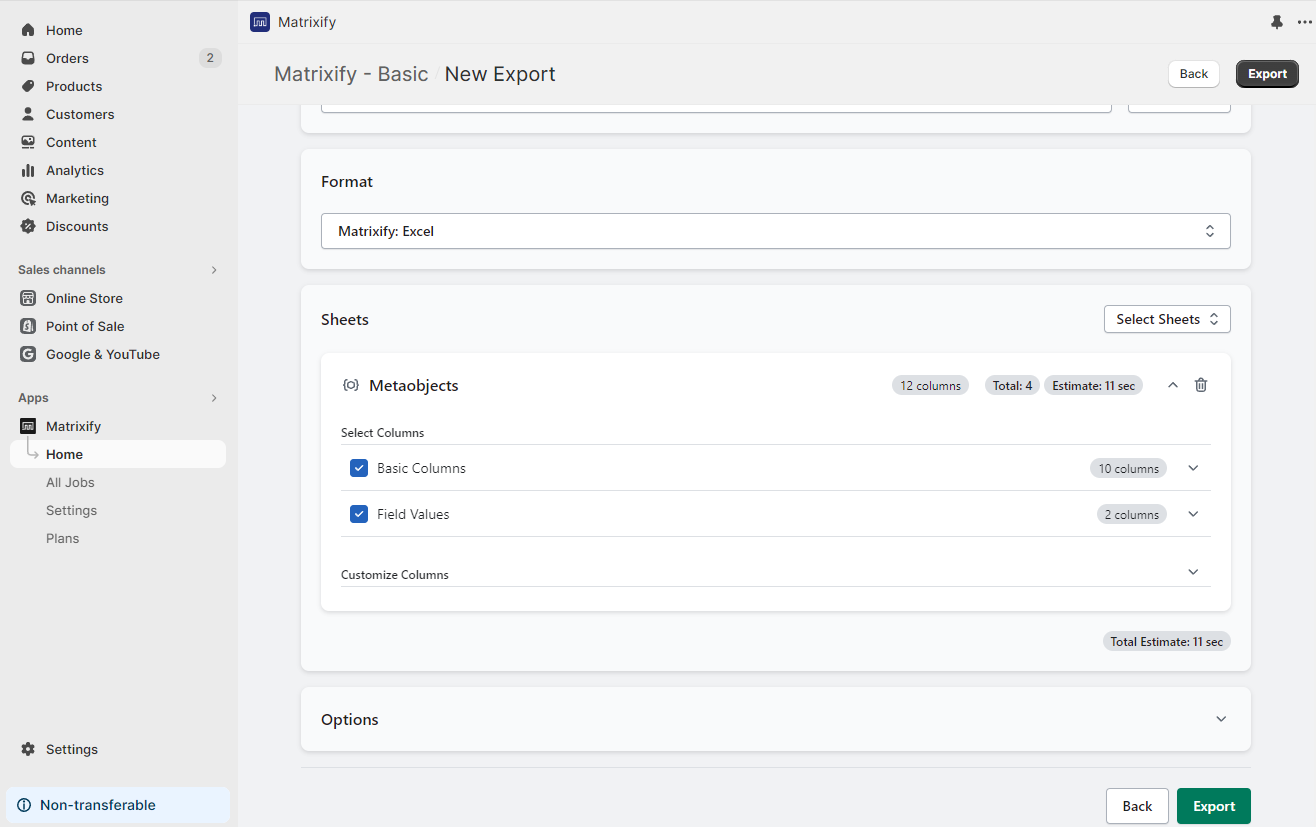
Other export customizations and options
You can also open the “Customize Columns” section where you can change the exported column order.
In the “Options” section you can change various export-specific options, such as scheduling the export, setting it to repeat automatically, changing CSV file-specific options such as delimiters, and many other options.
Read our Matrixify Options documentation page to learn how individual Options work and how to use them correctly.
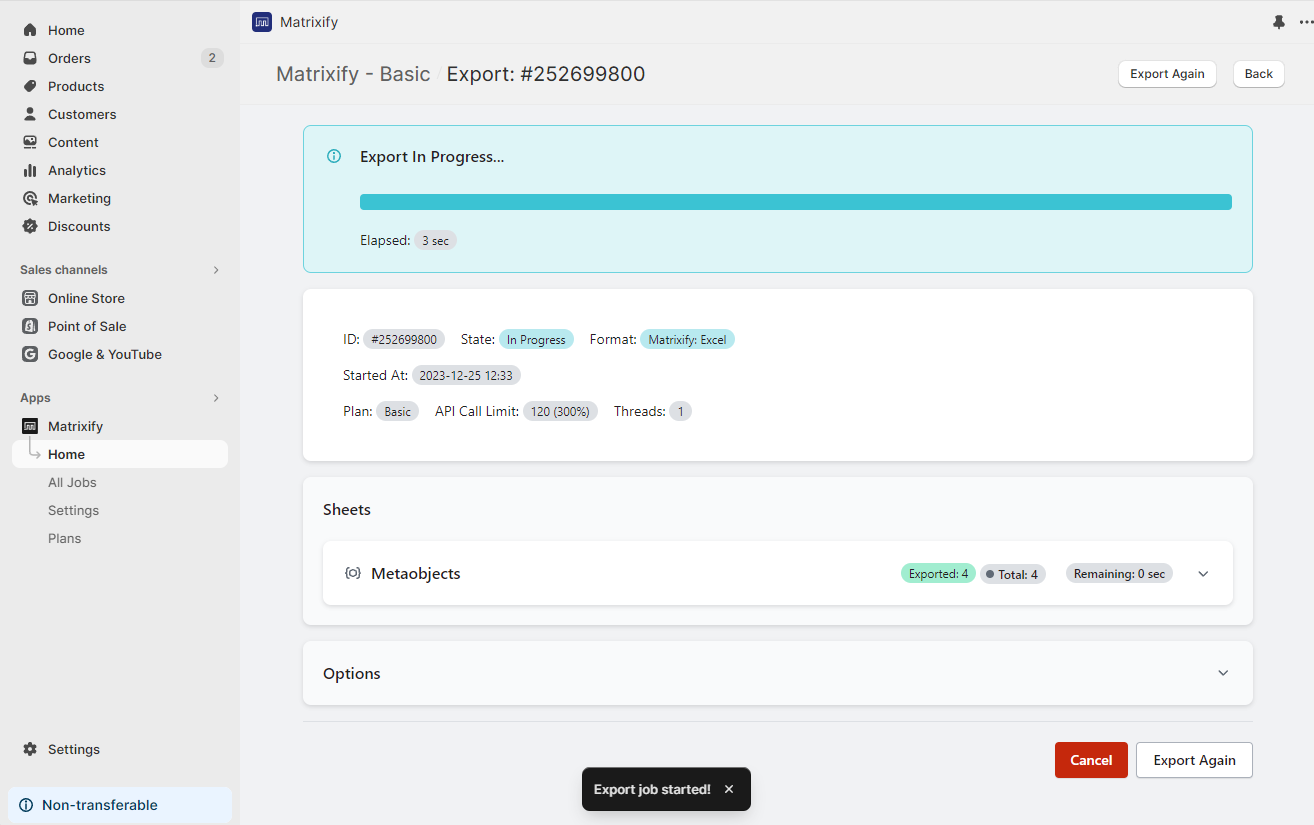
3. Run the export and download the file
Once you’ve configured your export, you can start the export job.
You can initiate the export process by simply clicking the “Export” button.
While the export is running, you can monitor the progress on the same page, and see job duration, estimated finishing time, and other details.
You are free to close the app page – the export is running on Matrixify servers and does not require for the app to remain open in the browser.
You can always come back to the export job by opening the app and locating this export from the Matrixify app Home page’s last 5 jobs or All Jobs page.
Once the export is complete, a “Download Exported File” button will appear. Click on this button to download your file.
The file will be in the format you selected earlier (Excel or CSV) and will contain all the Metaobject Entries from your Shopify store.
4. Understanding exported Metaobject Entries file
Now you can open the exported file which contains all the Metaobject Entries you’ve exported.
The exported file is in two dimensions – columns representing different fields/attributes and rows representing Metaobject entry fields.
If you exported only columns from the “Basic Columns” column group, then you will have one row per Metaobject entry, but if you also selected at least one column from “Field Values” column group, then each row will be Metaobject Entry field and thus would have multiple rows per each Metaobject Entry.
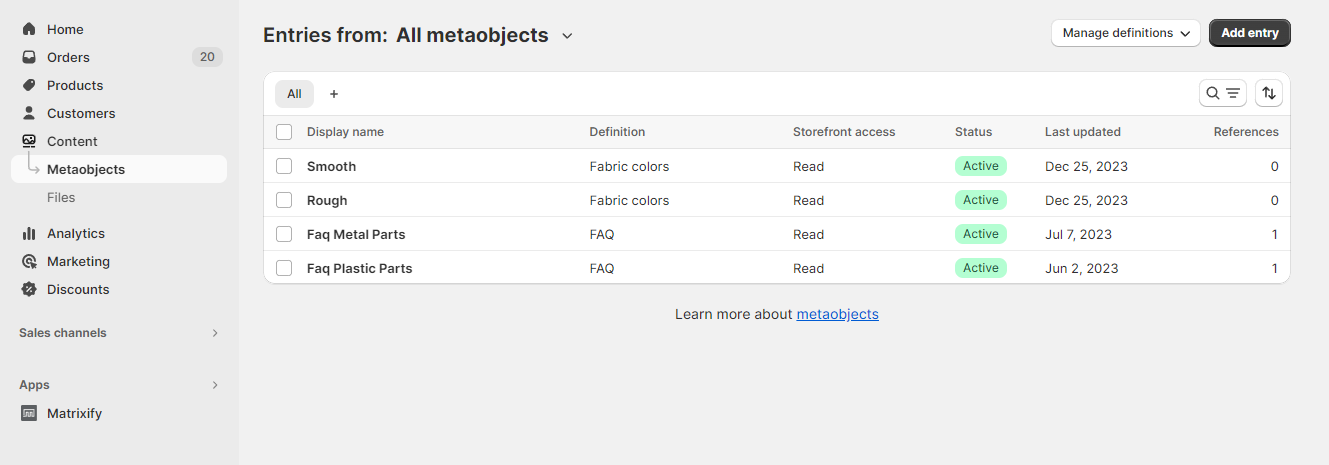
In the example covered in this tutorial, there are 4 Metaobject Entries, each with 2 Metaobject Entry fields.
2 Metaobject Entries are linked to one Metaobject definition and 2 Metaobject entries are linked to another Metaobject definition.

Metaobject Entry fields use the same types as Shopify Metafields and thus export data in the same value structure.
You can see examples of how each field type value looks when exported in the Matrixify Metafields documentation.
That’s it! You’ve successfully learned how to export Shopify Metaobject Entries to a spreadsheet file using the Matrixify app.
Remember, you can always revisit this tutorial if you need a refresher.
If you have any questions or run into any issues, don’t hesitate to reach out to our support team.
Good to know
- You can also use the Matrixify app to bulk import, update and manage Metaobject Entries and their fields in your Shopify store. See our tutorial – How to bulk import Shopify Metaobject Entries.
- The Matrixify app has a user-friendly way of exporting Metaobject Entry fields that have reference types by exporting them as handles not Shopify internal GIDs. For example, Metaobject entry field that is the product reference type will export as product handle, such as, “my-summer-product”, instead of Shopify GID. (Ask Matrixify Support if you need to export Metaobject entry reference fields as Shopify GIDs, we can configure this individually for specific Shopify store).
- You can use such exported files for Backups and be able to restore your Metaobject Entries data if it gets corrupted or deleted from the store. Read our tutorial – How to schedule automatic Shopify store backup.
- With the Matrixify app, you can also schedule your export to various other systems, including export to Google Sheets and export to an FTP/SFTP server.
- Read more general details about Metaobjects in Shopify manuals.
- See other Metaobject-related tutorials in Matrixify.
- See Matrixify Metaobjects documentation where you can download the Demo template file and see the explanation for each Metaobjects template column.


