The Matrixify app makes your migration from Magento to Shopify easier. This import will migrate your Magento Products into Shopify Products and put them into Smart Collections.
The app will also automatically create Redirects for your Products and Collections from the old Magento URL to the new Shopify URL.
All your exported Magento Custom fields for the Products will be created as Metafields for your Shopify Products.
While the tutorial is demonstrated on the Magento 1.9, this migration works with Magento 1.x and Magento 2.x versions the same way.
Without bragging, let’s just see how you can take your Magento Products data file and get it into Shopify.

Quick summary to migrate your Products
- Export your Products from Magento to CSV file using the standard Magento CSV export.
- Give the file name such that it contains the word “Magento” and a word “Products“, e.g. “Magento_Products-2018-11-08.csv”.
- Upload to the Matrixify app.
- Under Options, fill in your Magento URL in the text box – so that we can migrate your images from Magento to Shopify.
- Under Options, choose “Dry run” – to not import just yet.
- Download Import Results file and check that all Products and Smart Collections are as you need them.
- Import that corrected Excel file.
- See your Magento Products and Smart Collections in Shopify.
Now let’s go thoroughly through each step to do that migration.
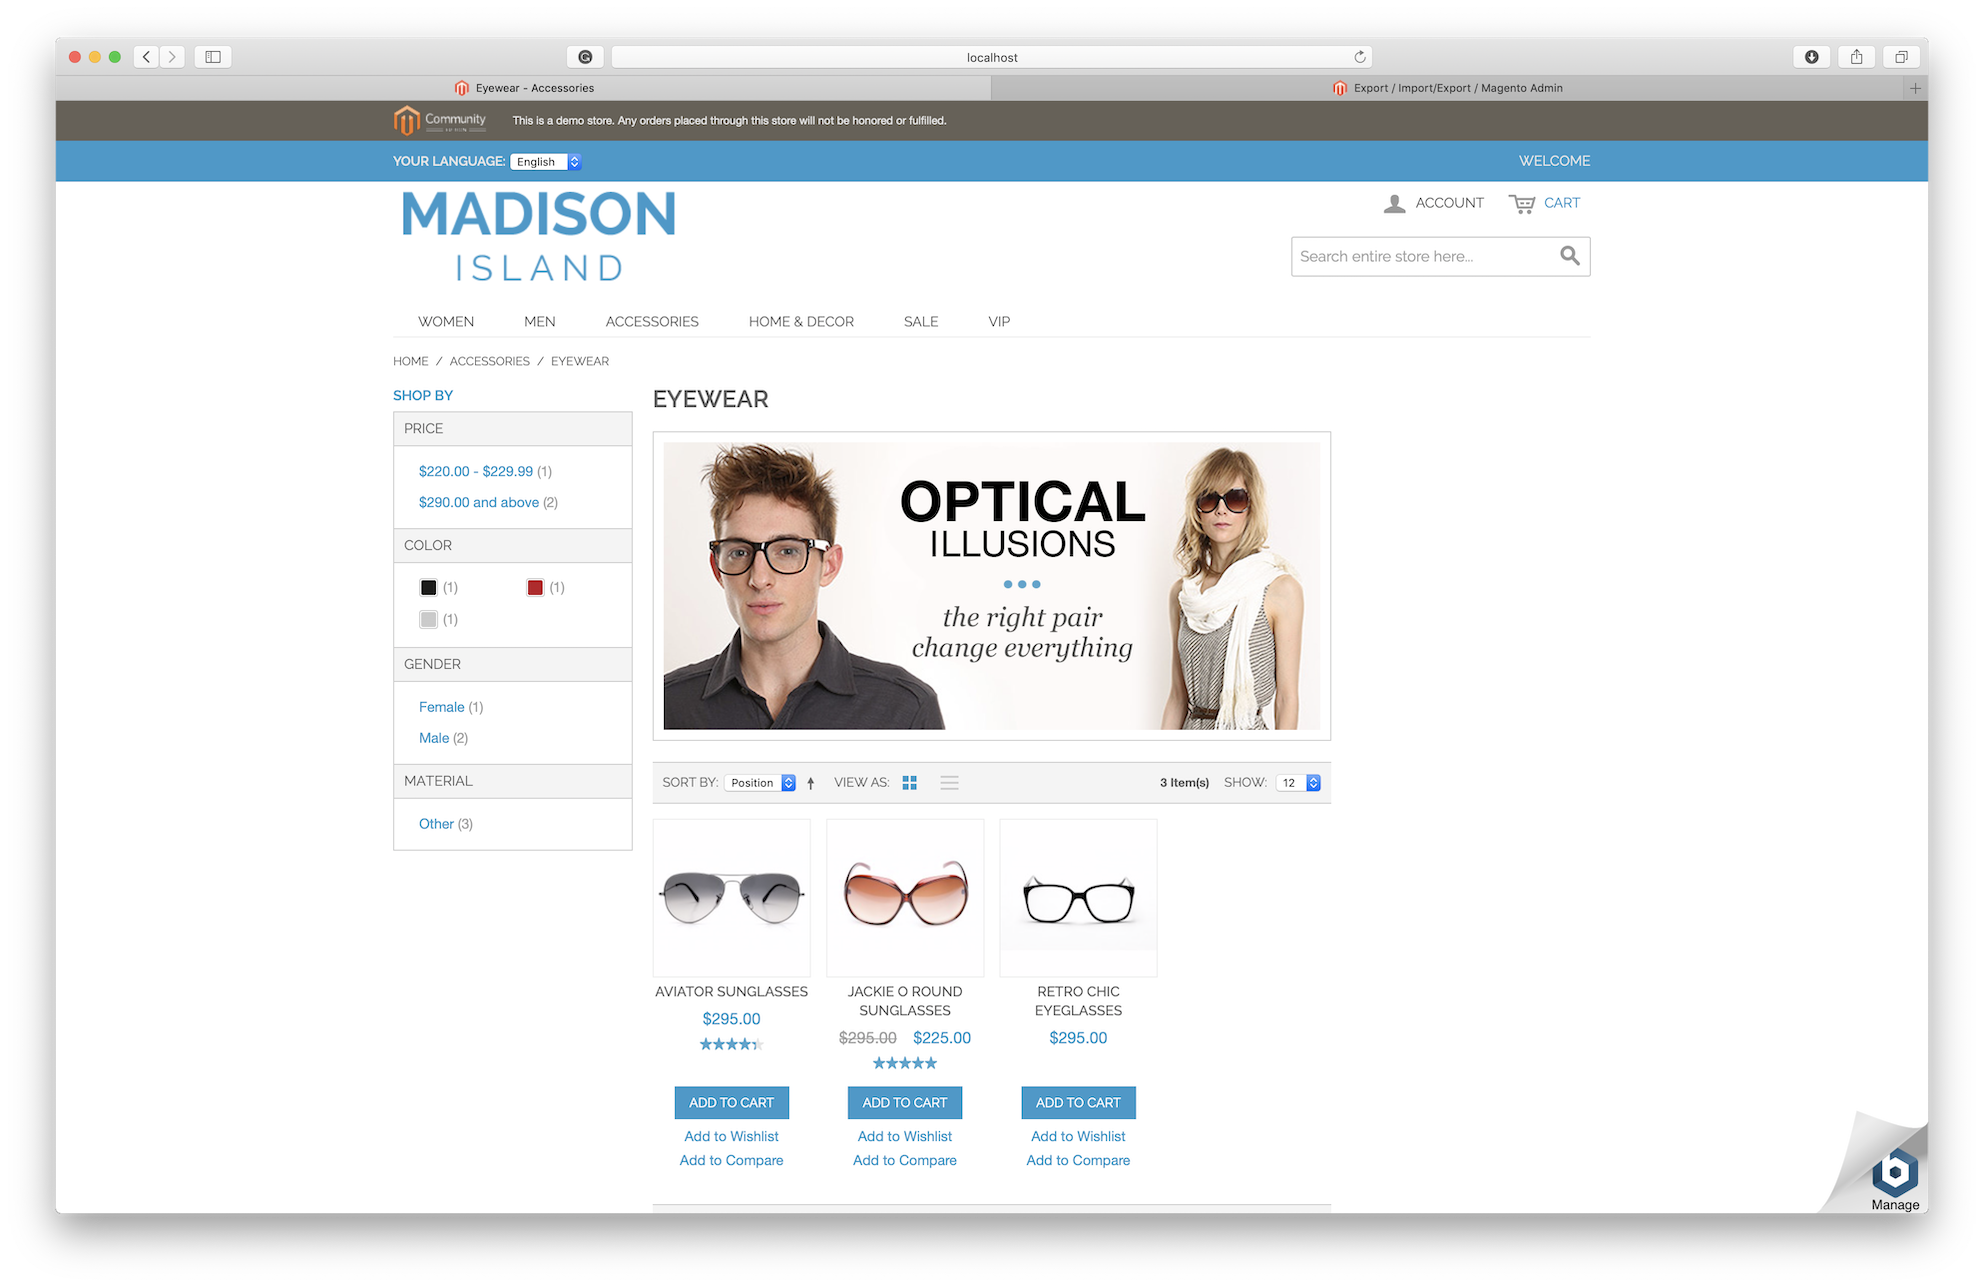
In this tutorial, we will work with the Magento sample data store with all the default settings in it:
1: Export your Products from Magento to CSV
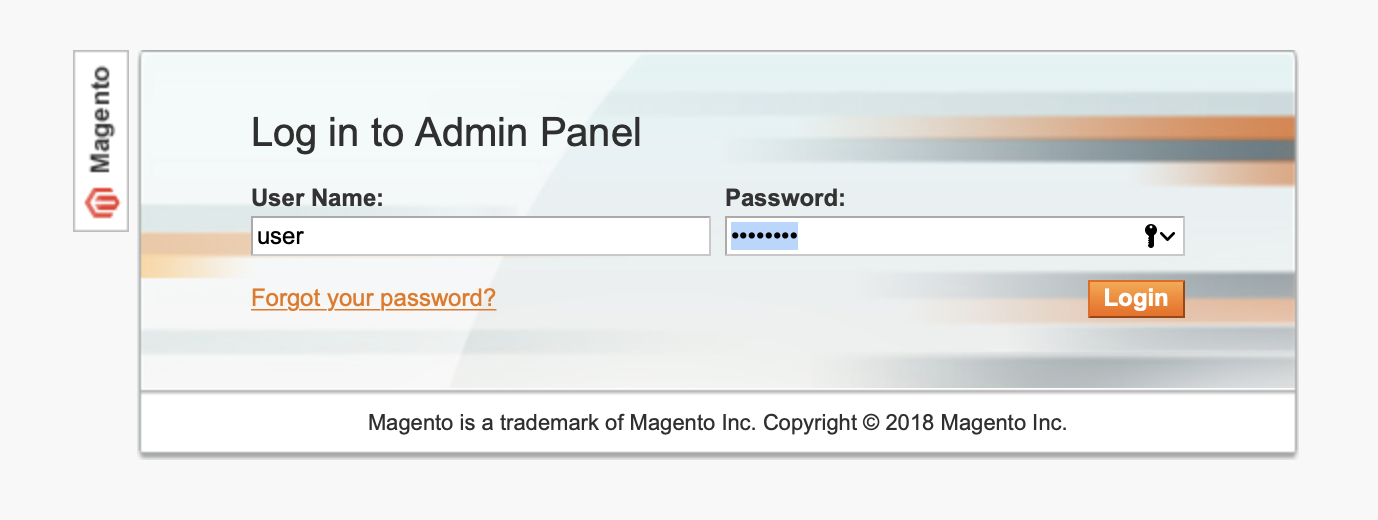
Log in to your Magento Admin Panel:
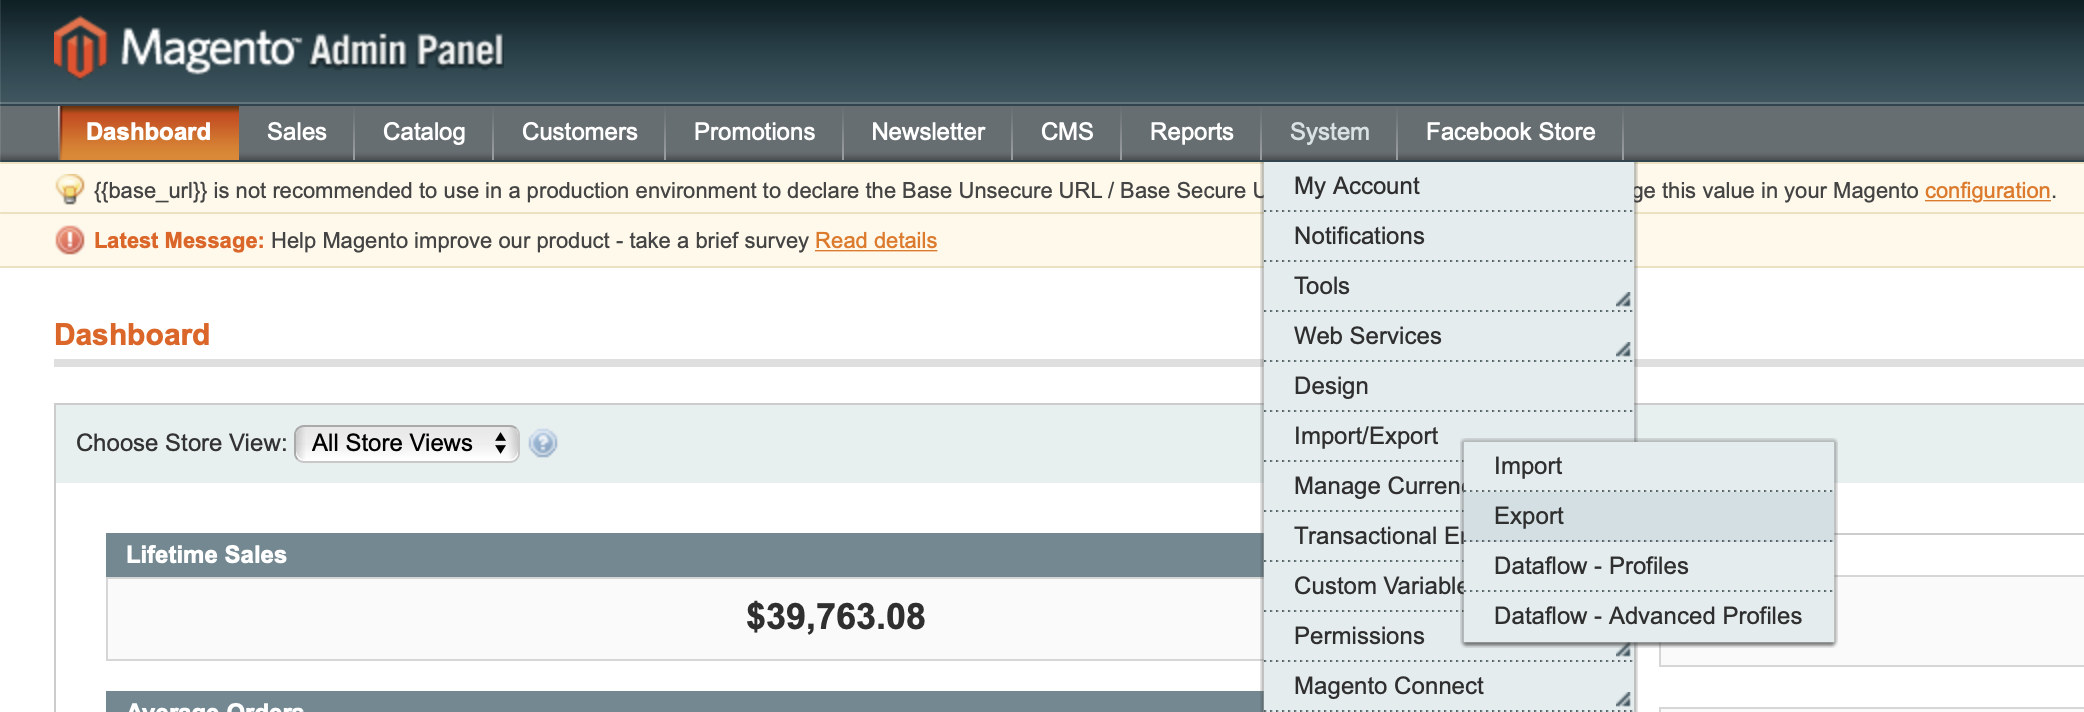
Go to menu: System -> Import/Export -> Export
In the Export Settings choose:
- Entity Type: Products
- Export File Format: CSV
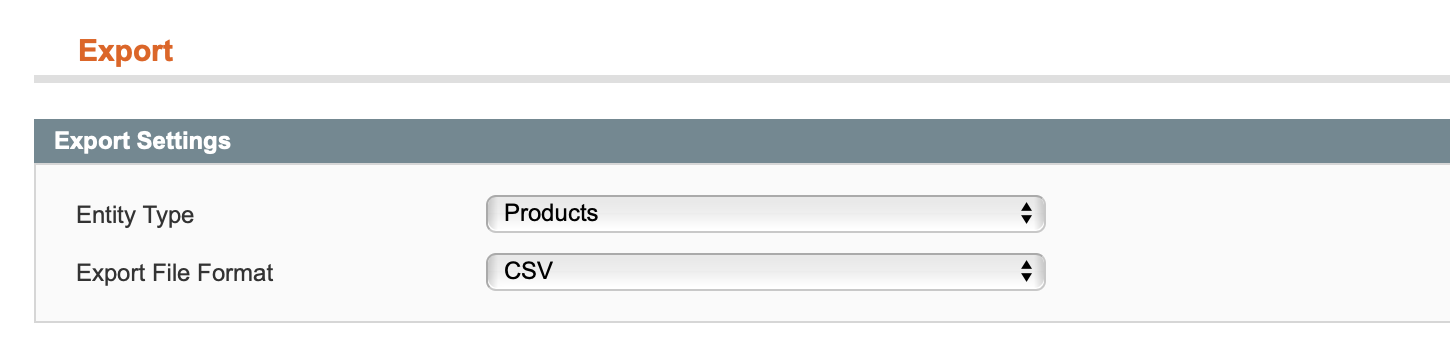 No need to fiddle with any of the other checkboxes.
Press the Continue button at the bottom of the page.
This will download your all Magento Products as a CSV file.
2: Rename the file to contain the words “Magento” and “Products”
When you download your exported CSV file from Magento, it will be called something like this:
catalog_product_20181108_015149.csv
For Matrixify to know that this is Magento file, you need to change that file name so that it contains “magento” and “products”. For example:
magento_products_20181108_015149.csv
3: Upload to the Matrixify app

Note that it should say that it recognized the file as the “Format: Magento CSV“. If the Format is not correct or app fails that file was not recognized then make sure that file name is correct as per step #2.
Right away, after Matrixify analyzed the file, you will see how many “Products” and “Smart Collections” are found in that file.
The Smart Collections are the Categories that will get converted to Automated Collections in your new Shopify store.
Redirects are generated from the old Magento URL structure to the Shopify structure for all products, collections, and products in collections URLs.
4: Fill in your Magento URL
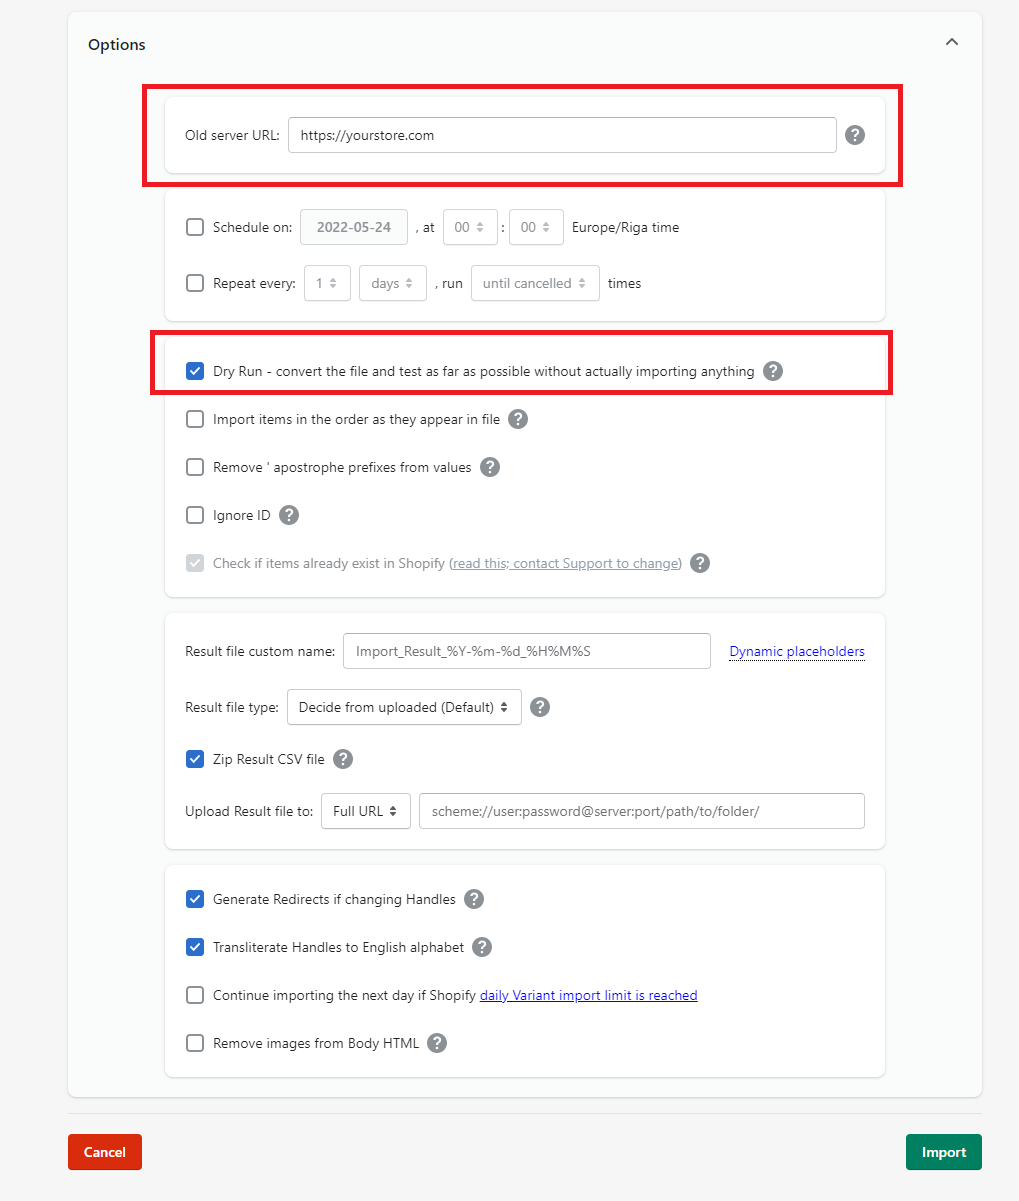
Before starting your import, open “Options” section at the bottom of the import page.
See, there is a text box “Old server URL” – enter your current Magento store main domain name. For example:
https://yourstore.com

This will allow the app to generate full image links from your Magento store and when importing, your product images will get migrated to Shopify products.
That will work, assuming that you haven’t changed the media folder in Magento to anything different.
If you have your media location changed to something else, no worries – you will be able to adjust those image paths in your Excel file before actually importing those products to Shopify.
If you don’t enter anything here, that’s also ok – still, in the generated Excel file you will see columns “Image File” and “Image Path” as they are on your Magento server, and you will be able to construct your own “Image Src” column values precisely to point to the URLs where your images are located.
5: Under Options, choose “Dry run”
If you want to import without adjusting anything, you can skip this step.
We suggest you to first do the Dry run and check your import file – clean up the data and then do the actual import.
To set the Dry run, click on the Options button, and check the “Dry run” checkbox:
Doing the Dry run will just run through the file conversion process and will generate you the “Import Results” file in the Matrixify format – as if you imported it, but it will not actually import anything just yet.
Don’t worry about the time estimate here – that is shown approximate time it would take to actually import them, but the dry run will take just a few seconds.
Press the “Import” button.
6: Download Import Results file and double-check the sheets
After the Dry run is finished, download the “Import Results” file:

If you have less than 1 000 000 rows in the file then the app will return Excel XLSX file, if you have more rows then it will return ZIP file with CSV files in it.
This is because due to Excel limitations, files over 1 million rows are returned broken.
You will have the Excel/CSV file like this with three sheets (tabs) in it:
- Products
- Smart Collections
- Redirects
Products sheet
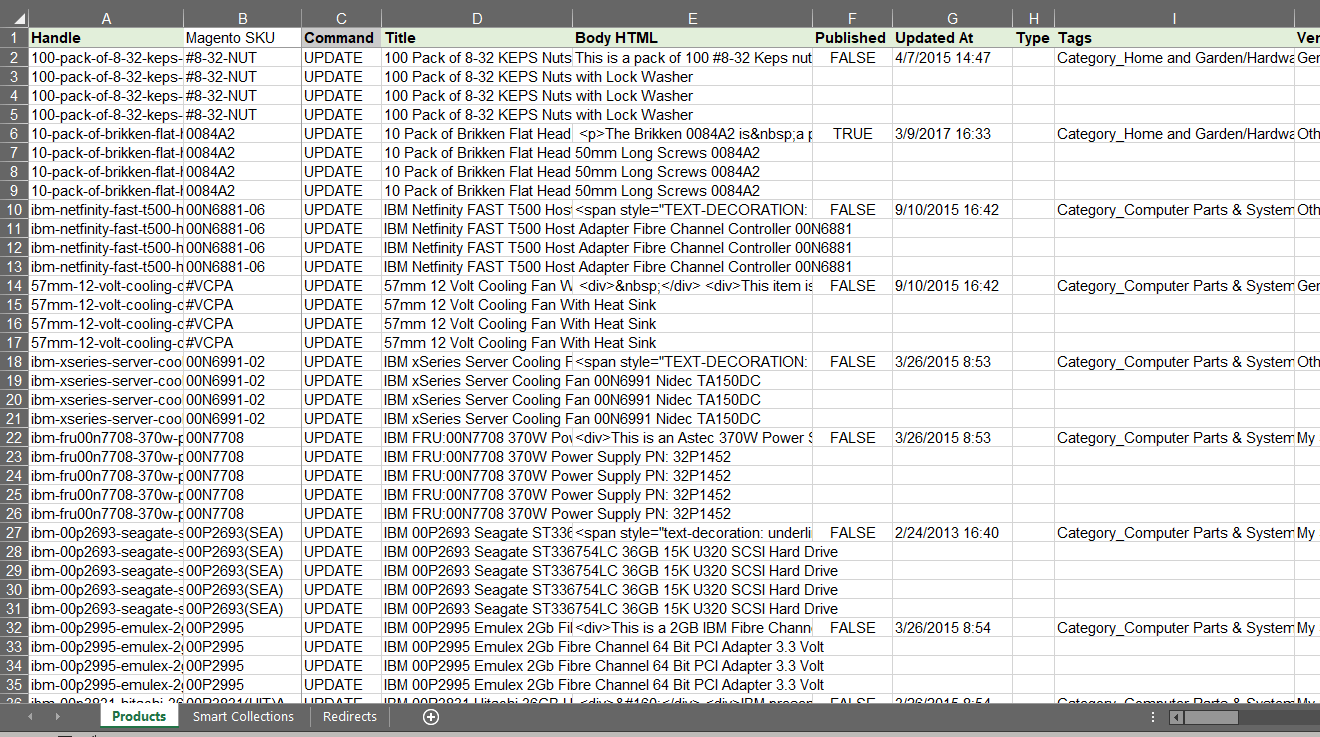
Here you can see, review and change any of the values in that Excel file. Any image links in the “Image Src” column, Options for Variants, prices, etc.
Product Handle
By default, the Handle is generated from the Magento CSV file “url_path” (“url_key” in Magento 2).
Tags
Note the “Tags” column – those contain the categories from your Magento store. They are in the format with _ (underscore) because some Shopify Themes recognize those as group filters which will result in nice Category filters.
The same Tags are used in the automated collections to fetch products into those Collections.
Additional Product Fields
There are, of course, more fields you can import for the Products – for that, please, look into the Matrixify template or read the Products fields documentation.
Inventory Quantity
In Magento exported file a field “manage_stock” tells the app if we should set stock or not in the Shopify after migration.
If “manage_stock” will have been “1” (true) then:
- Variant Inventory Qty will be set to quantity as listed in the Magento exported file
- Variant Inventory Tracker will be set to “shopify” so Shopify tracks inventory
If “manage_stock” will have been “0” (false) then:
- Variant Inventory Qty and Variant Inventory Tracker will not be set
- Just so you do not lose the information, the quantity from Magneto will be set in metafield – “Variant Metafield: magento.quantity” if needed you can use quantity listed in this column to set it for your items
Smart Collections sheet

As you can see, there are all the same Categories which you had in Magento, converted to the Shopify automated collections – with rules to automatically include the right products by their Tags.
This will produce the result where all the Magento products will be in the same Shopify Collections as they were in Magento categories.
The same as with Products sheet – you can change anything you like here. Also, there are more fields you can import for the Smart Collections – for that, please, look into the Matrixify template or read the Smart Collections fields documentation.
Redirects sheet
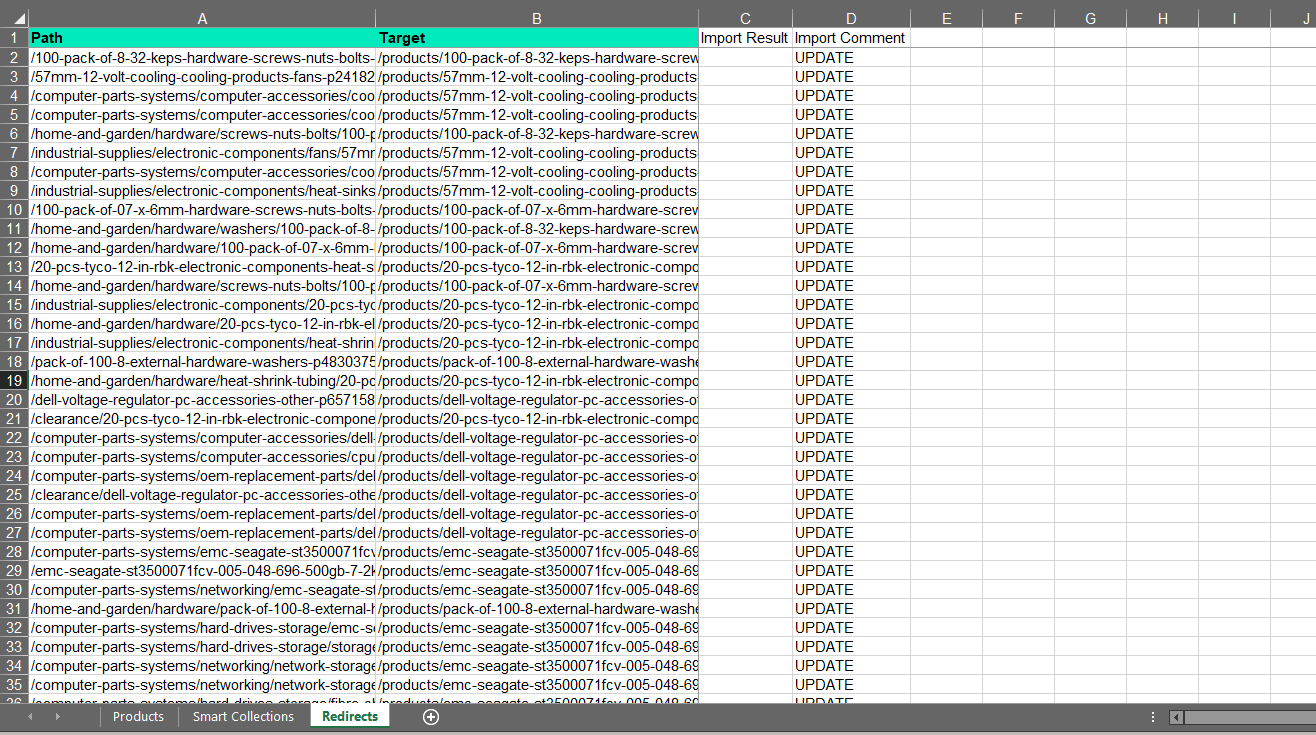
Since Shopify has different URL construction for Products and Collections than Magento, then the Matrixify will have generated URL Redirects for your Shopify store.
In the “Redirects” sheet you will see columns “Path” which would be old URL and “Target” indicating a new target URL.
You can find a detailed explanation of each column in our Redirects sheet documentation.
You will have Redirect for:
- old product URL to new product URL
- old collections URL to the new one
- each collection/product combination to the new URL for the collections that each product is in
If you are editing Product or Collection Handles in the dry-run generated file for migrated items to have different Handles than originally in Magento, then you would also need to update the Redirects.
If you do wish to update Handles, then we would suggest first importing Products, Collections with the Handles as generated, so you do not need to manually edit the Redirects.
Once data is migrated you can follow our tutorial on “How to bulk update Handles” to update them after the migration.
The benefit here is that, by default, when updating Handles for in Shopify existing Products or Collections, the app will automatically generate Redirects.
Read more about Redirects in your Shopify here.
Conversion comments
In each sheet there is a column “Conversion Comments” – the app writes there any comments it wants to tell you if there was something worth your attention during the Magento file converstion process.
7: Import updated Excel file
Take the Excel file which you have updated and prepared for the import, and upload it again to the Matrixify app.
Press the “Import” button once the file has been analyzed to start actual import into Shopify.
Wait for the import to run:
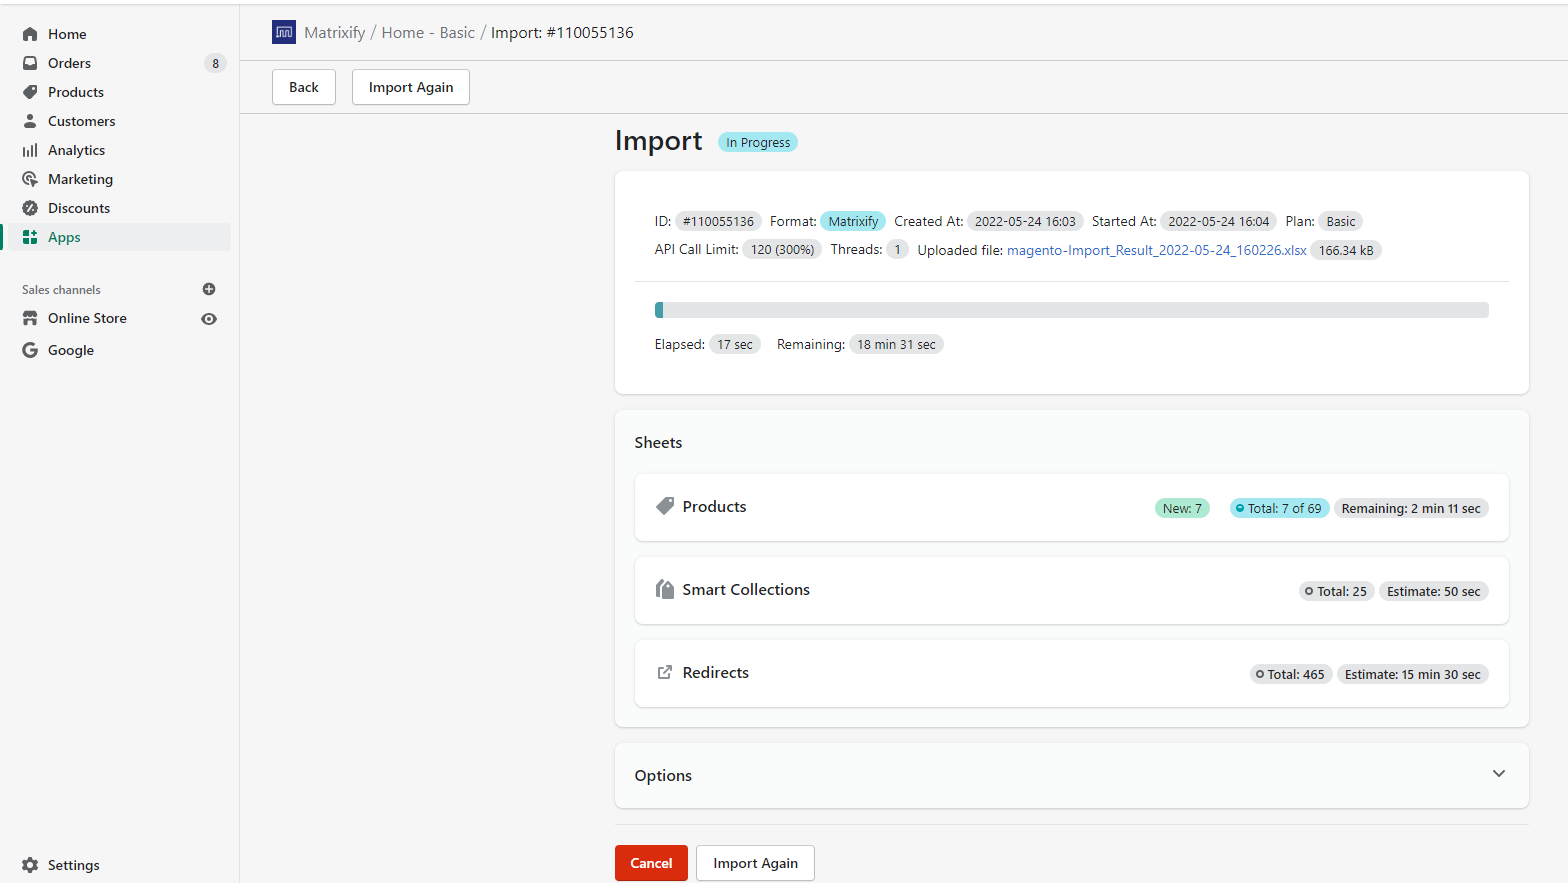
If you see any Failed items, then after the import has finished, you can again download the Import Results file and look into the “Import Comment” column. It will tell why the particular product failed. Then you can fix that issue and re-import just those failed and fixed rows again.
You can close the app and/or browser once the import is started and while it is running as everything is happening in our servers.
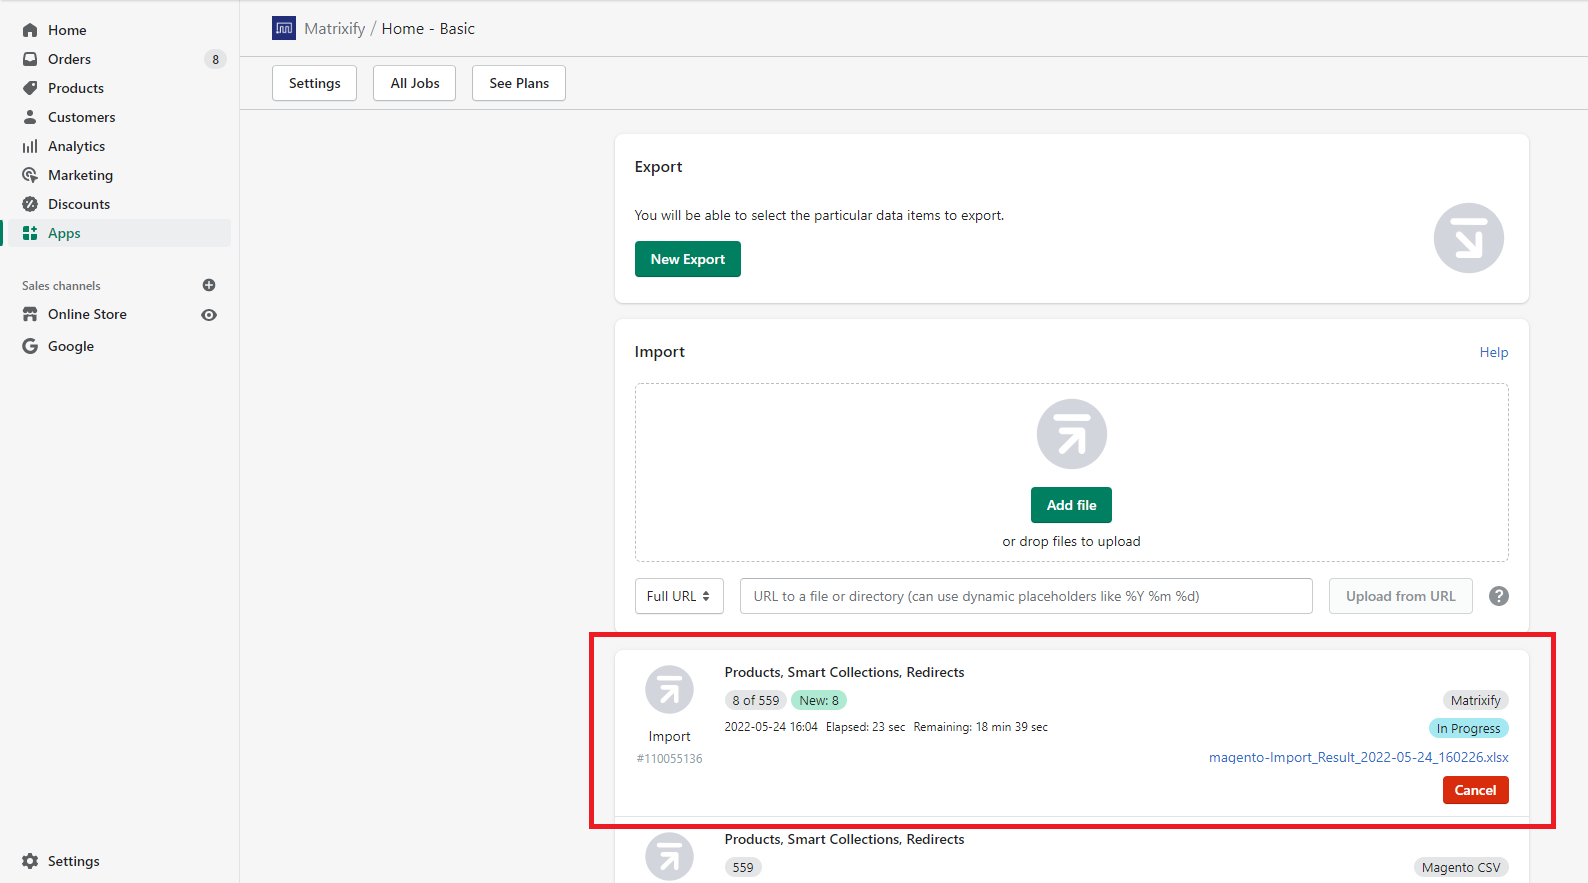
On the app Home page, you can see the last 5 completed or running jobs. You can click on the job to open it and see more details.
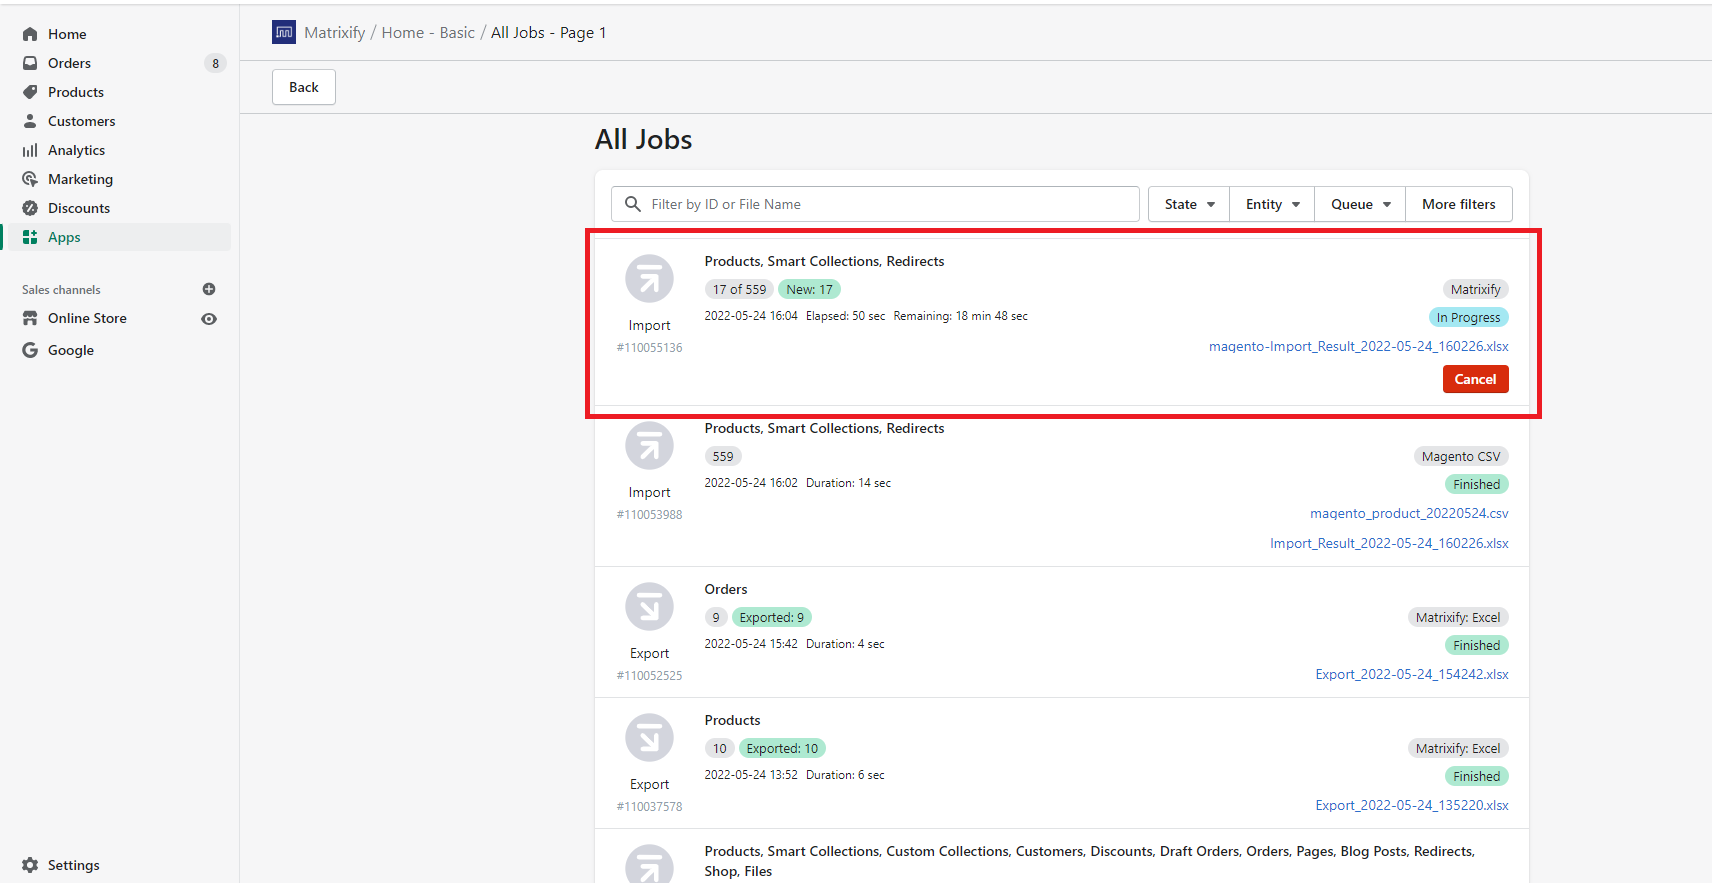
You can also go into “All Jobs” page of the app to see all your future (scheduled), running and past jobs where you also can click on them to see more details.
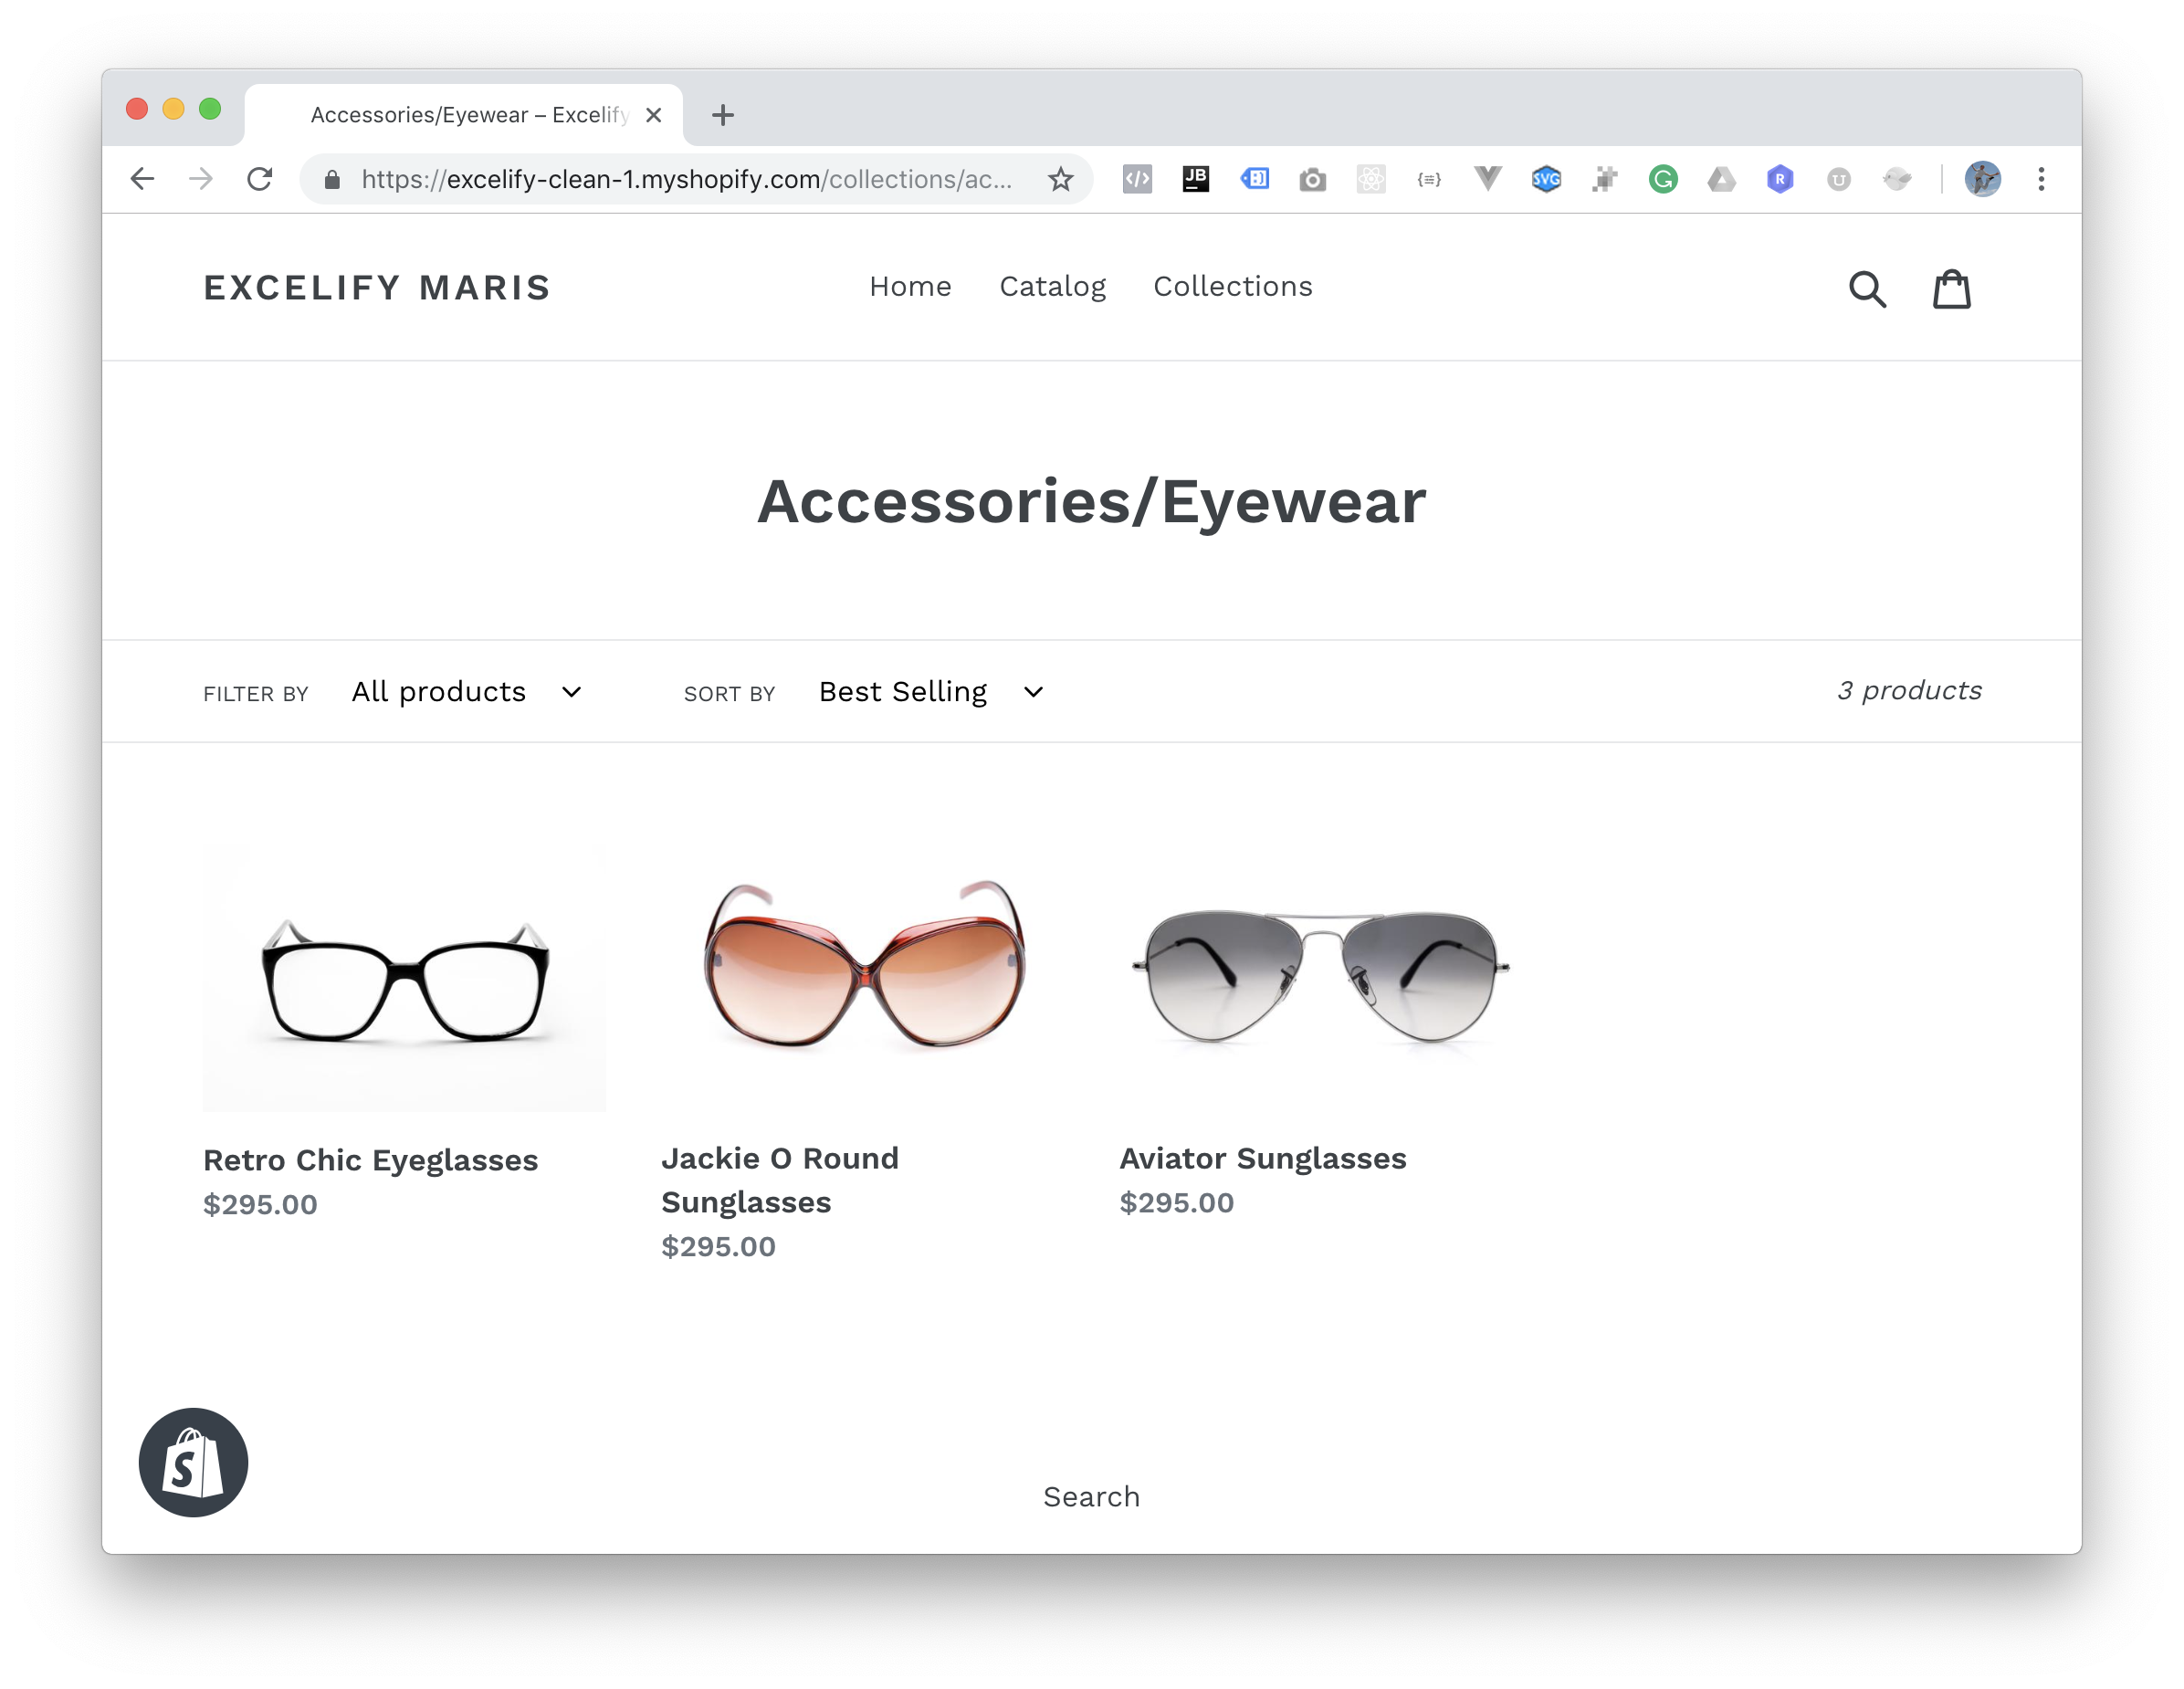
8: See your migrated Magento Products and Smart Collections in Shopify
Open your Shopify store page and prepare to be silent or loud – depending on how expressive you are.
Where to go from here?
- Create your Shopify store.
- Install the Matrixify app.
- Read more about migrations from Magento to Shopify.
- Read the Products template documentation.
- Read the Smart Collections template documentation.
- Learn more about migrations to Shopify and what other types of data Matrixify can migrate to Shopify in bulk.
- Edit your Shopify custom fields in bulk.
- Contact Matrixify support.


